
MINI MODERN FARMHOUSE
Assembly Guide
Before beginning, make sure you’ve got some trusty wood glue and a roll of masking tape. A bit of sanding paper could also come in handy in a few spots. (Okay, maybe a wet rag for wiping up extra glue.)
The whole build should only take a couple of hours, but allow enough time for glue and paint drying.

Lower Level
Use Pieces: A, B, C, D, E
Place A (Lower Floor), logo side down
Fit B (Lower Left Wall), C (Lower Front Wall), D (Lower Right Wall) in place with printed sides down and add a thin line of wood glue to tabs
Reinforce all joints with masking tape, cleaning off any extra glue
Dry fit E (Upper Floor) and note joint areas that will be left open for attaching the top floor. When applying glue, do not add any glue to these areas yet, as the dried glue will make it difficult to fit the pieces for the upper level. (You may wish to mark these sections in pencil.) Attach E and reinforce with masking tape.
Allow to dry as per your glue instructions (probably at least 30 minutes)

Upper Level
Use Pieces: F, G, H, I, J
Attach G (Upper Front Wall), F (Upper Left Wall), and H (Upper Right Wall) with a thin line of wood glue, reinforcing with masking tape
Remove excess glue as needed
Attach I (Roof Left) and J (Roof Right) to upper walls, reinforcing with masking tape and removing excess glue
Allow glue to dry
Exterior Trim
Apply trim with a thin line of wood glue to printed side. Letters should not be visible after trim is applied. Remove any excess glue. Masking tape may be used if needed.

ROOF TRIM
Use Pieces: K, L, M
Prep house for trim by removing masking tape and lightly sanding any areas that need attention
Apply K (Ridge Cap Narrow) to the very top
Apply L (Ridge Cap Wide) to overlap and cover the top seam
Apply M (8 Roof Strips) at marked intervals
Remove excess glue as needed

TRIM
Use Pieces: N, S, O, T, Q, V, Exterior Window Trim
Apply N (2 Base Side Strips) to very bottom of each side
Apply S (Front Base Strip)
Apply O (4 Side Corner Strips) to left and right edges of each side
Apply T (2 Front Side Strips) to left and right edges of each side
Apply Q (2 Middle Side Strips)
Apply V (Front Middle Strip)
Apply Exterior Window Trim at marked location

EXTERIOR BATTENS
Use Pieces: P, U, R, W, X, Y
Apply P (12 Lower Long Battens) at marked intervals
Apply U (3 Lower Short Battens) at marked intervals
Apply R (8 Upper Side Battens) at marked intervals
Apply W (8 Upper Front Battens) at marked locations
Apply X (5 Awning Strips) to Y (Awning)
Allow glue to dry (overnight works well)


INTERIOR DOOR TRIM (OPTIONAL)
We’ve included six additional trim pieces to fit around the door interior.
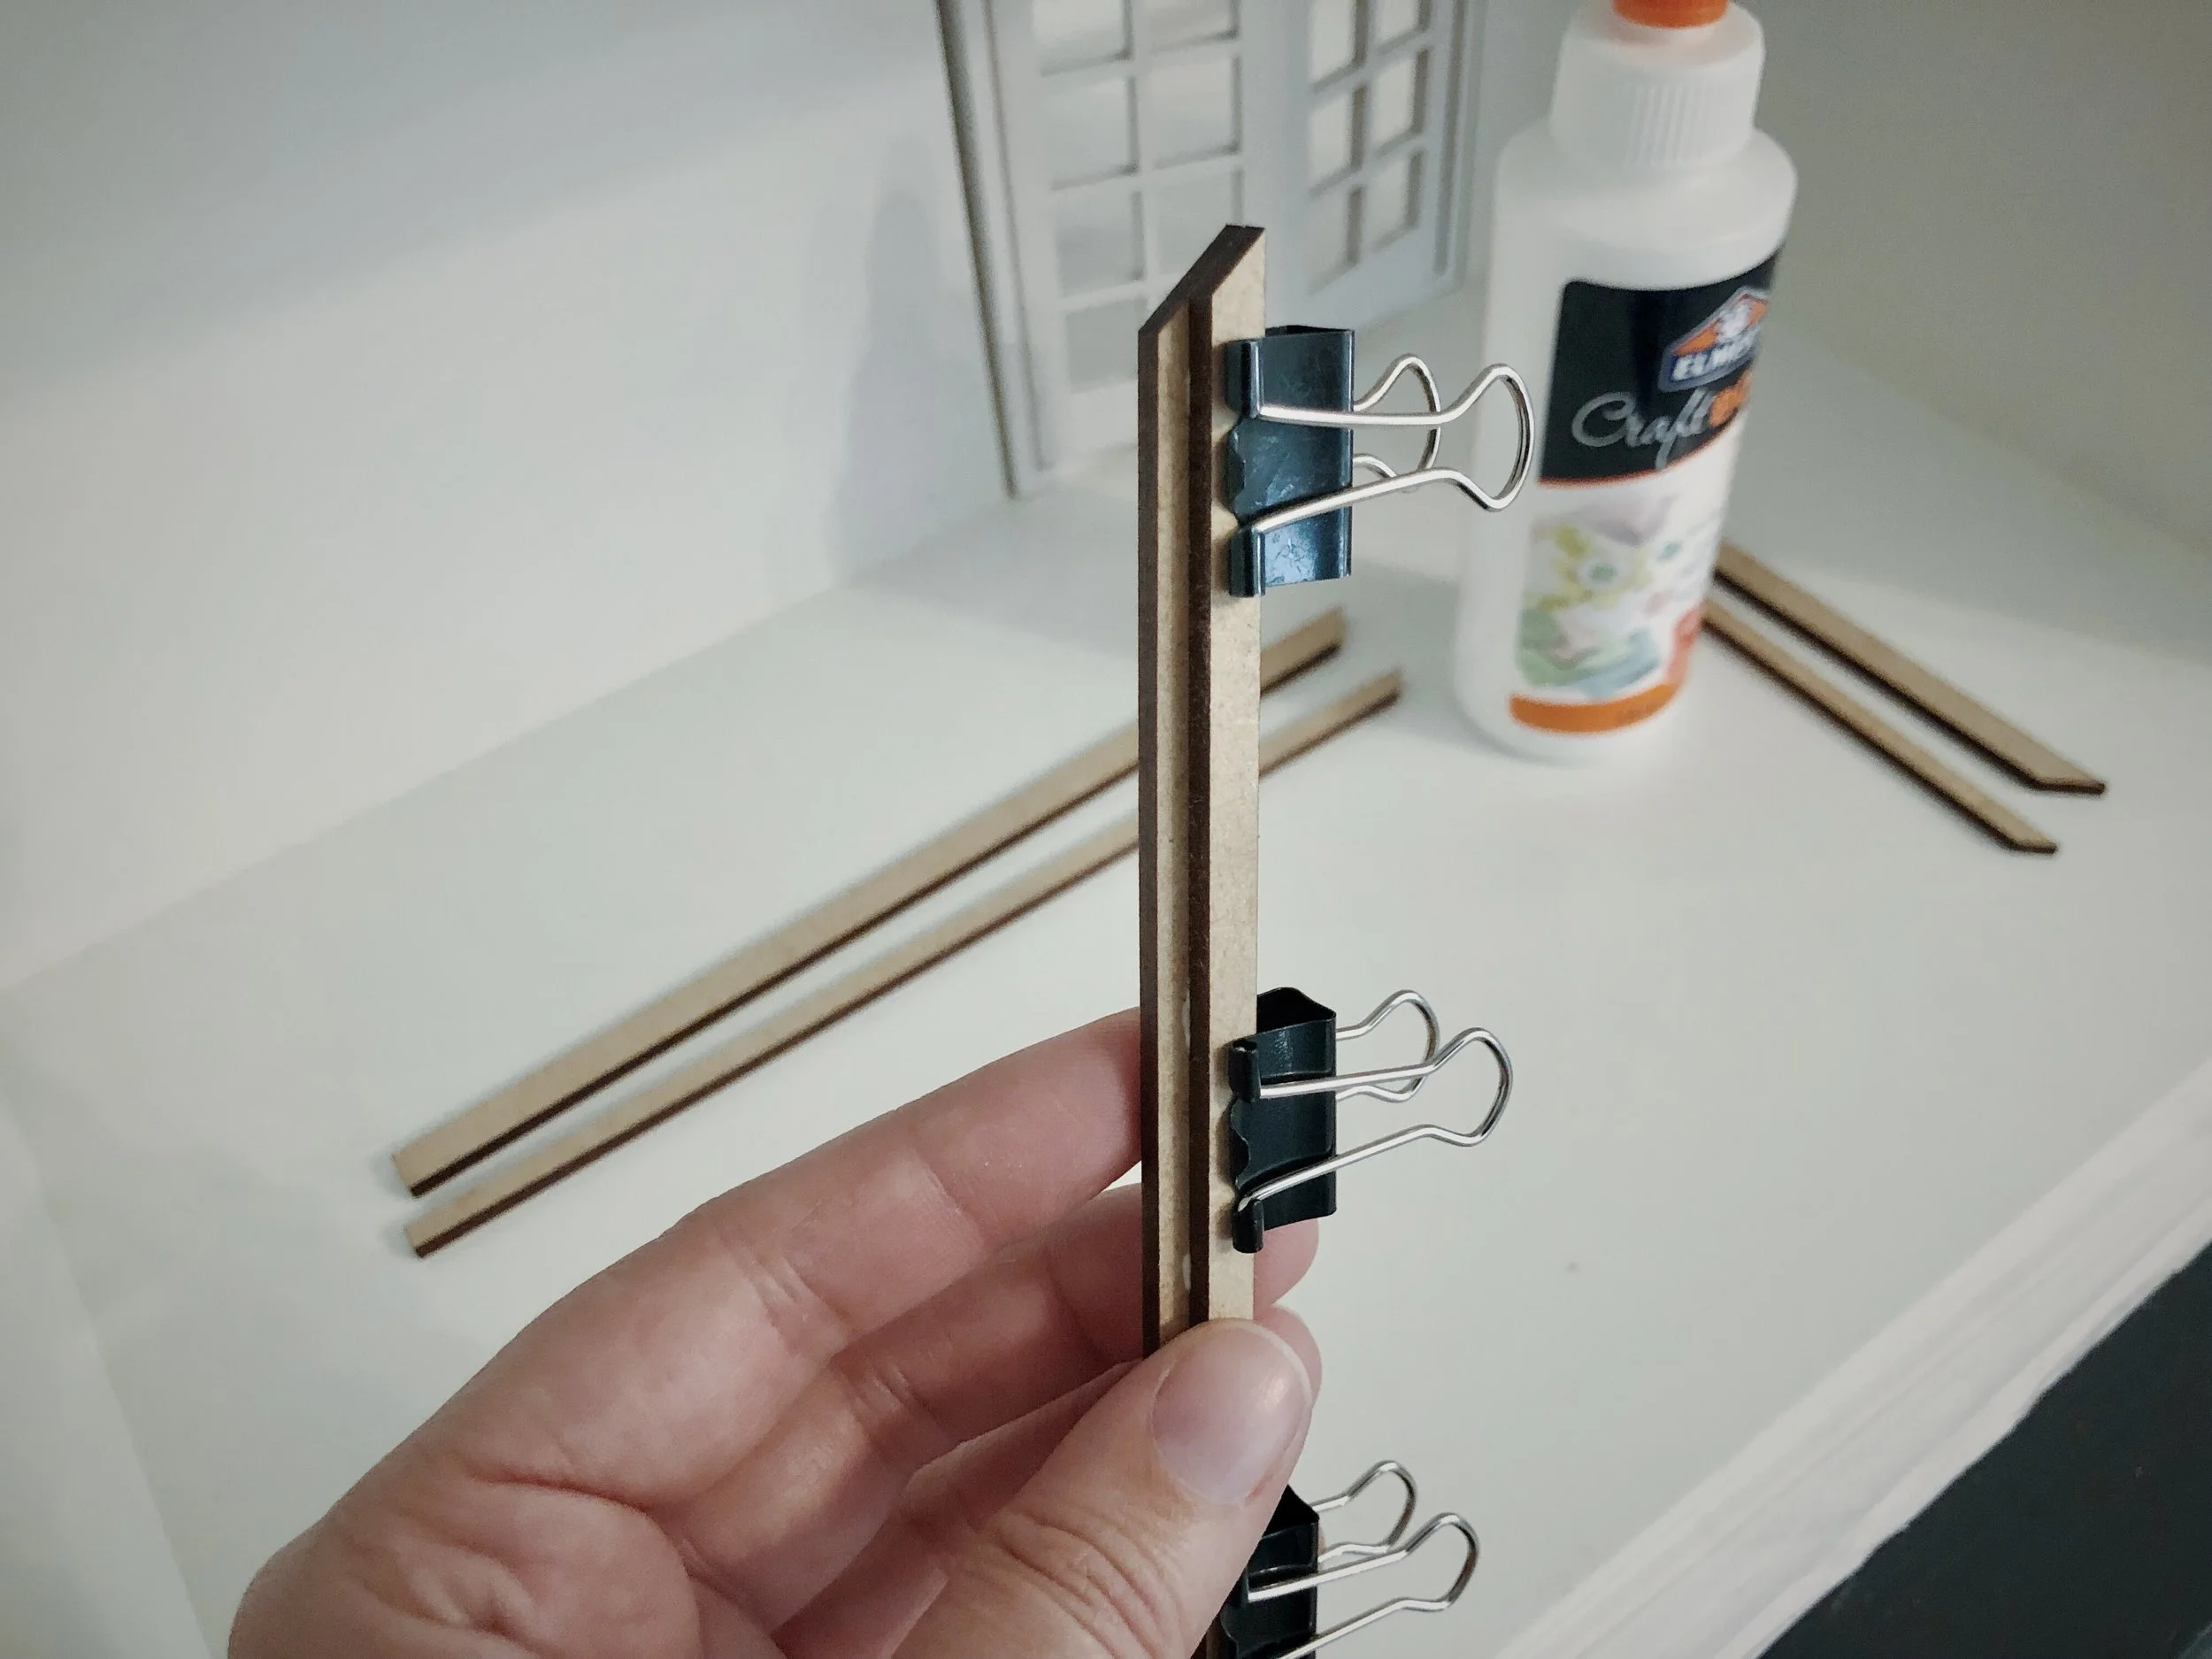
Set aside each set of pieces by length. You’ll want one wider and one narrower piece per side. Apply a small amount of glue to the narrower trim piece.
Align pieces to the outside and clamp using small binder clips. Allow glue to dry.
Remove binder clips and sand outer edges if necessary. Paint as desired and install around door interior with a small amount of craft glue.

Painting
If you’ll be painting the roof a different color than the body of the house, you’ll want to paint the roof first. When it is dry, tape it off and paint the house.
Paint roof and Awning
Paint or stain Peak Accent and Awning Braces
Paint Window Grid
Remove door glass and paint or stain
Paint walls
Finishing
Install finished pieces with a thin line of wood glue.
Glue together two sides of each Awning Brace and install when dry
Install Window Grid and Window Pane to interior
Install Door from exterior
Install Awning Braces on either side of door
Install Awning
That’s it for the build and exterior finishes. Paint and finish the interior as you like. Let us know how it goes!


