
ASSEMBLY GUIDE
Six Room Modern Farmhouse
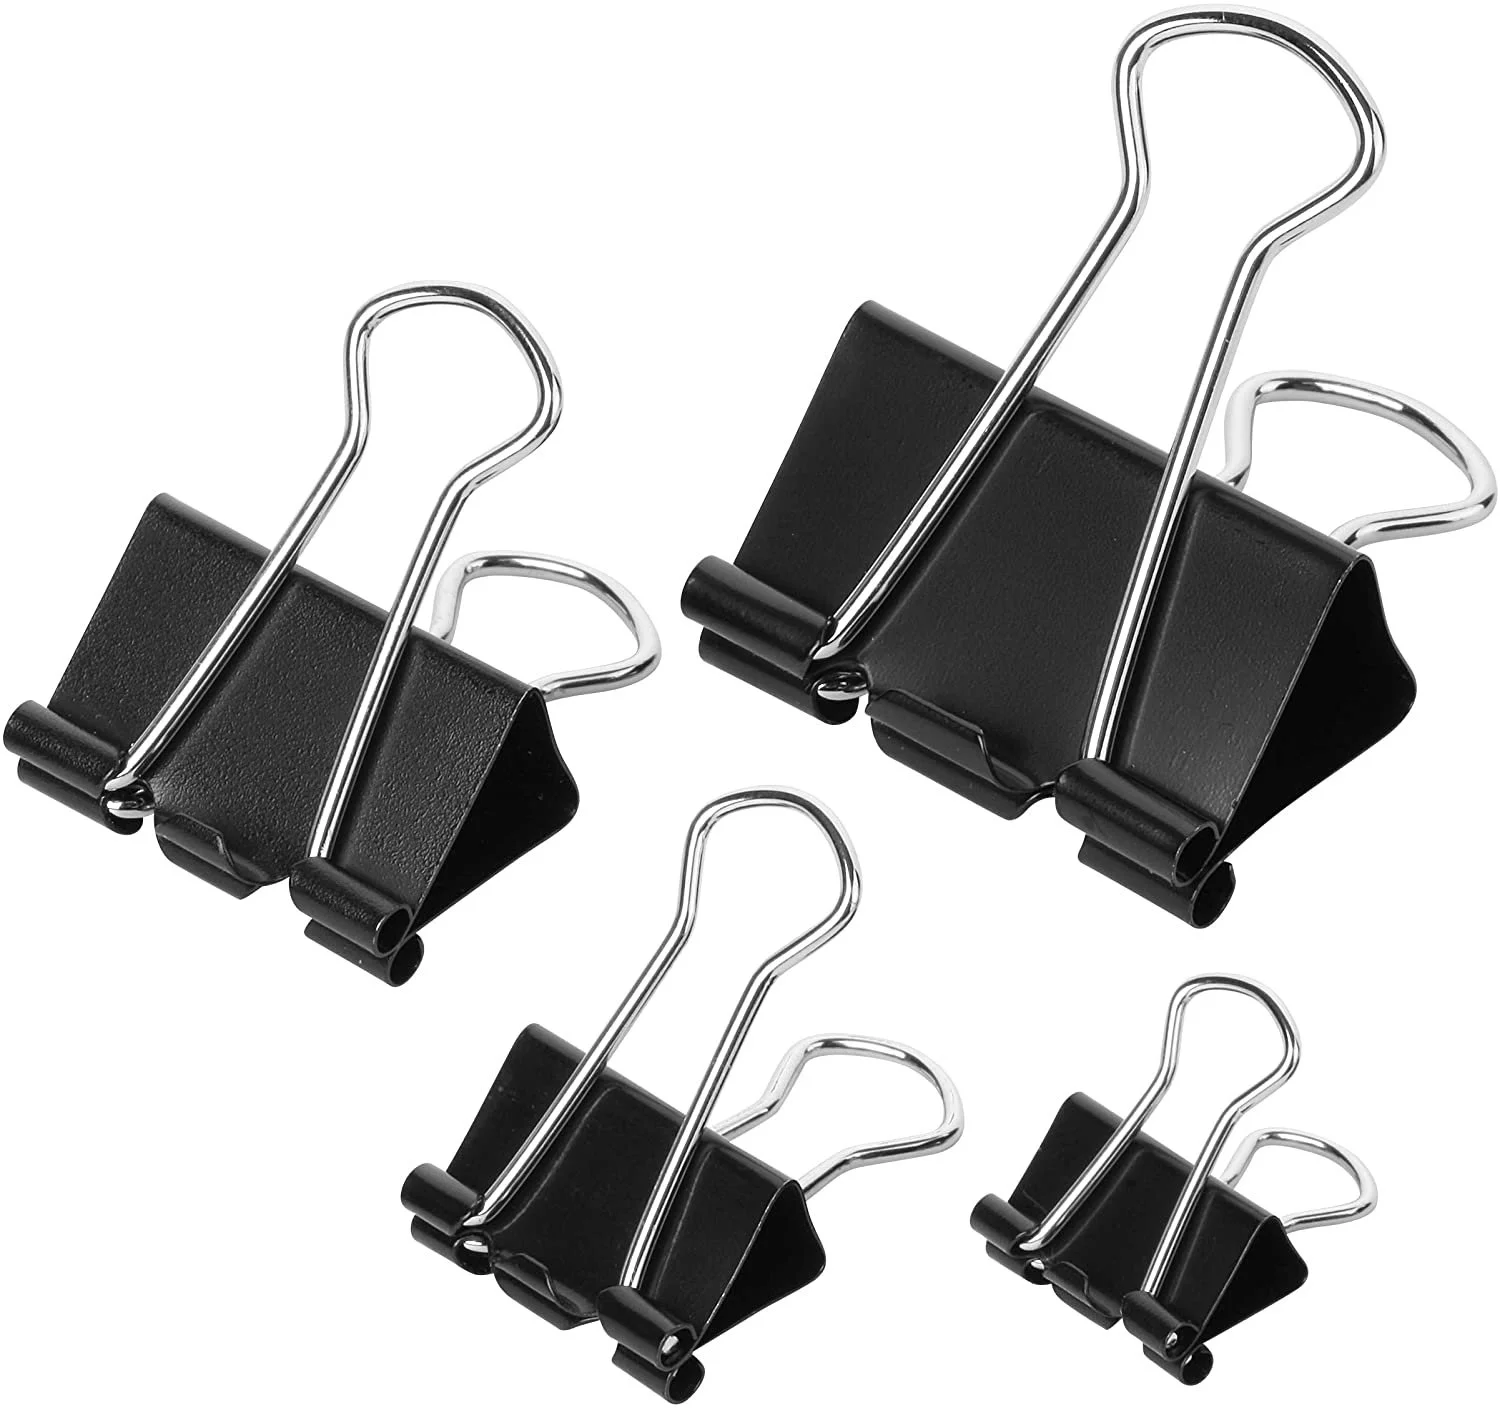
Before beginning, make sure you’ve got some trusty craft glue some masking tape and a handful of binder clips.
Optional (but very handy) are a sanding block and an indentation pen.
The whole build will take several hours, but the bulk of the time will be waiting for glue and paint to dry.


Assemble Side A

Locate all four “A—LOWER” pieces:
• A—LOWER FLOOR (0.25” thick piece)
• A—LOWER INTERIOR
• A—LOWER FRONT
• A—LOWER SIDE
Snap off any additional pieces and set aside for later.

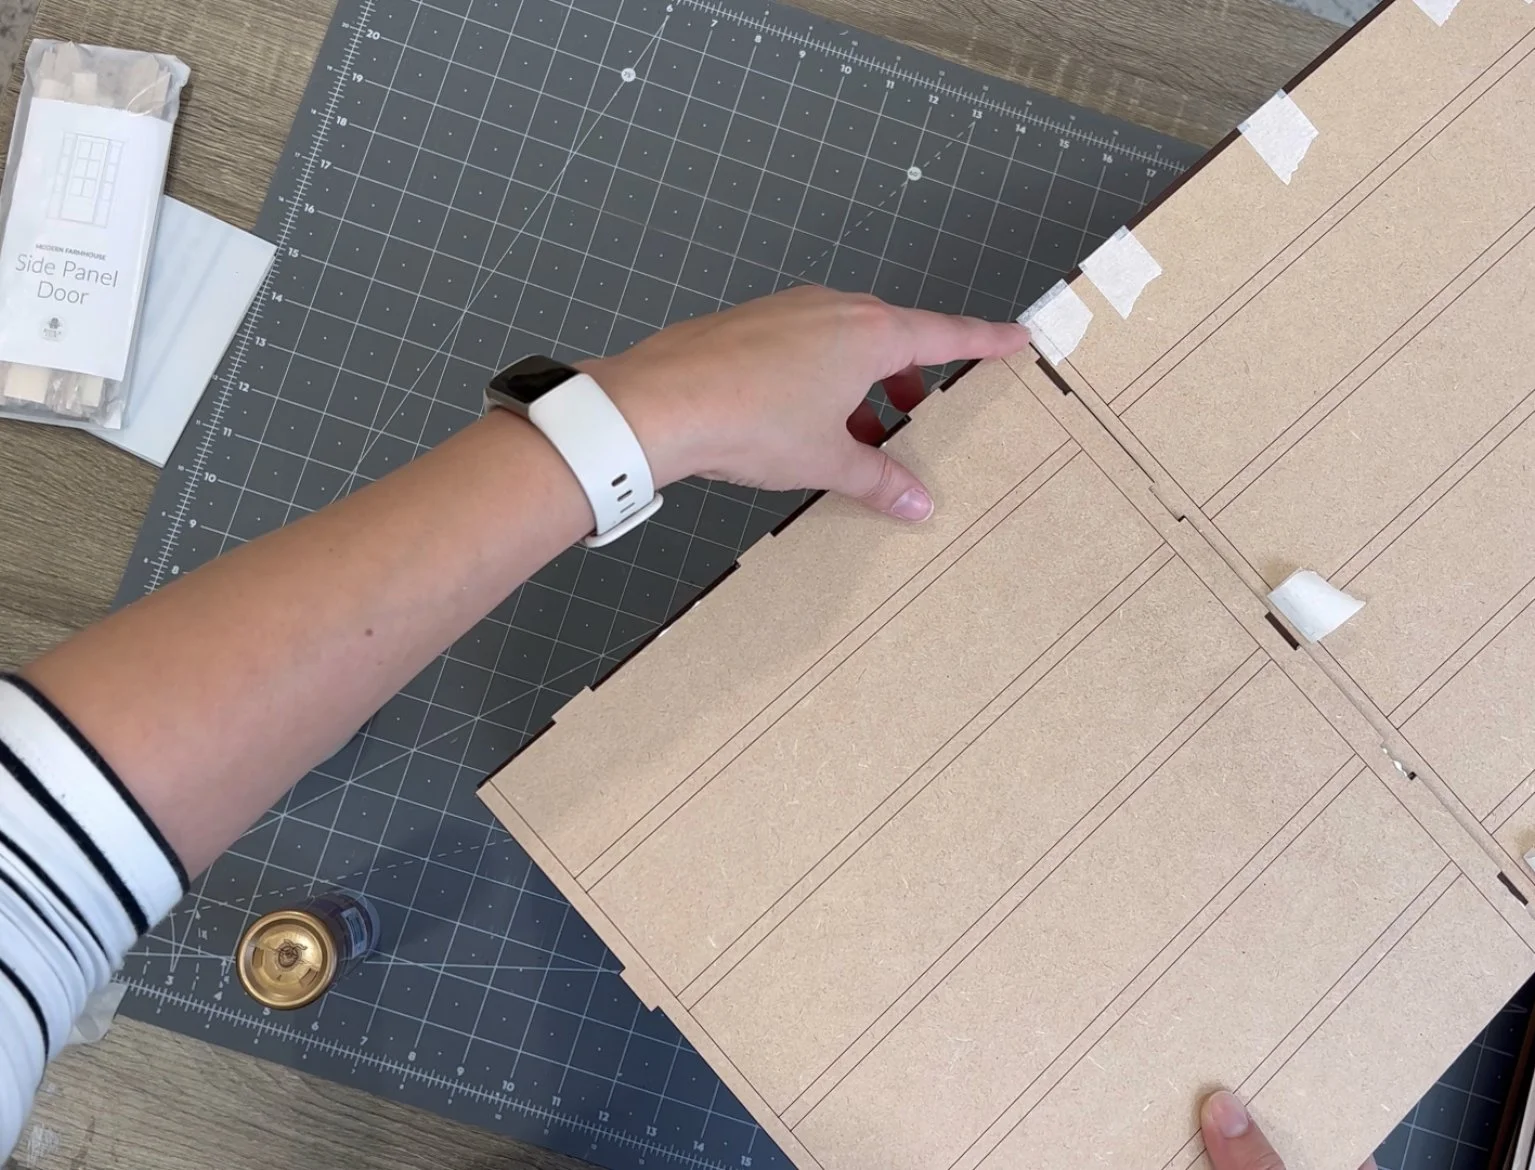
Dry fit the four pieces, with the thicker A—LOWER FLOOR in the center.
Arrange the three thinner walls with the scored sides down, taking note of the door opening.
Add a thin line of wood glue to joints, except where door opening will be.

Start by attaching A—LOWER INTERIOR to A—LOWER FLOOR.
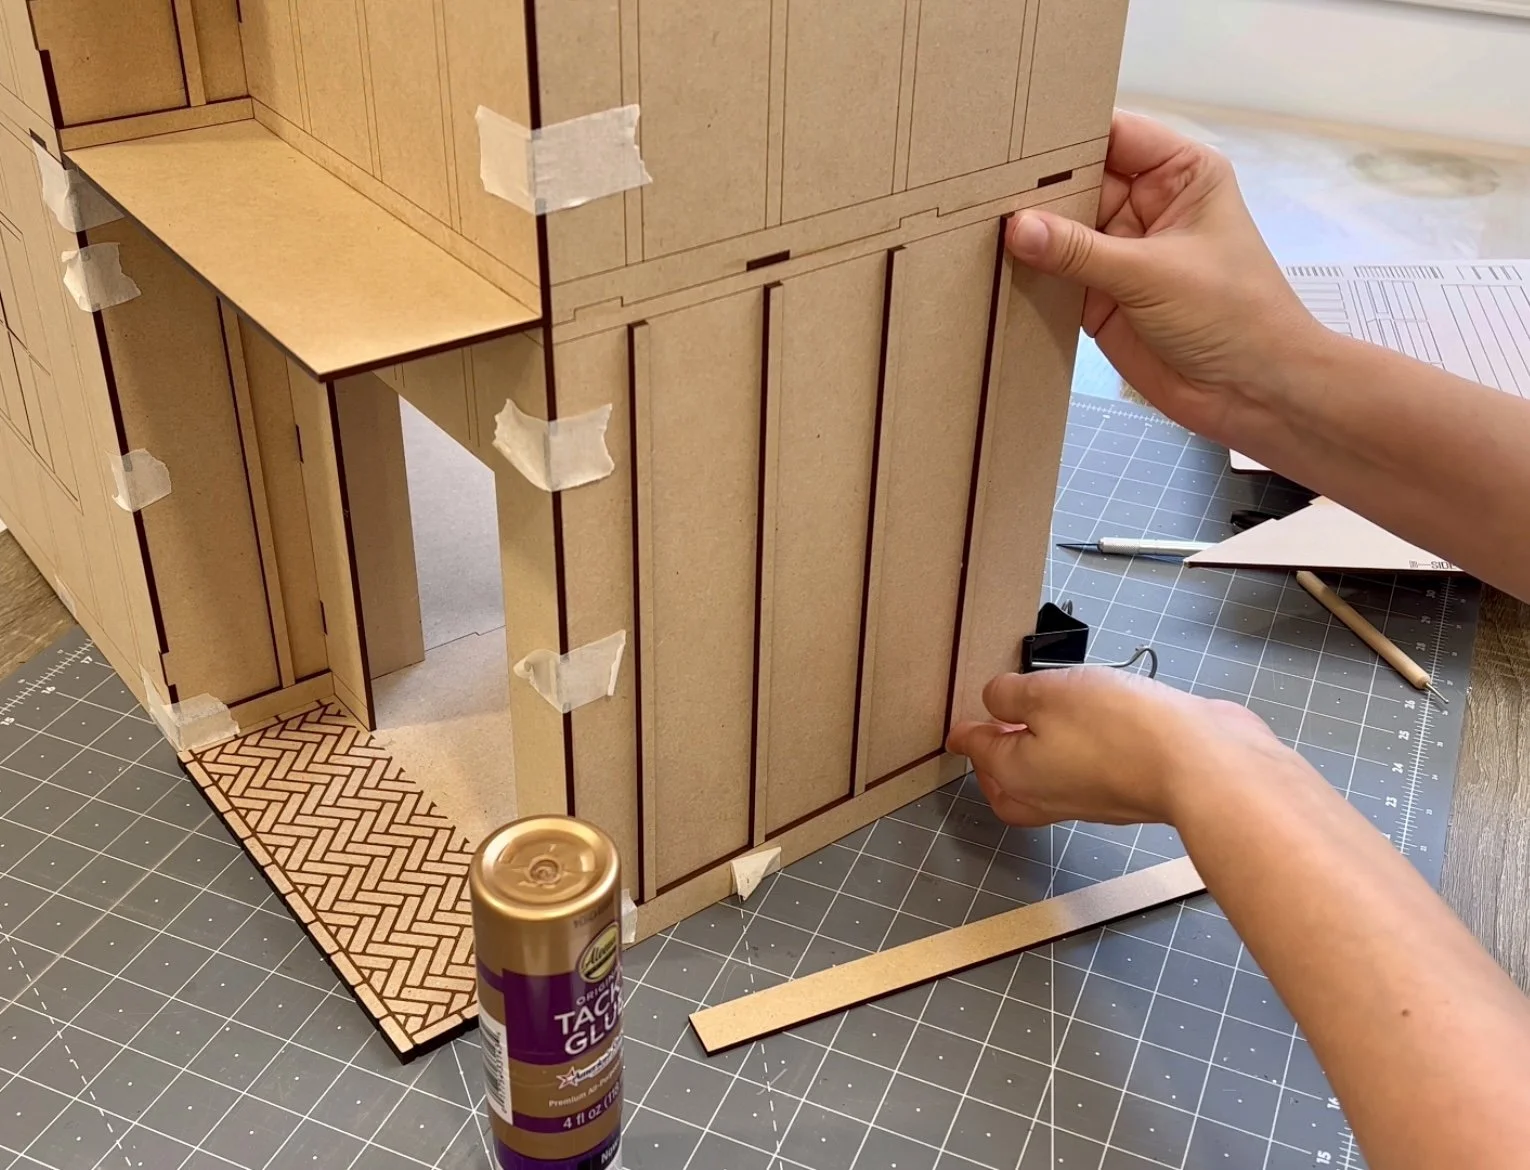
Next, add A—LOWER FRONT.

Finally, attach A—LOWER SIDE.
Reinforce all joints with masking tape, cleaning off any extra glue.

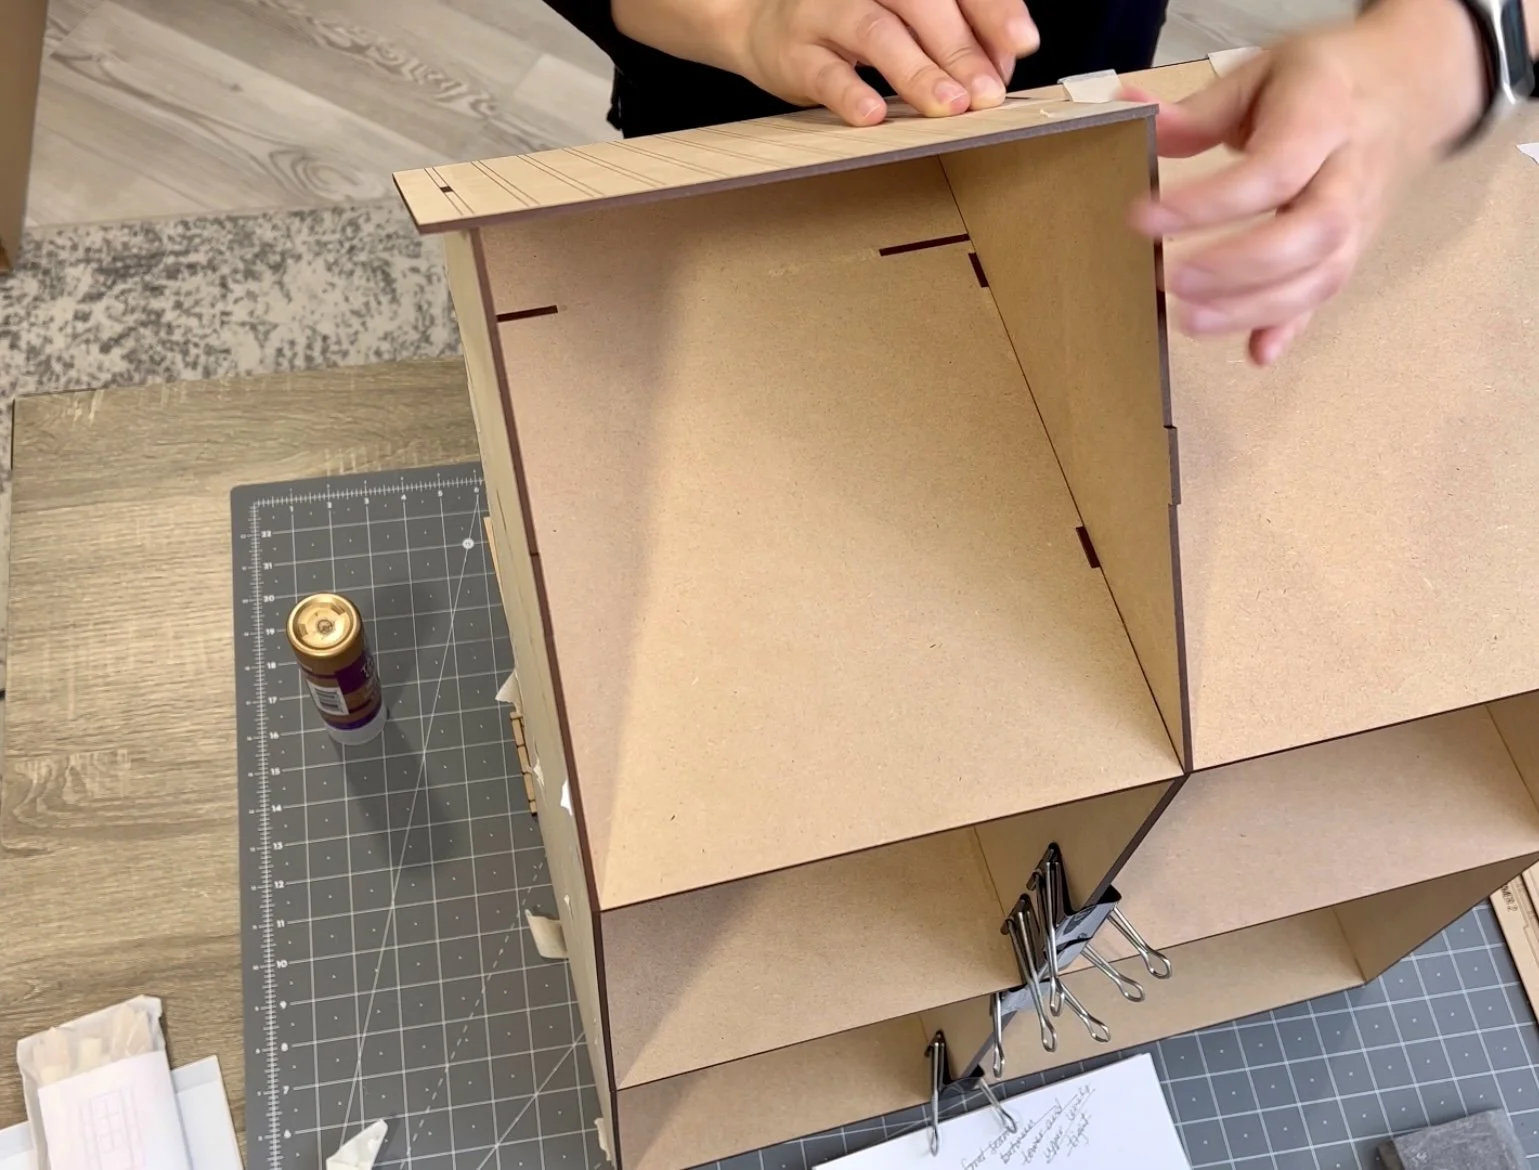
Locate A—UPPER FLOOR. Add glue only to tabs, and not the entire wall. Align and reinforce with masking tape, cleaning off any extra glue.
Allow to dry as per your glue instructions (probably at least 30 minutes).

Locate remaining “A—UPPER” pieces:
• A—UPPER INTERIOR
• A—UPPER FRONT
• A—UPPER SIDE
When the glue on the lower section has dried, peel back masking tape and attach A—UPPER INTERIOR. Avoid adding glue to doorway area.

Add A—UPPER FRONT and secure.
Attach A—UPPER SIDE and secure.

Locate and dry fit A—ATTIC FLOOR at top. Add glue only to tabs, and not the entire wall. Align and reinforce with masking tape, cleaning off any extra glue.
Allow glue to dry.
Assemble Side B

Locate all four “B—LOWER” pieces:
• B—LOWER FLOOR (0.25” thick piece)
• B—LOWER INTERIOR
• B—LOWER FRONT
• B—LOWER SIDE
Snap off any additional pieces and set aside for later.

Dry fit the four pieces, with the thicker B—LOWER FLOOR in the center.
Arrange the three thinner walls with the scored sides down, taking note of the door openings.
Start by attaching B—LOWER FRONT to B—LOWER FLOOR.
Next, add B—LOWER SIDE.

Finally, attach B—LOWER INTERIOR.
Reinforce all joints with masking tape, cleaning off any extra glue.

Locate and apply B—UPPER FLOOR at top. Allow glue to dry.

Locate remaining “B—UPPER” pieces. Attach B—UPPER SIDE followed by B—UPPER FRONT and then B—UPPER INTERIOR.

Locate and dry fit B—ATTIC FLOOR at top. Check to make sure that only two small tab openings remain on the right side, while only two small tabs sit atop the left side.
Add glue only to tabs, and not the entire wall. Align and reinforce with masking tape, cleaning off any extra glue.
Allow glue to dry.
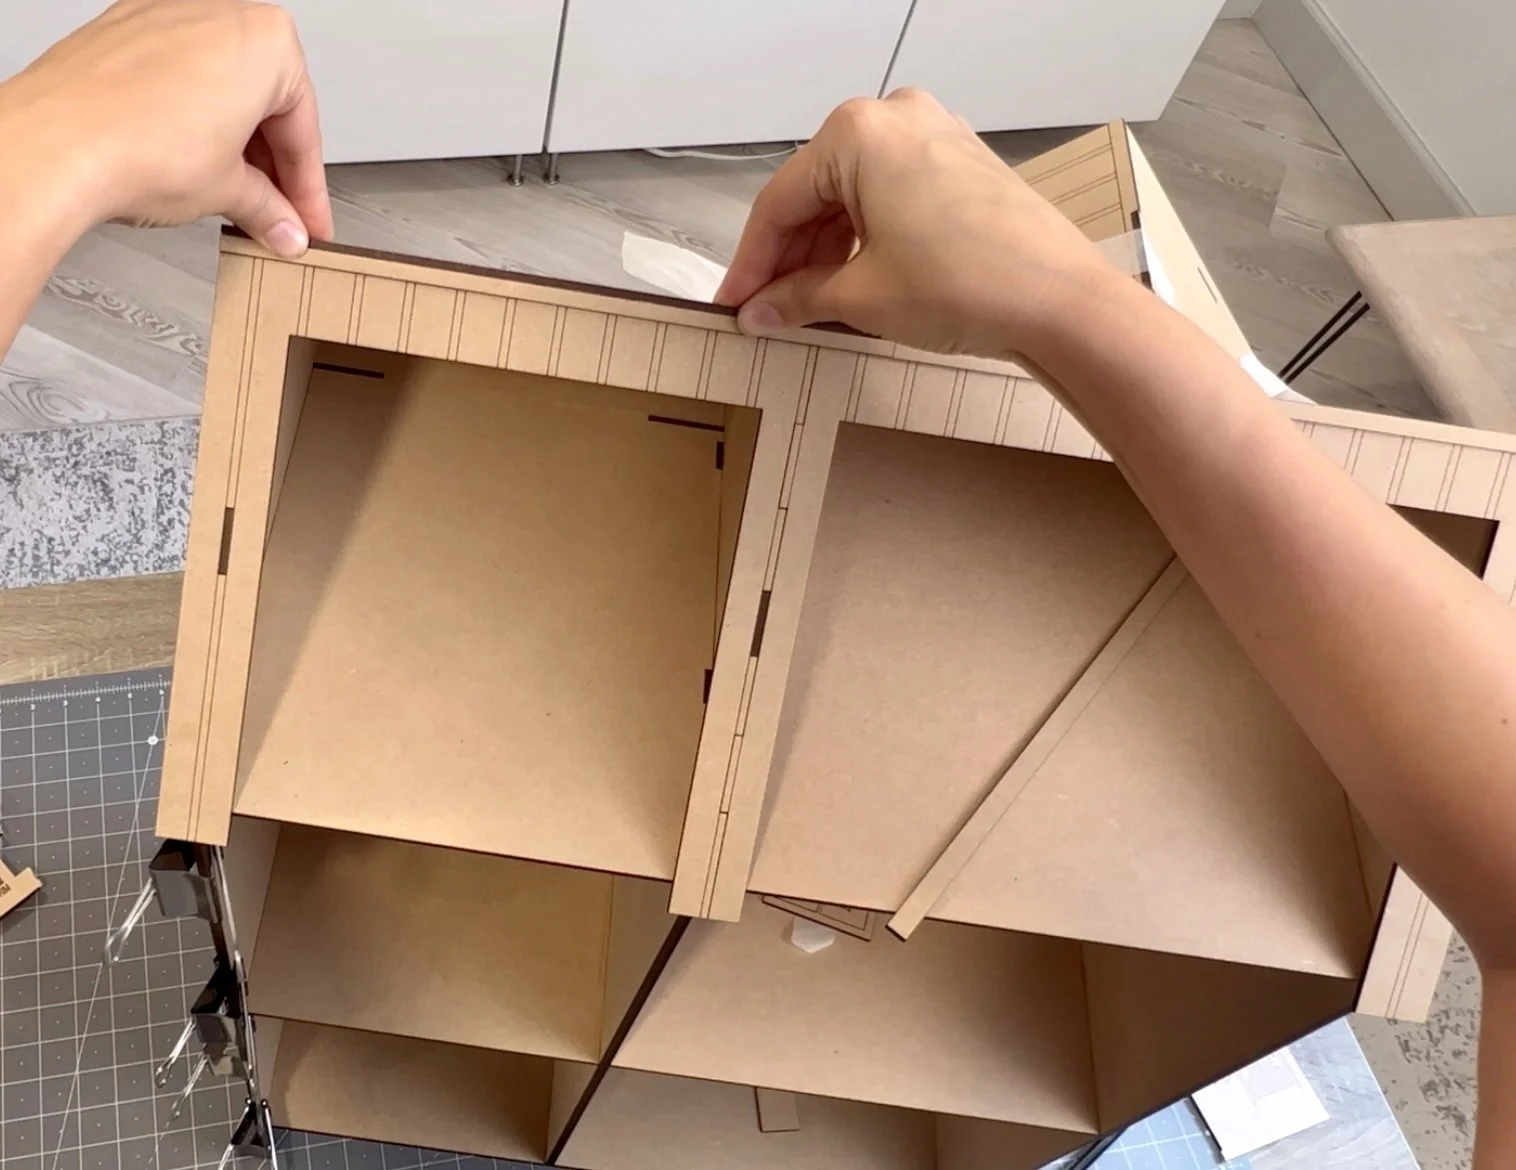
Attach Side A to Side B

Apply a liberal amount of glue to entire B—Interior side.

Carefully align Side A and Side B at the back and clamp. Clean off any extra glue.
Allow glue to dry.
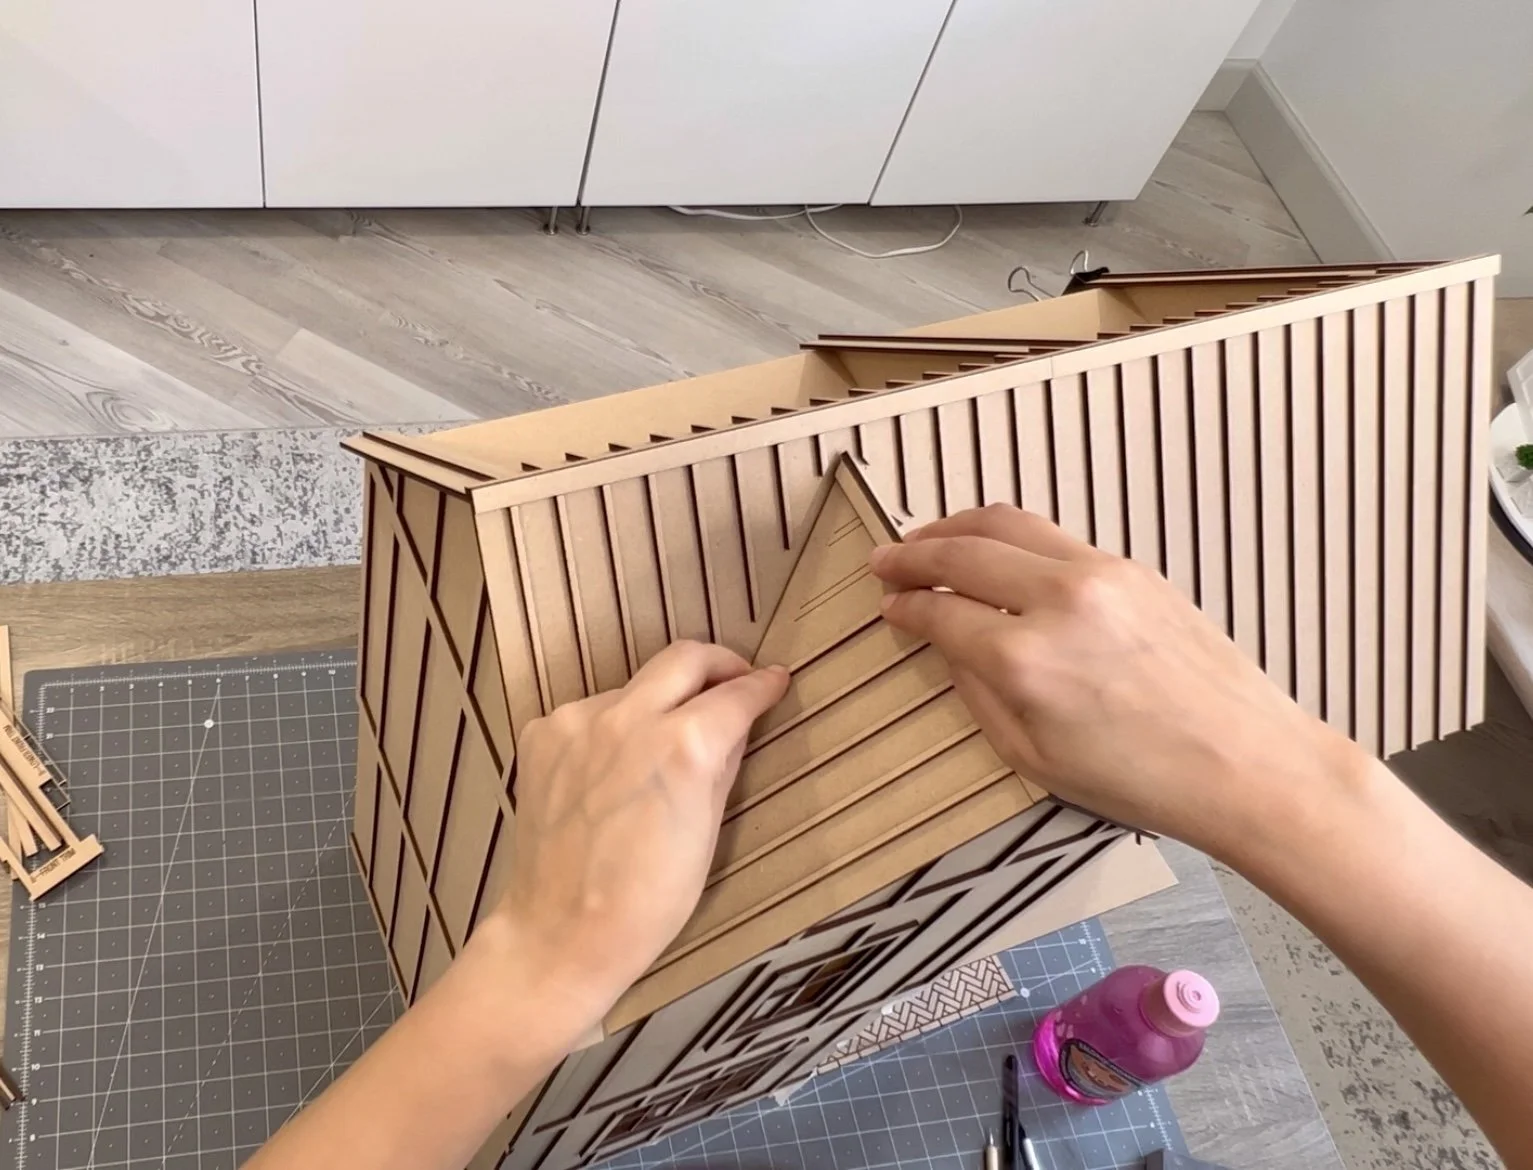
Assemble Attic
Locate attic and roof pieces:
• B—ATTIC SIDE
• ATTIC INTERIOR
• B—FRONT ROOF
• A—ATTIC SIDE
• A—FRONT ROOF
• A—ATTIC FRONT
• B—ROOF BACK
• A—ROOF BACK
• A—ATTIC FRONT TRIM

Start by attaching B—ATTIC SIDE above B—UPPER SIDE.

Install ATTIC INTERIOR.
To stabilize both walls, affix B—FRONT ROOF at tabs and reinforce with masking tape.

Add A—ATTIC SIDE.

Apply FRONT ROOF.

Attach A—ATTIC FRONT.

Install B—ROOF BACK.

Affix A—ROOF BACK.

Add A—ATTIC FRONT TRIM.
Add House Trim

Apply A—LOWER INTERIOR TRIM then A—UPPER INTERIOR TRIM.

Attach B—SIDE TRIM (base piece).
Install B—LOWER SIDE BATTENS.

Affix B—SIDE TRIM (center piece).

Add B—UPPER SIDE BATTENS.

Apply B—ATTIC SIDE TRIM.

Attach B—ATTIC SIDE BATTENS.

Repeat previous steps, adding trim to A—Side:
• A—SIDE TRIM (base piece)
• A—LOWER SIDE BATTENS
• A—SIDE TRIM (center piece)
• A—UPPER SIDE BATTENS
• A—ATTIC SIDE TRIM
• A—ATTIC SIDE BATTENS

Install SIDE TRIM (upper edges, Sides A and B).

Affix SIDE TRIM (lower edges, Sides A and B).

Add A—FRONT TRIM (base piece).

Apply A—LOWER FRONT BATTENS.

Attach A—FRONT TRIM (center piece).

Install A—UPPER FRONT BATTENS.

Affix SINGLE WINDOW TRIM.

Add DOUBLE WINDOW TRIM.

Apply A—DORMER 2.

Attach A—DORMER 1.

Install A—ATTIC FRONT BATTENS.

Affix B—LOWER FRONT TRIM.

Add B—UPPER FRONT TRIM.

Apply SINGLE WINDOW TRIM.

Attach SIDE TRIM at upper front corners.

Install SIDE TRIM at lower front corners.

Install SIDE TRIM at lower front corners.
Add Roof Trim

Affix ROOF TRIM (first of two narrower pieces).

Add ROOF TRIM (second of two narrower pieces).
Apply ROOF TRIM (first of two wider pieces).

Attach ROOF TRIM (second of two wider pieces).

Install BACK ROOF TRIM, aligning each piece with the scored guides.

Affix DORMER TRIM (narrower ridge first).

Add DORMER TRIM (wider ridge over top). Tape well.

Apply A—FRONT ROOF TRIM, aligning each piece with the scored guides.

Attach B—FRONT ROOF TRIM, aligning each piece with the scored guides.
Install DORMER TRIM, aligning each piece with the scored guides.
Assemble Porch Railing

On longer section, affix the four vertical pieces, flush with the top.

Note that the last vertical piece is wider and will overhang the end a bit.

On shorter section, add the two vertical pieces.

On longer section, apply the six short horizontals.

On shorter section, attach the two short horizontals.
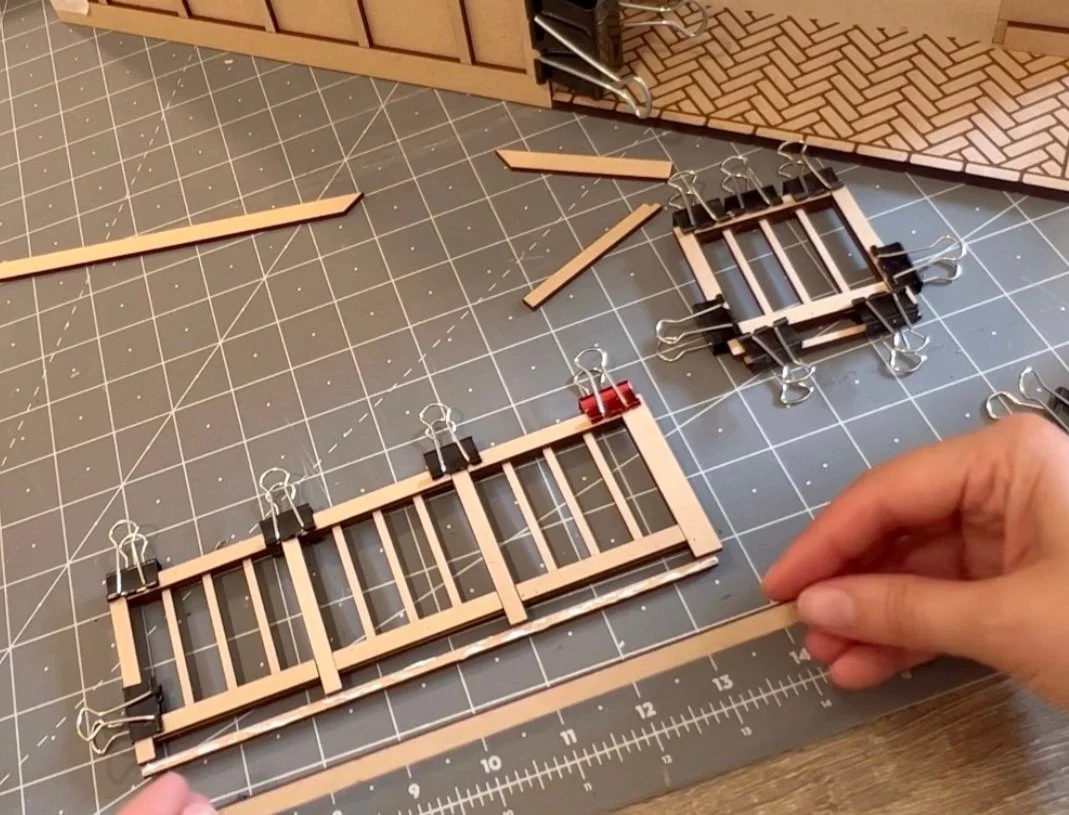
On longer section, install the long horizontal along the base. A bit will overhang at the bottom.

On the shorter section, affix the notched horizontal as shown.

Add glue to the base of the long rail and press into place on the floor of the balcony.

Hold in place with binder clips and masking tape as needed.

Apply shorter section and clip into place.

Add top rails with a small amount of glue.

Ensure that top rails align at the corner.
Painting
If you’ll be painting the roof a different color than the body of the house, you’ll want to paint the roof first. When it is dry, tape it off and paint the house.
Paint window grids
Paint door
Paint interior trim for windows and door
Finishing
Install finished pieces with a thin line of wood glue.
Apply window grid to interior
Install interior window trim
Affix window pane to exterior
Add clear acrylic to door and side panels
Install door from interior
That’s it for the build and exterior finishes. Paint and finish the interior as you like. Let us know how it goes!