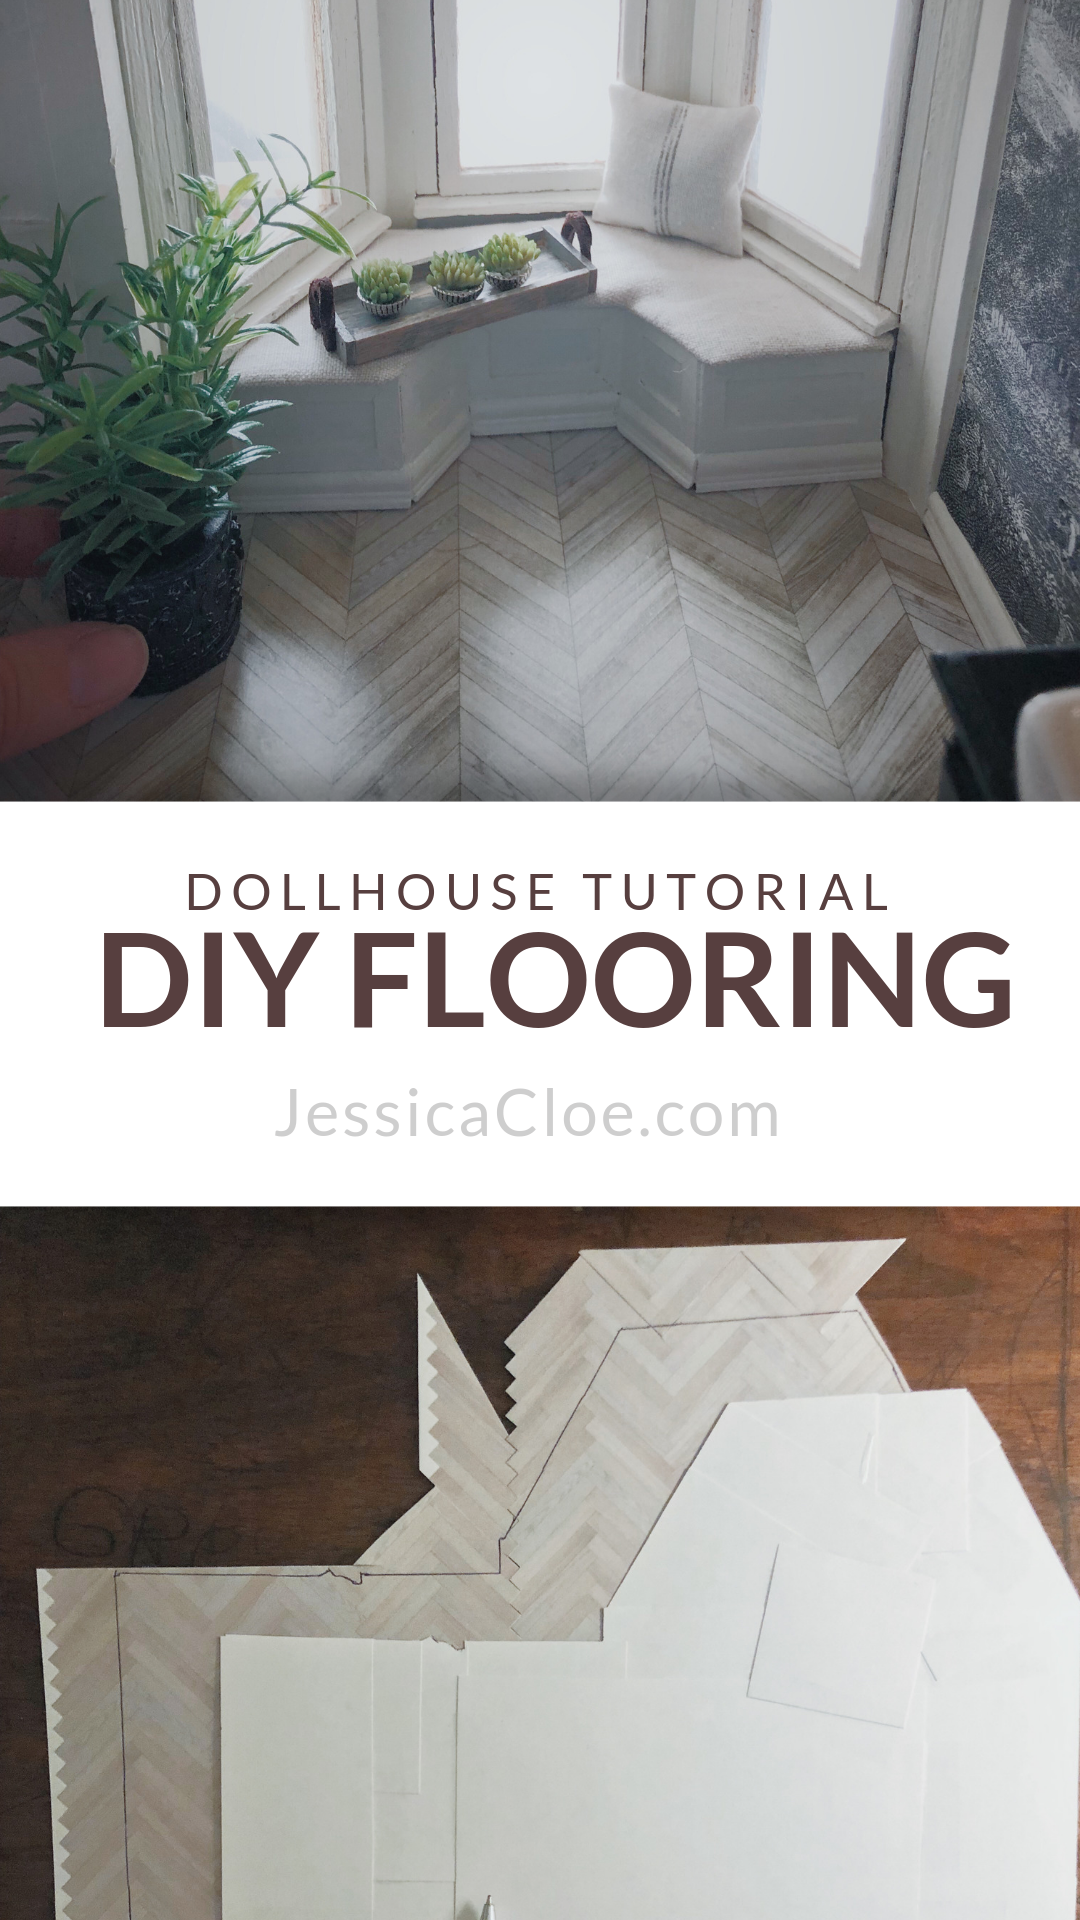
Installing Dollhouse Paper Flooring

Simple Steps for Getting the Right Fit Every Time
Why paper flooring? Well, because you can make it look insanely realistic and perfectly to scale. To get started, make a template of the floor you are about to cover. If you don’t already have one, we’ve got a step-by-step guide for you right here.
1.
You can print our flooring designs on a variety of surfaces, including gloss, semi-gloss and matte photo paper, and self-adhesive sheets. You'll just want to verify that the type of paper you select is compatible with your printer type.
We typically print to regular printer paper or cardstock. To ensure perfect scale, verify that you are printing at 100%.
Next, loosely cut around the floorboards to determine how many sheets of flooring you’ll need.

2.
Carefully trim around edges that need to be fitted together. Leave outside edges alone for now.

3.
When you have enough pieces ready, flip them over and carefully tape the seams with a lightweight, clear tape.

4.
When everything is taped up, lay your floor template over top and trace with a pen.

5.
If you have any tiny spaces to fill in, just cut out some leftover boards and tape in place.

6.
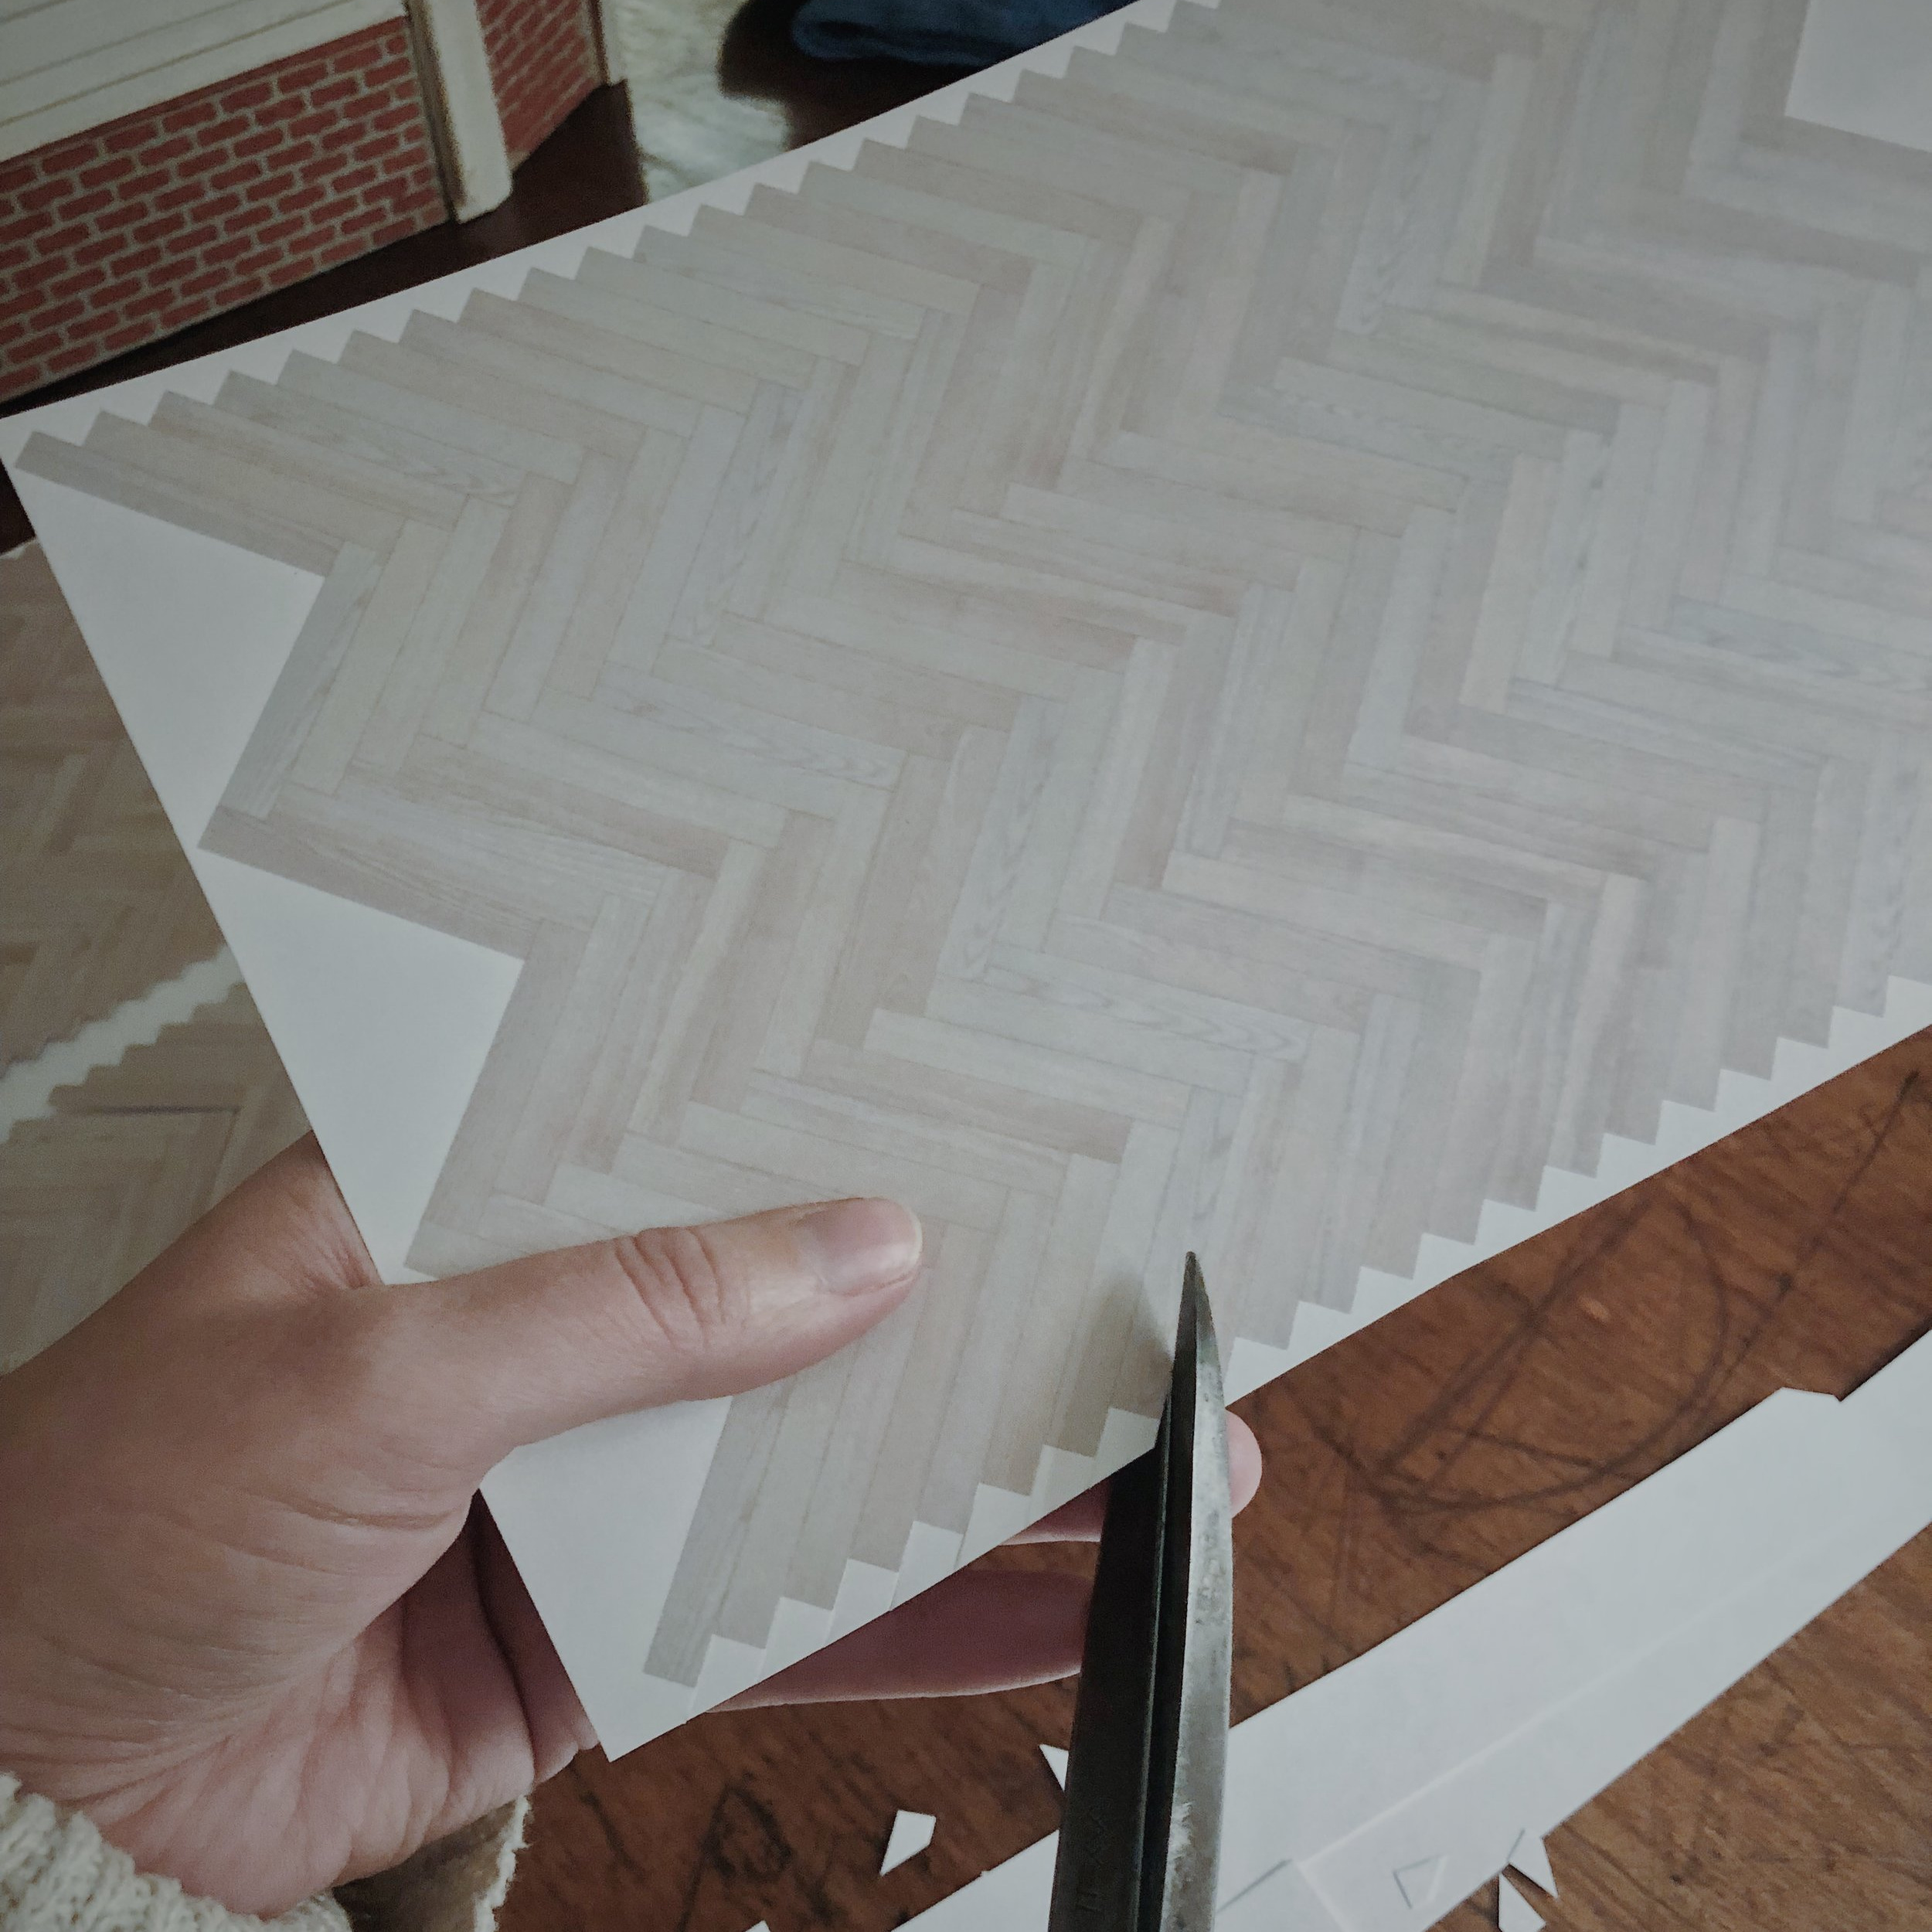
Loosely trim the entire piece, leaving about 0.25” around the outside.
Now grab a roll of clear vinyl.

7.
Starting at one edge, apply vinyl to the top of the assembled flooring, flattening out any bubbles as you go along.

8.
Finally, using very sharp scissors (or a craft knife if you prefer) trim off the outline.

9.
Fit your flooring in place and enjoy. You have a few options for affixing it to the floor. Ours are usually heavy enough that we kind of float them, but mostly because we’re fond of switching out the flooring from time to time.
Double-sided tape around the perimeter works very well, as does spray adhesive.
If you are feeling particularly confident, mod podge is very solid, permanent and final. Find our full post on Mod Podge installation here.

And done!