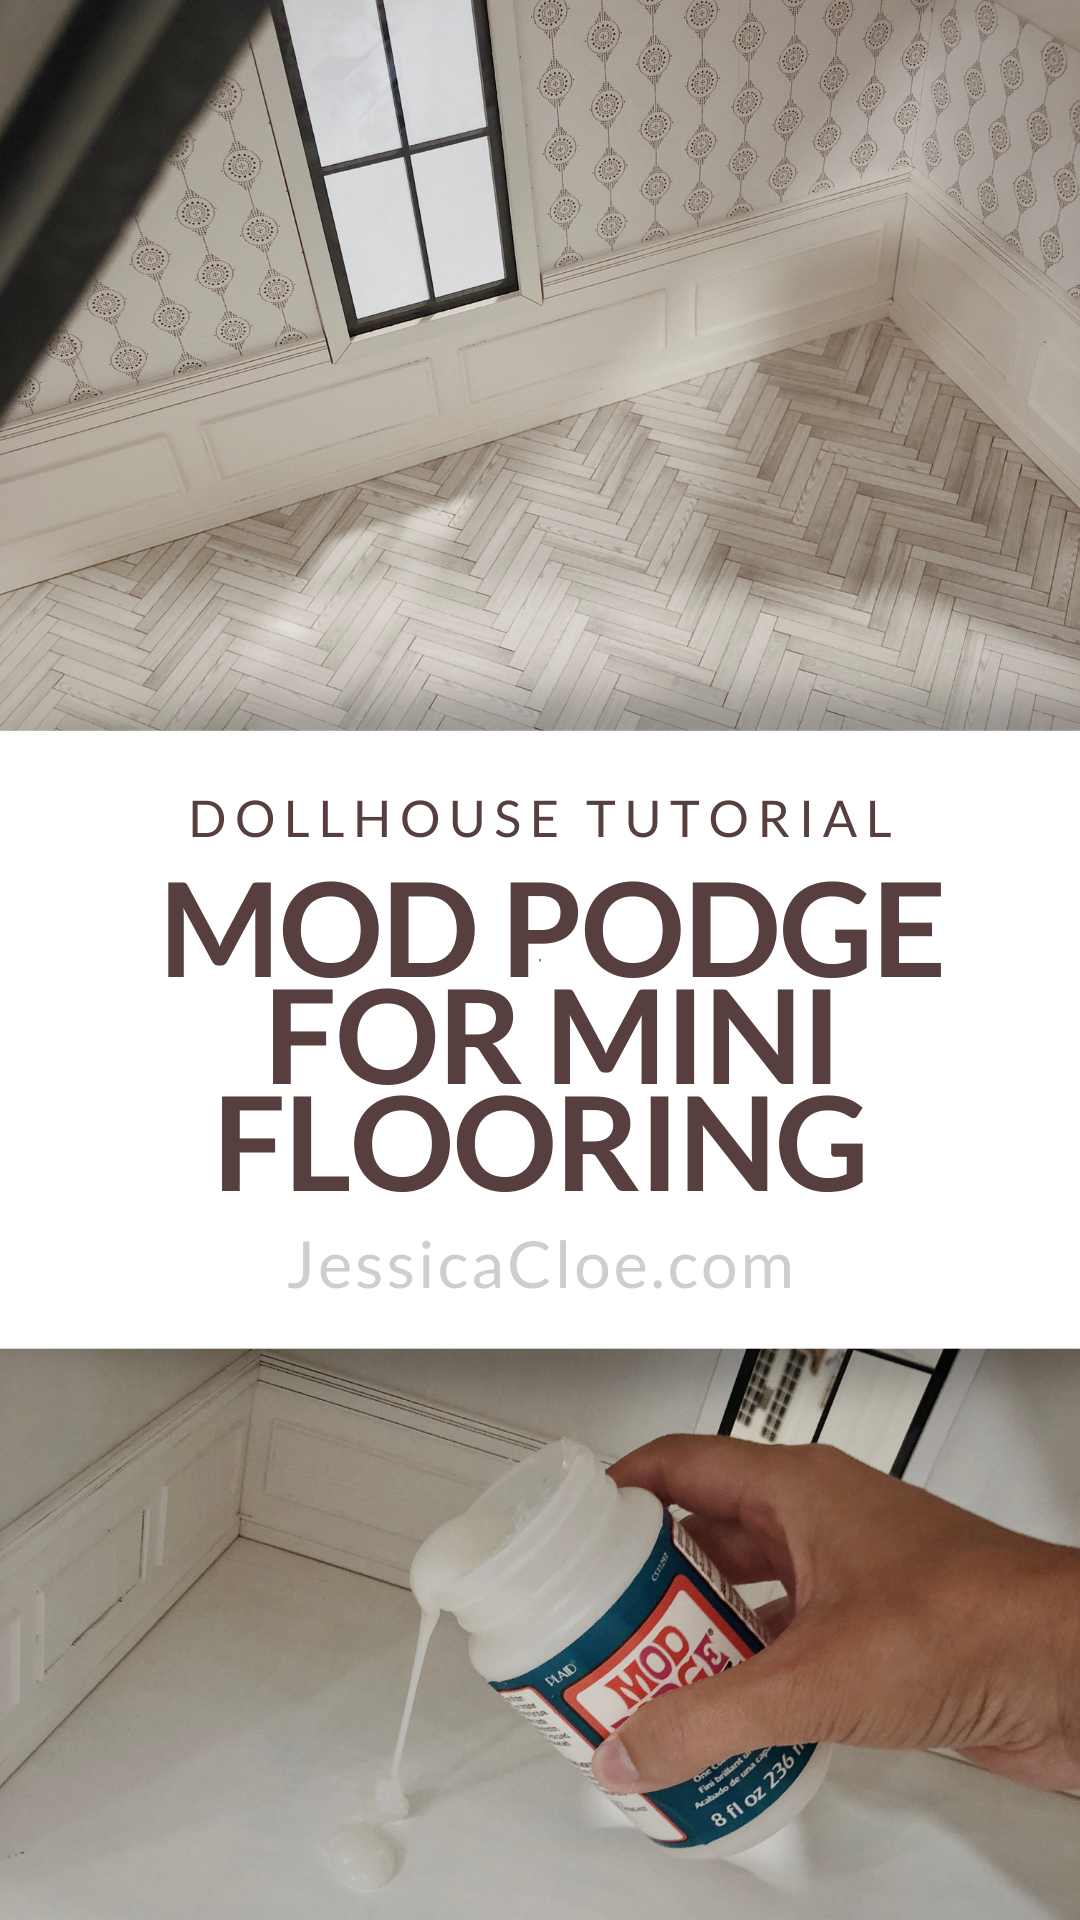
Mod Podge for Mini Flooring
They highs, the lows, the epic journey—fasten your seatbelts—it’s Mod Podge time! If you’ve never used Mod Podge before, it’s a bit of a revelation. For one thing, it can serve as both an adhesive and a sealant on a variety of porous surfaces like wood, paper and fabric. On the flip side, it won’t work well on materials like glass, metal or plastic.
It is quite pleasant to use, as it is fume-free, but the process is a bit more involved and time-consuming than something like spray adhesives and spray sealants. Finally, it offers an extremely durable finish, so it’s perfect if you anticipate your project getting a lot of heavy use by, say, children. However, it’s not easy to remove if you change your mind later on.
If you think Mod Podge might be right for your next project, this one is for you!
What You Will Need
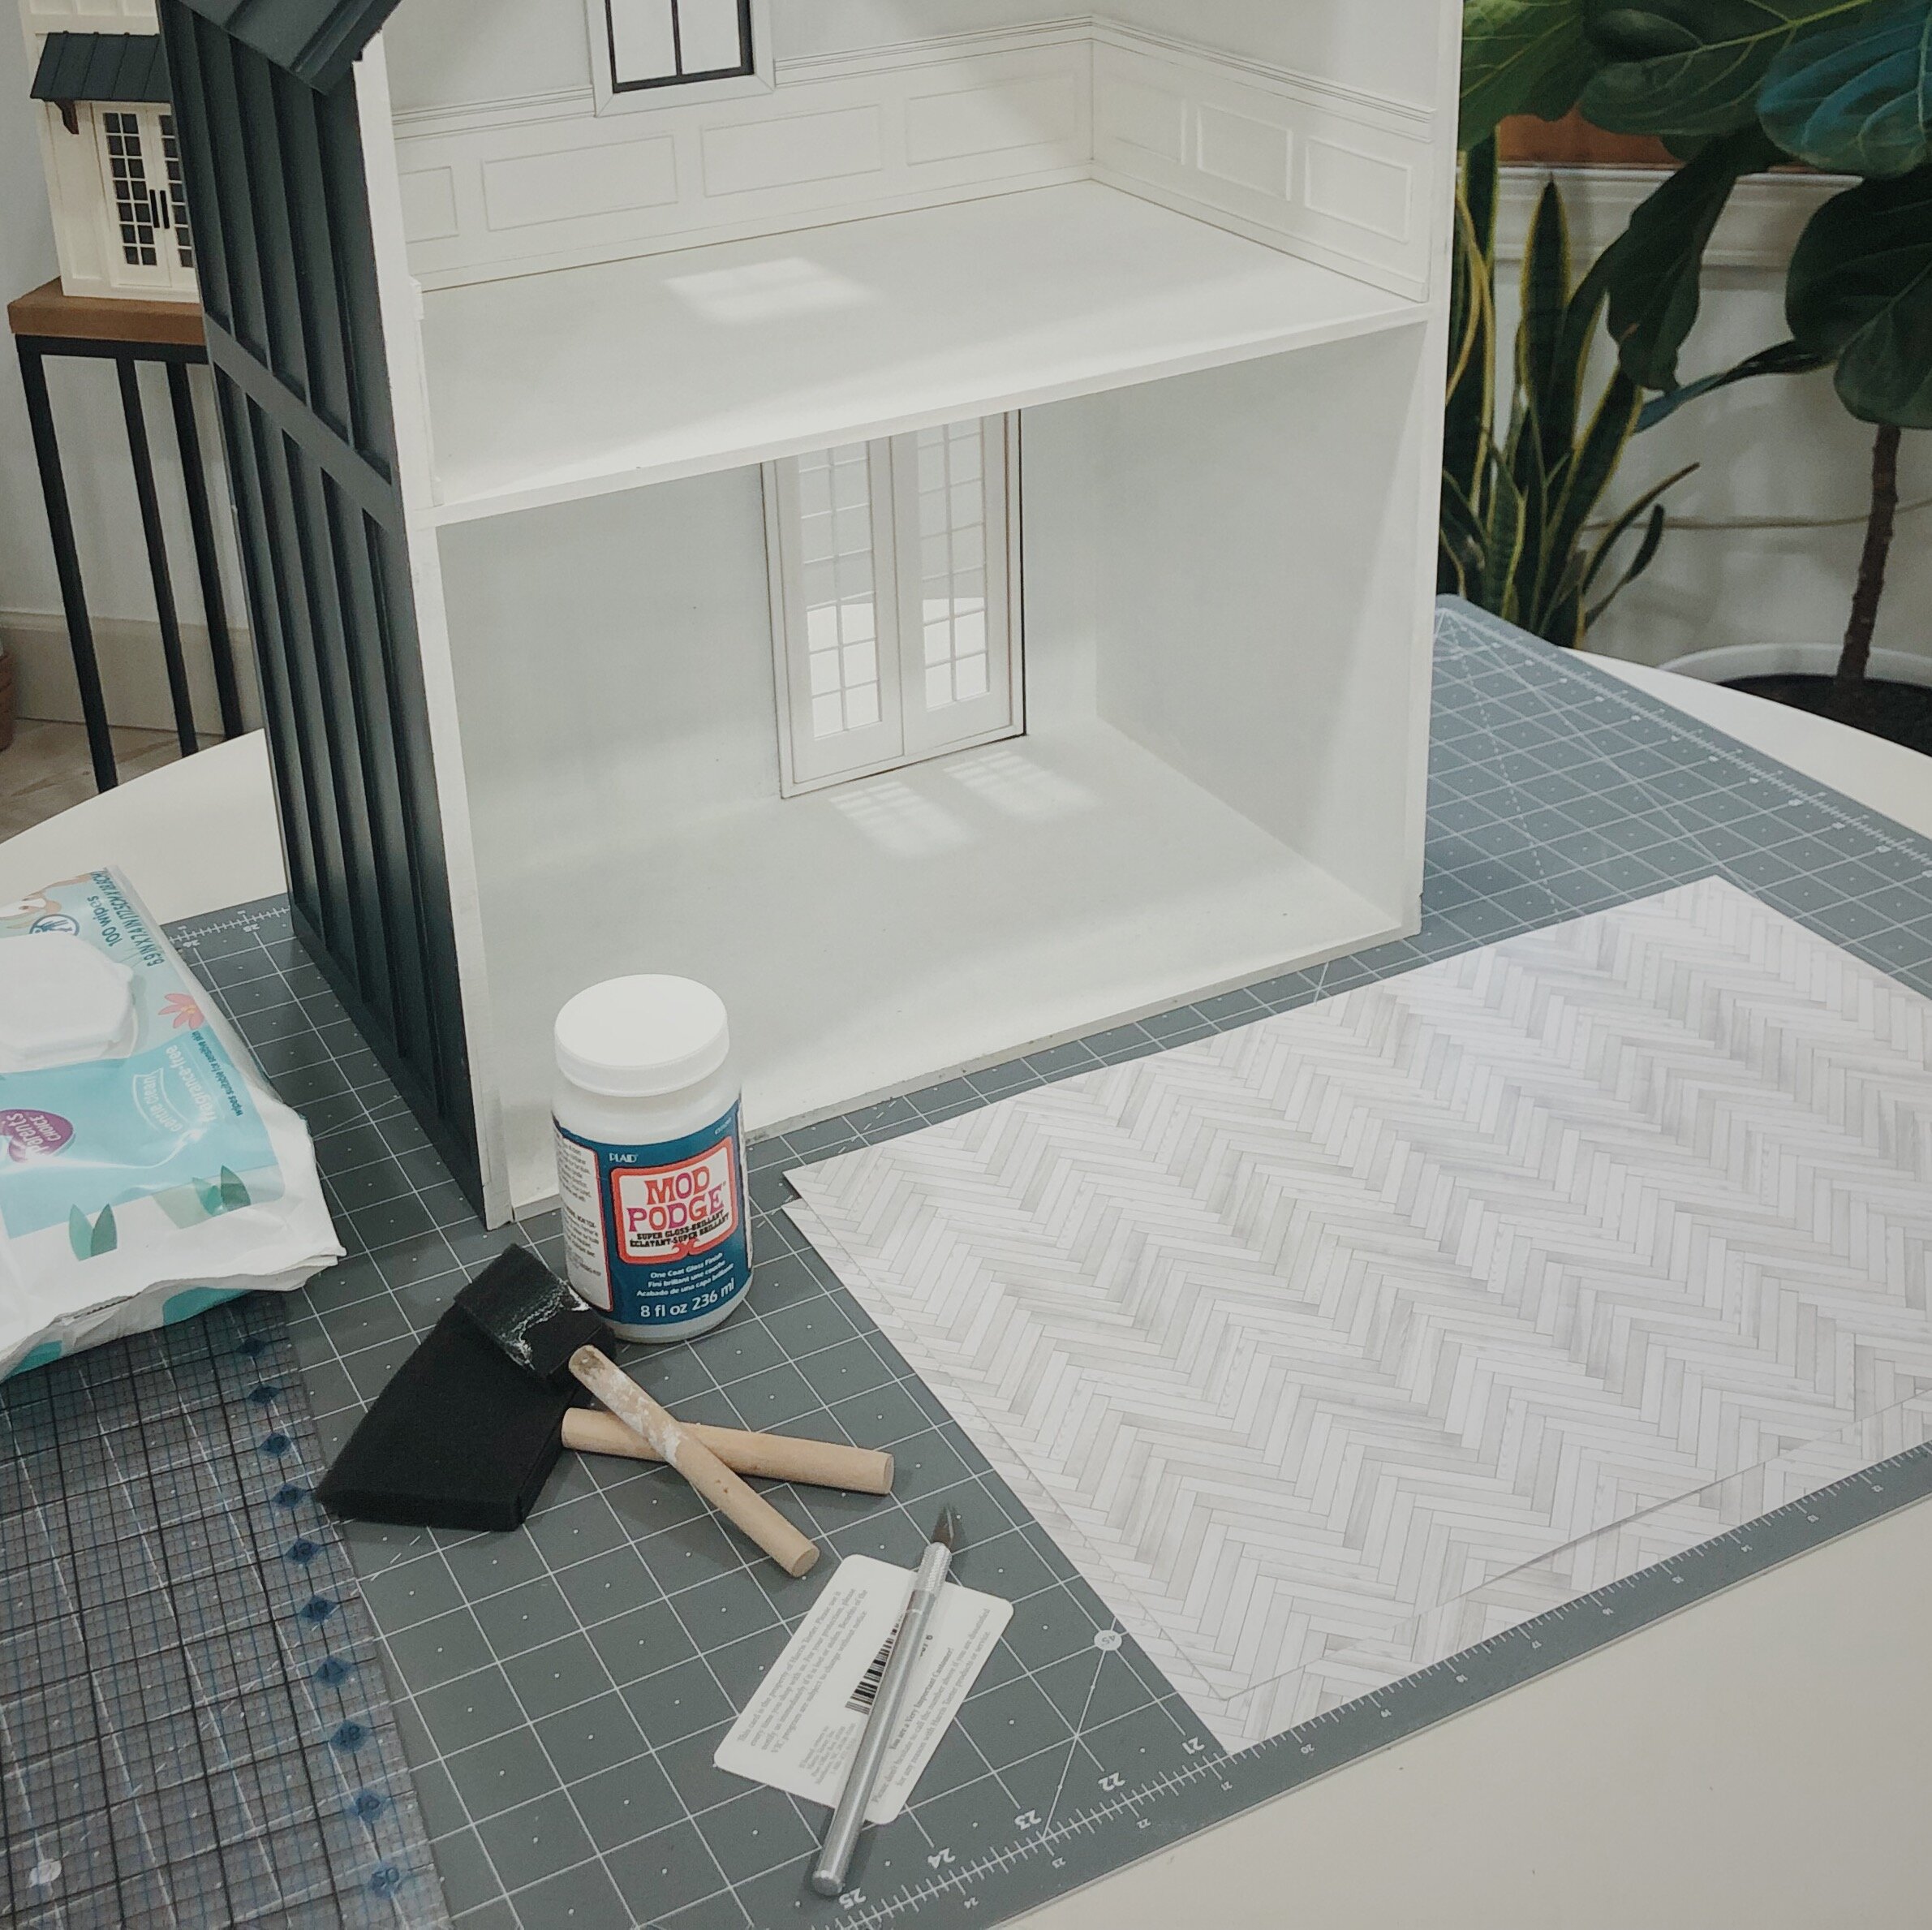
Flooring to be installed (we’ll be using White Wood Herringbone sheets in 11 x 17”)
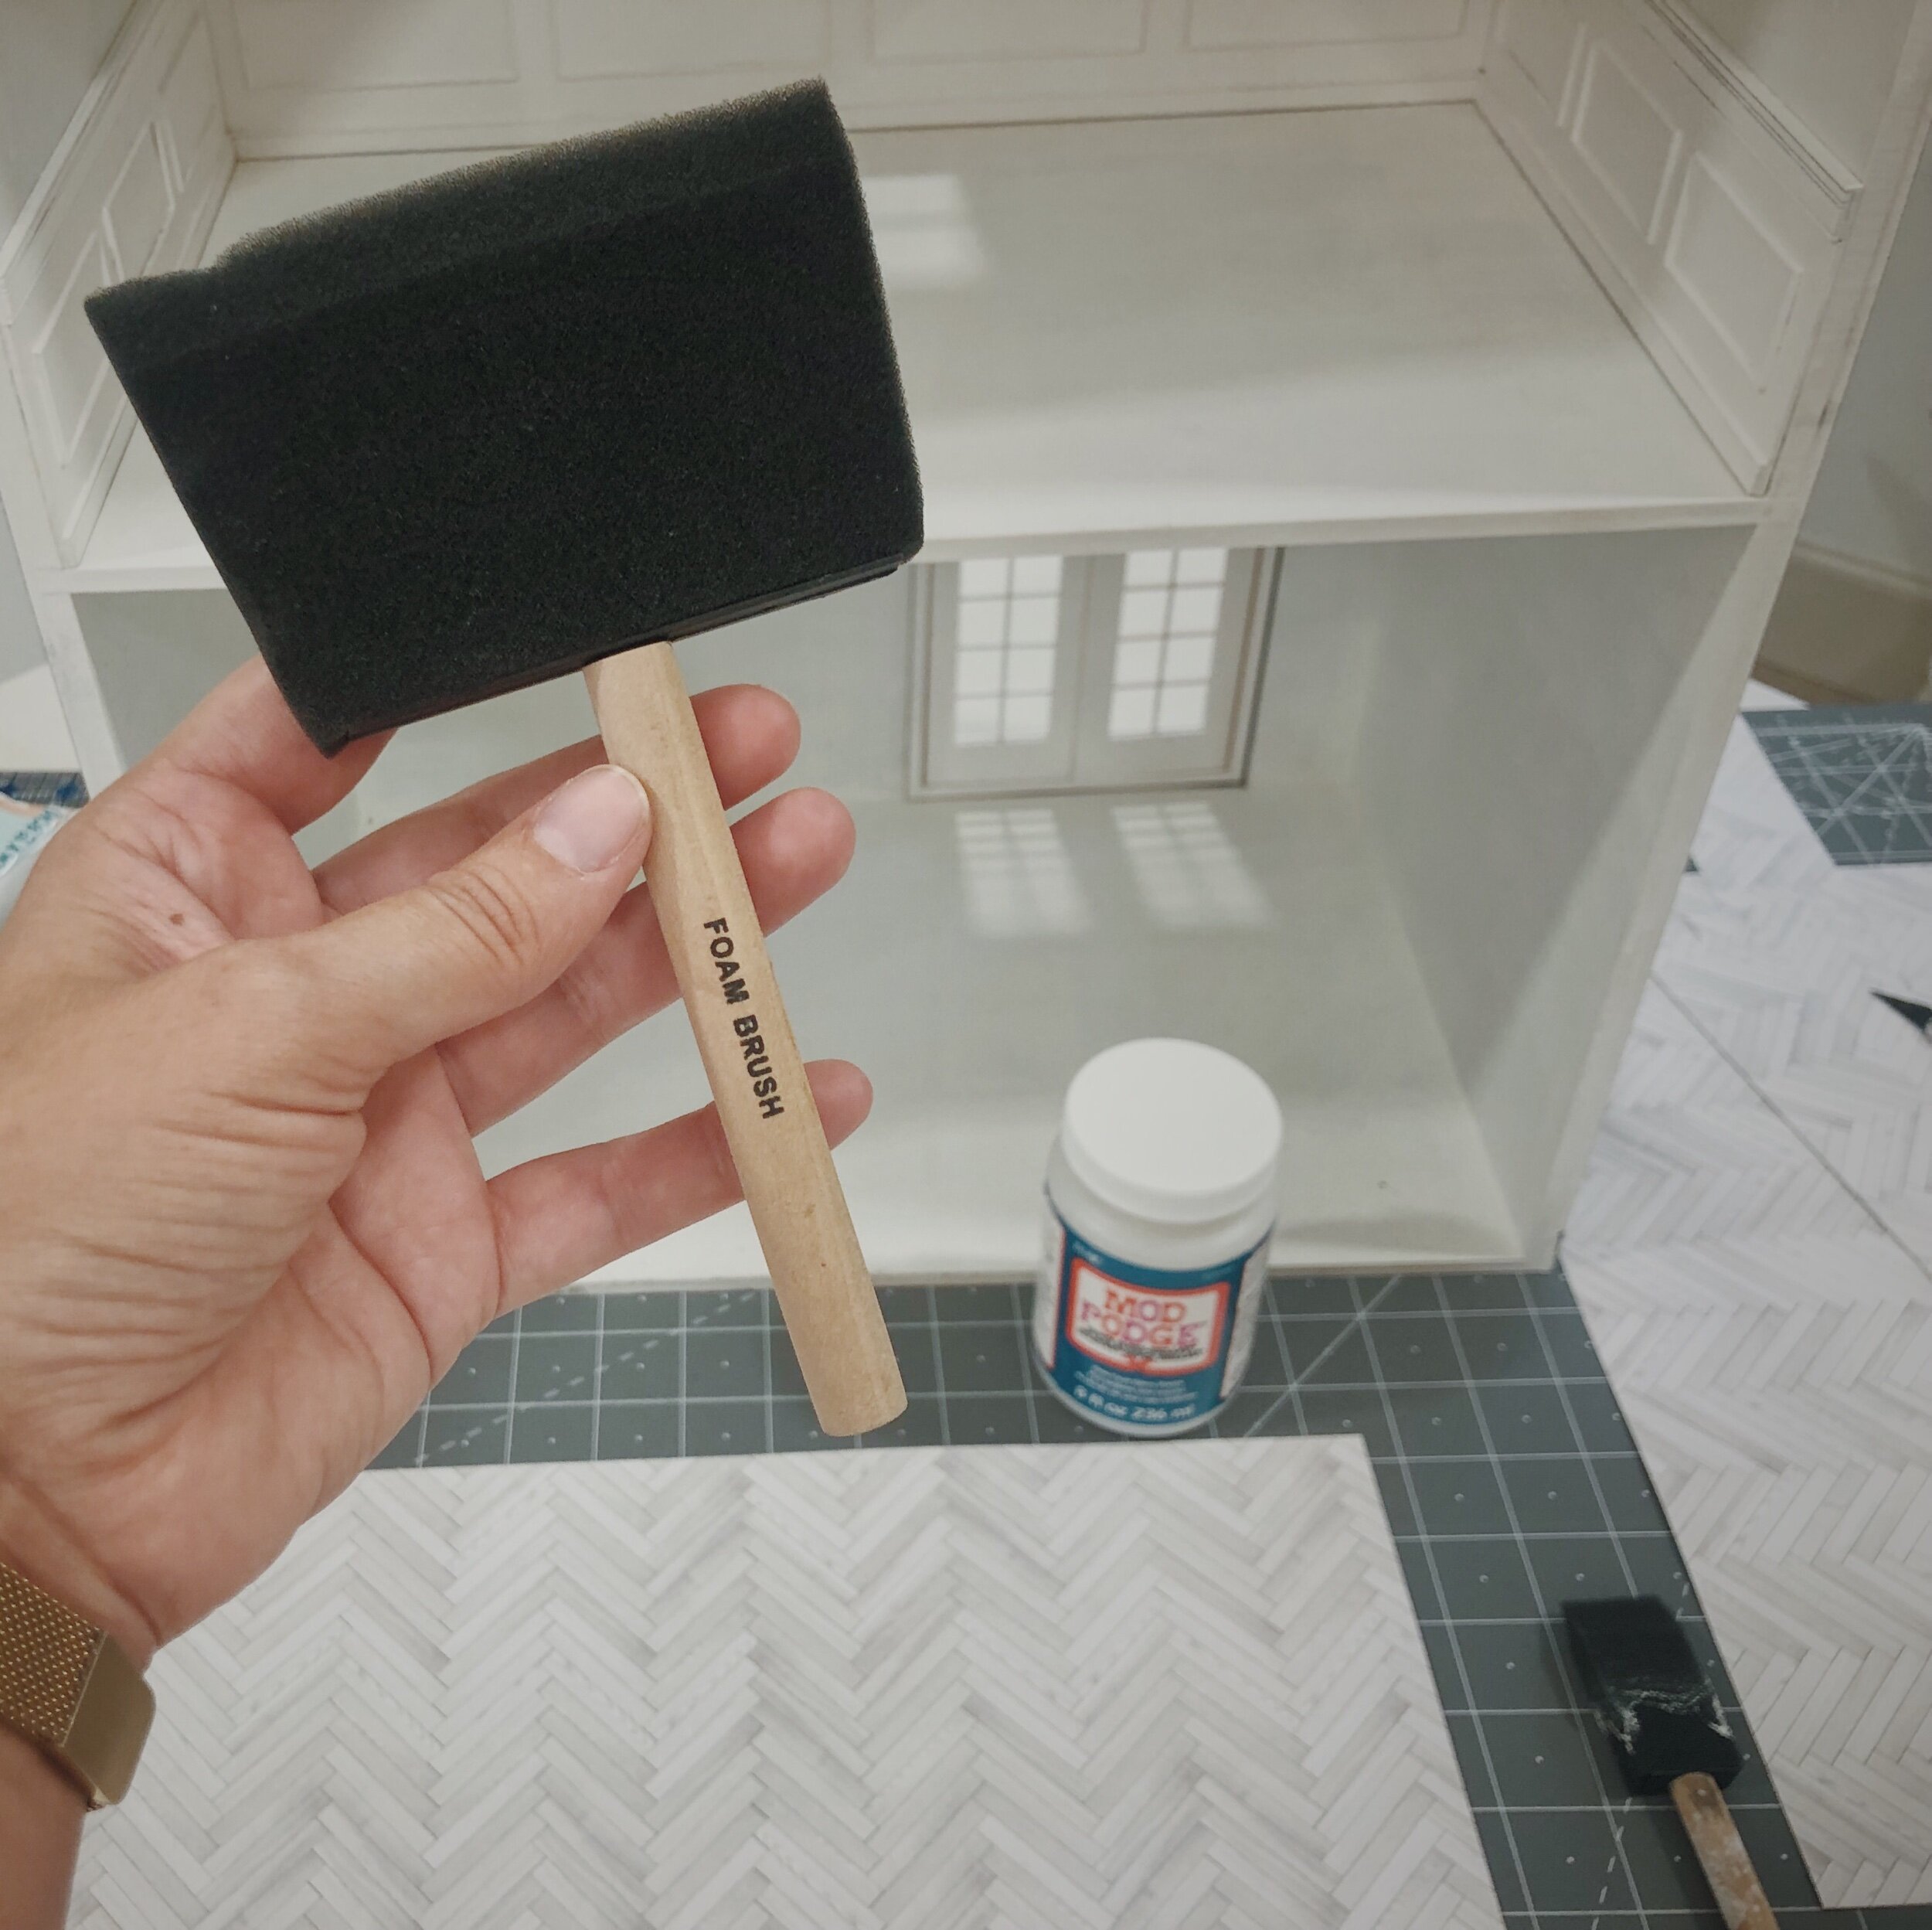
Mod Podge (in your preferred finish)
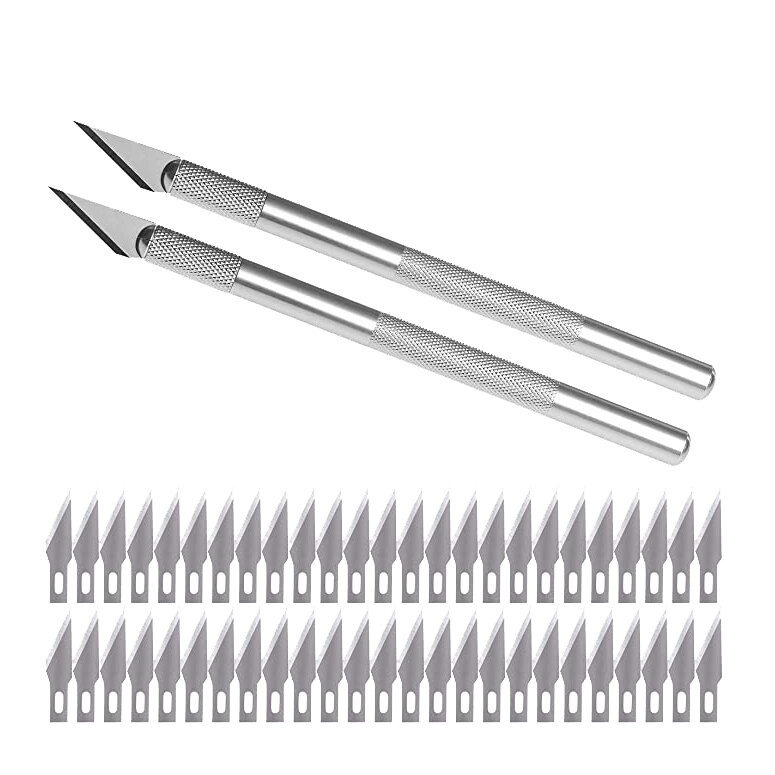
Plastic card (I used my Harris Teeter membership card)
Baby Wipes
PLEASE NOTE: It is always a great idea to practice your Mod Podge technique prior to beginning any large project. You can trim your flooring to size them practice adhering some of the scrap pieces to a scrap of wood.

1.
First, we’ll prepare the flooring. Start by getting the flooring sheet cut to size. (You can find our full tutorial on sizing your dollhouse floor and making a template here.)
If you are using pre-printed flooring or a design printed with a laser printer move on to Step 2.
If you will be printing a design with an inkjet printer, make sure to seal the print first. (Print flooring and let dry for at least ten minutes. Spray both sides of the paper with clear acrylic sealer and let dry. Paint with a thin layer of Mod Podge on both sides and let dry.)

2.
Next, the dry fit. Slide the flooring sheet into place and make sure that the fit is just right. A flooring sheet that is a bit too large for the space might result in bubbles. Trim as needed and dry fit again.

3.
As far as Mod Podge finishes—there are several to choose from. We tend to use gloss for tile flooring and some wood flooring. Matte is perfect for wallpaper.
4.
Foam brushes come in a variety of sizes, and you might be tempted to use the smaller brush because, well, miniatures.
But we would recommend the 4” brush, as it works so well at spreading all of the Mod Podge quickly and evenly.

5.
Let’s do this! Start by pouring some out on the floor. Be generous, as bubbles typically form from not using enough Mod Podge.

6.
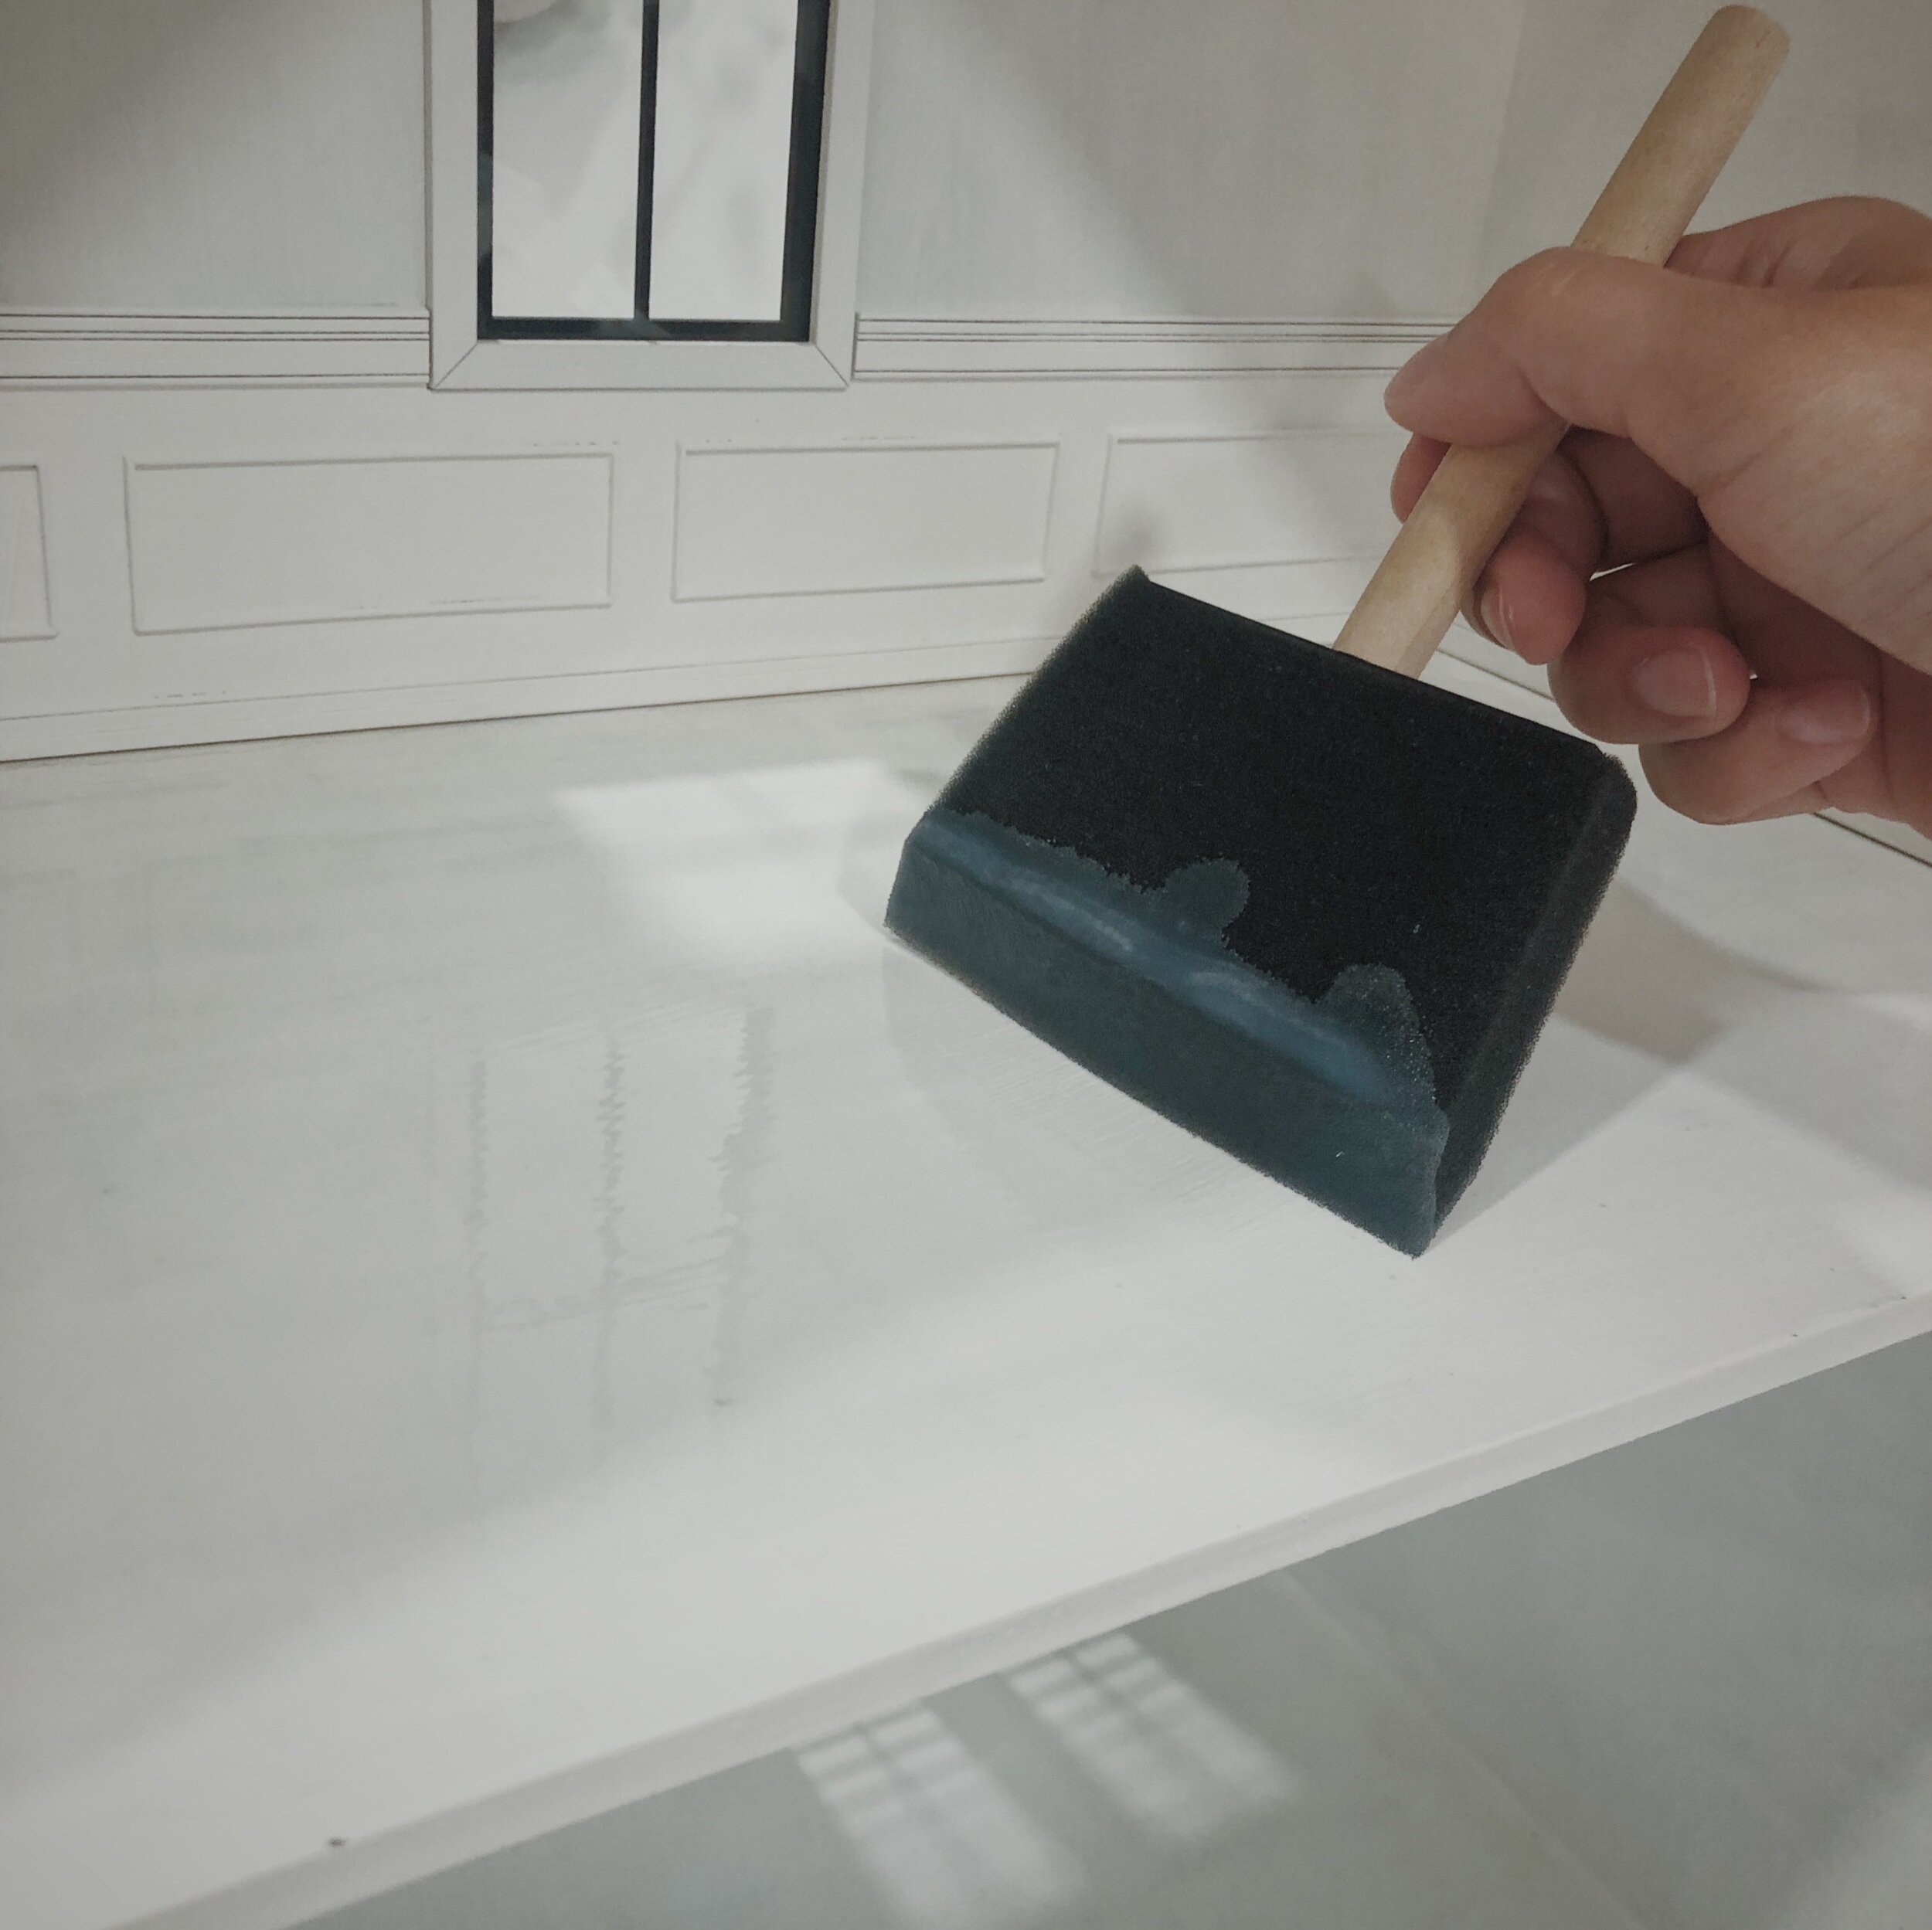
Next, spread the Mod Podge as evenly as possibly over the floor.
7.
Take as many passes as you need to get the liquid to every corner of the floor. It’s also helpful to brush in both directions for an even distribution.
Make sure you can visibly see the white completely covering the surface—if there are dry spots the surface needs more Mod Podge. (You are better off applying too much than not enough, because you can always wipe away excess. Not enough will cause wrinkles.)

8.
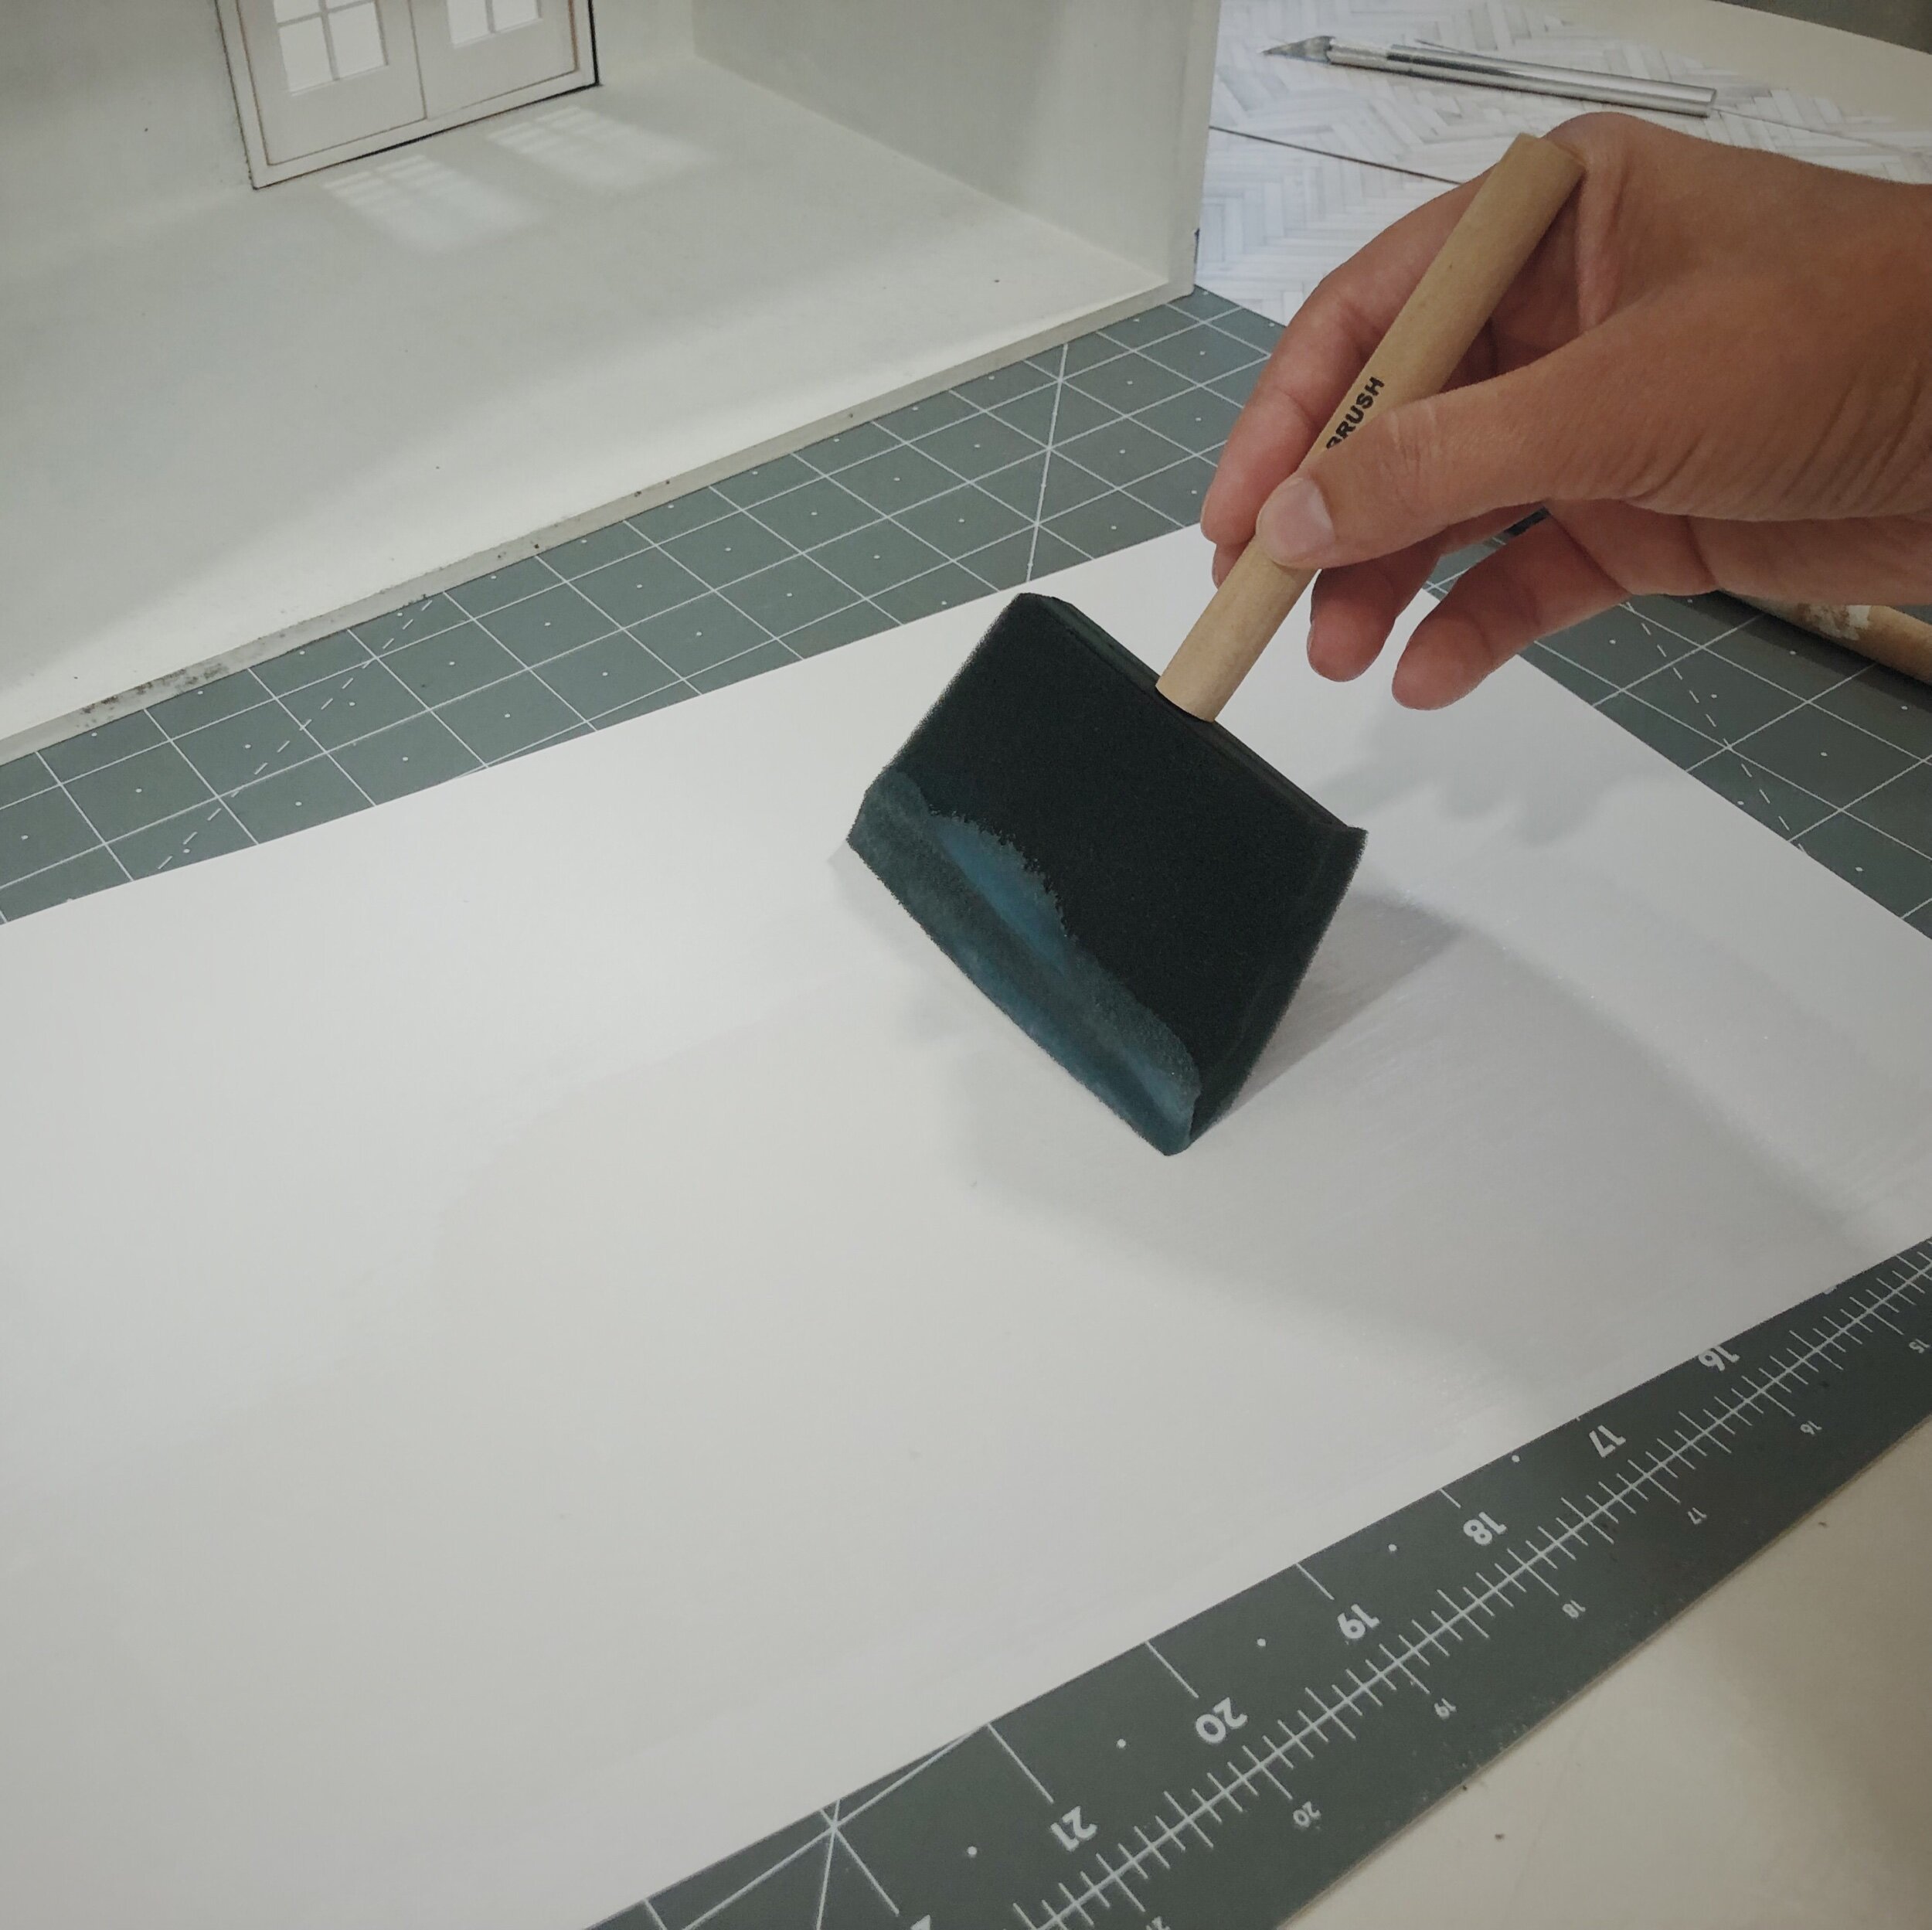
Now, you’ll add a layer of Mod Podge to the under side of the flooring. Flip over your flooring piece and pour some Mod Podge over the surface.
9.
Again, spread the Mod Podge to every edge and try to smooth it out as evenly as possible.

10.
Now, with both the surface of the floor and the underside of the flooring coated, you are ready to install.
Take a deep breath. Position the flooring sheet (right side up) over the floor and try to line it up as much as possible.
Place it down and gently smooth into place from the center.

11.
Once your flooring sheet is roughly in place, it’s time to smooth out the bubbles and remove any excess Mod Podge.
A plastic card works well for working evenly. Start from the center and work your way out to the edges making large, gentle passes.

12.
At this point, you are going to have to start dealing with excess Mod Podge. Baby wipes are a great solution for keeping everything tidy as you go.

13.
Some Mod Podge will accumulate in the back and side corners, gently dab it up with a baby wipe.

14.
To keep the surface of the flooring as clean as possible during installation, it is a great idea to wipe down your plastic card if you notice that it is getting any Mod Podge build-up.
(He he. This post is in no way sponsored by Harris Teeter, but we do enjoy their produce section.)

15.
Now you are going to hunt down any remaining bubbles. Again, start at the center of the floor and work your way out to the edges. Be very gentle, as now is not the time to rip up the surface of the flooring.

16.
Push any excess Mod Podge to the edges and gently clean up with a baby wipe.
When everything looks as smooth as possible, it’s time clean up and let the flooring dry.
Clean foam brushes with soap and water.

17.
And now is about the time when you will probably start to freak out. You’ll have cleaned up everything and come back for a peek at house your beautiful flooring looks.
Gah, bubbles!! As hard as it sounds, be patient though, as these are mostly going to settle down as the Mod Podge dries.

18.
Your flooring should feel dry within an hour, but won’t be completely dry for 24 hours.
When the flooring is good and dry, you can go ahead and do the top coat. This allows for great durability.
You’ll wanna pour a thin layer over the surface. You do not need as much for the top coats, as they are ideally applied as several thin coats.)

19.
Start spreading with your clean foam brush. Alternately, use the softest bristle brush you can find. It will reduce the look of brush strokes on the surface.

20.
Again, work the brush in both directions to smooth out the surface and get a nice, even coat.
Clean up and allow the top coat to dry.

21.
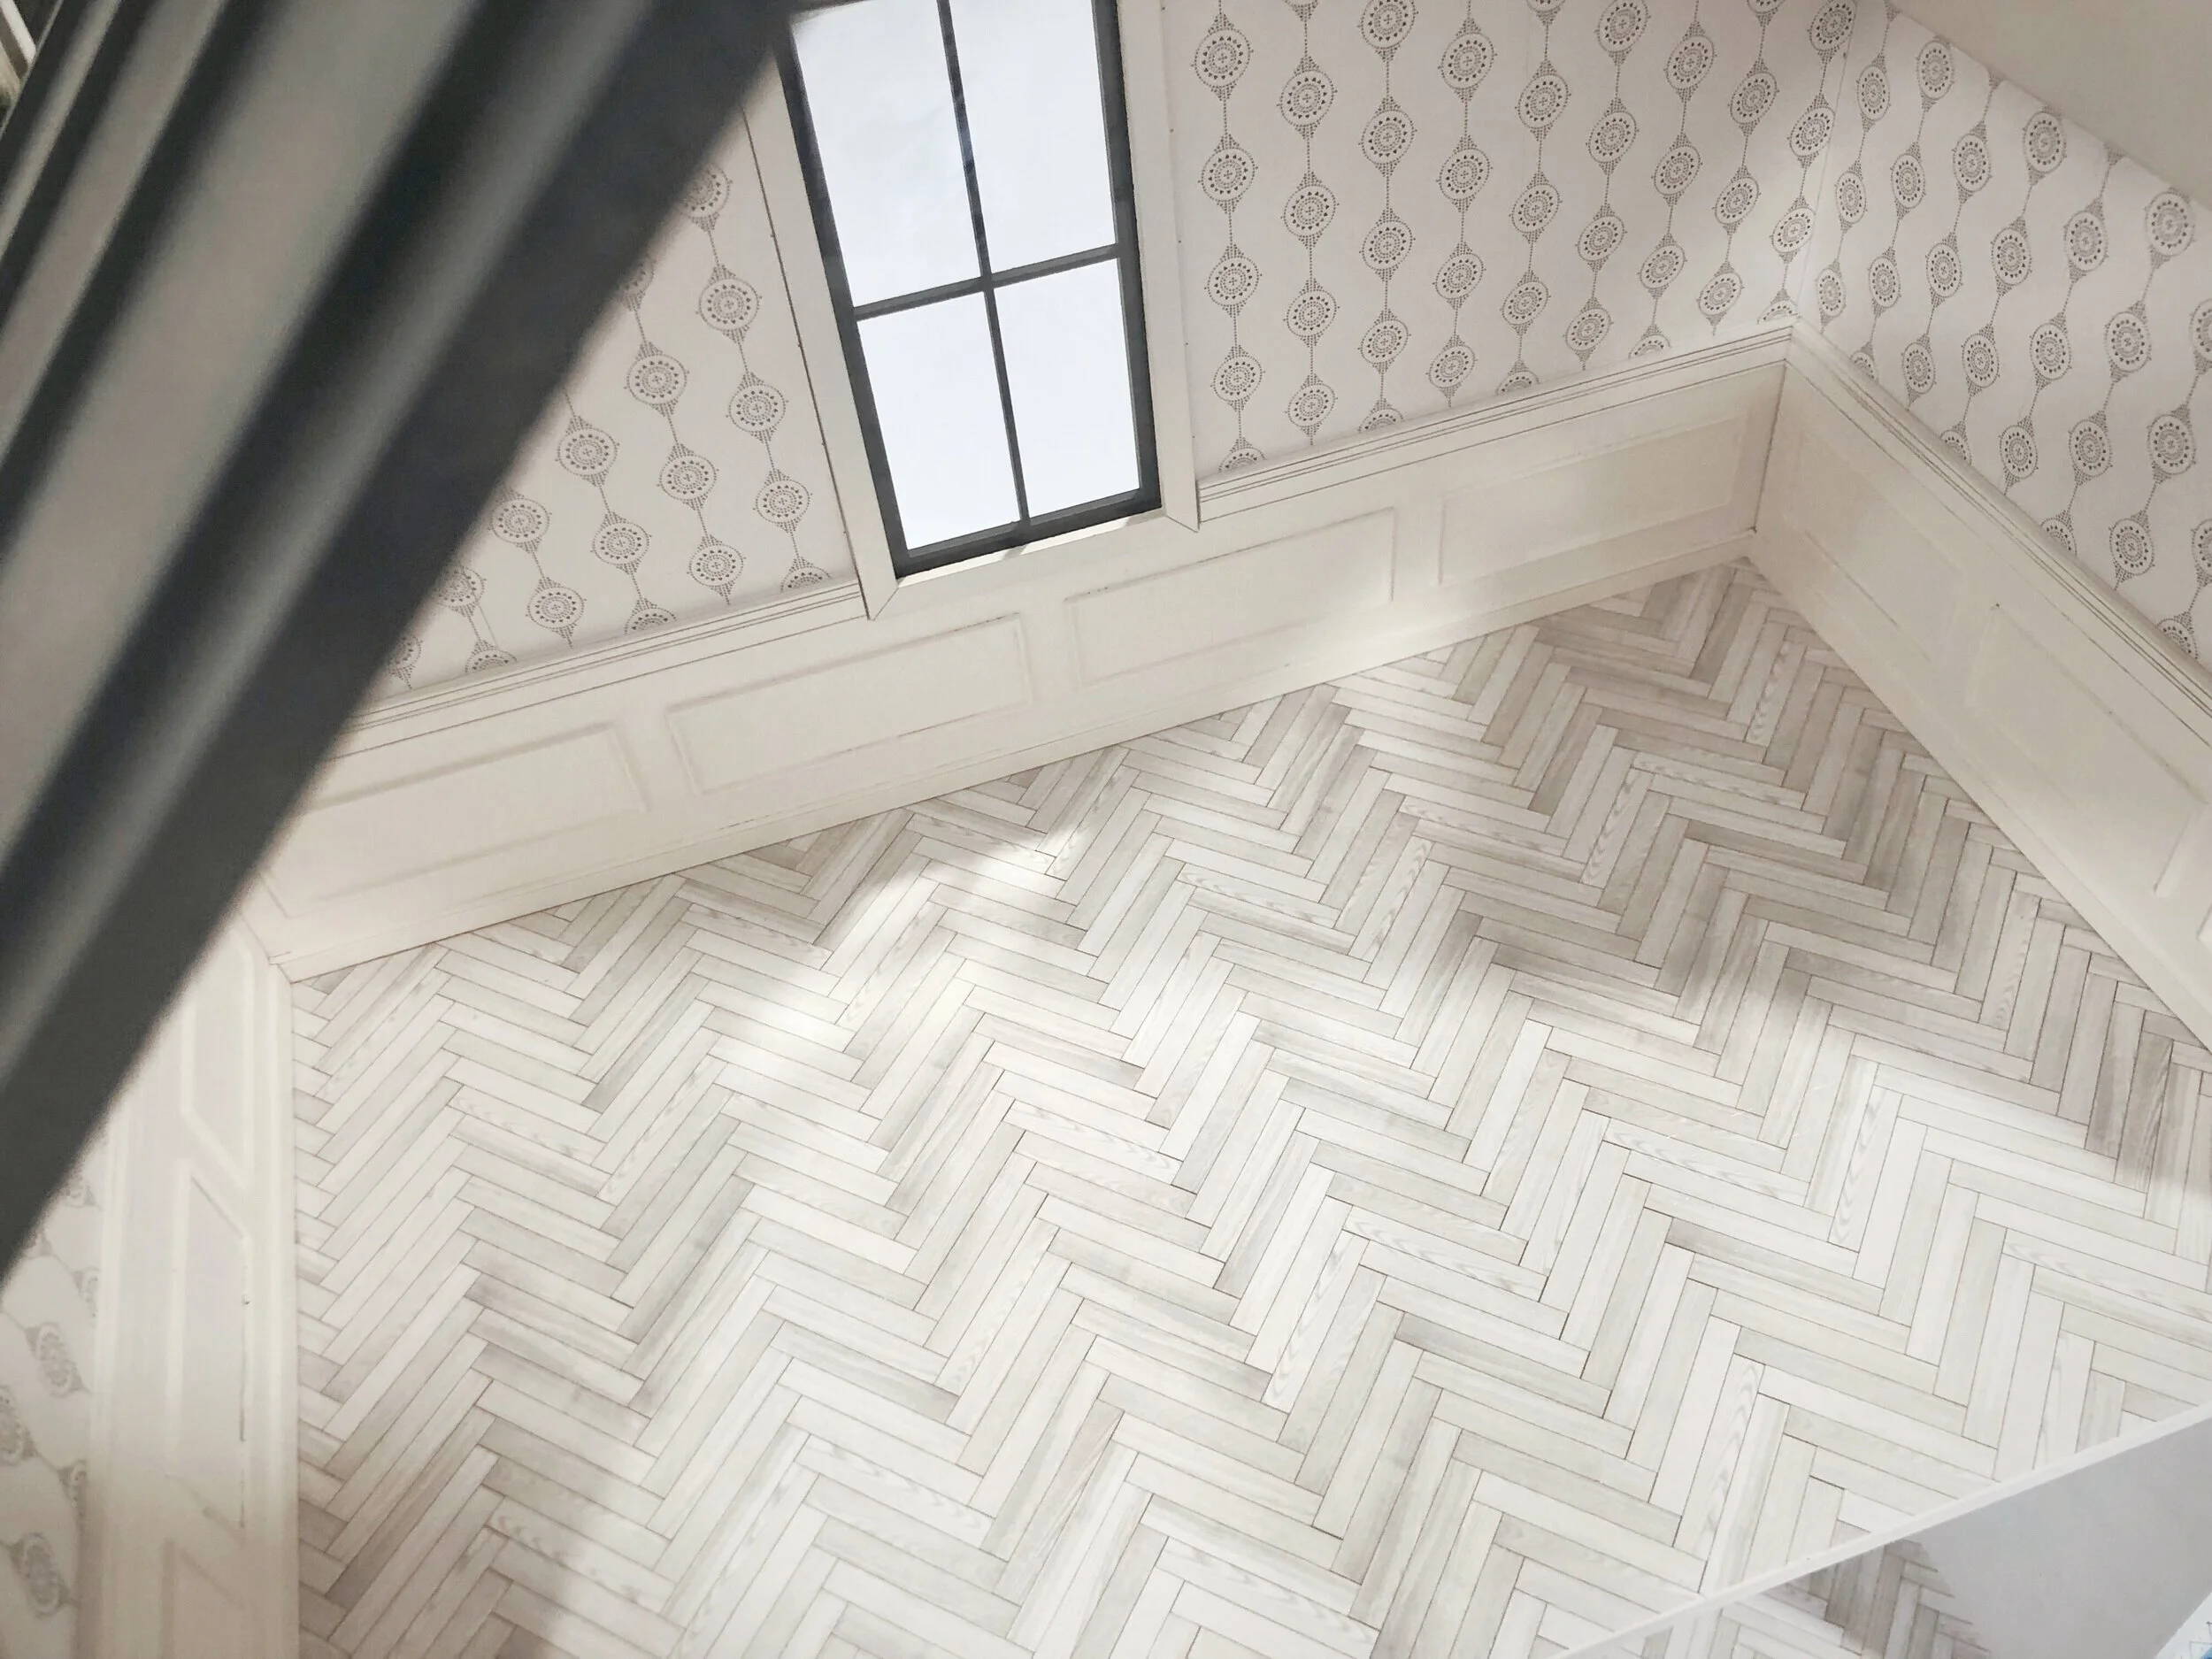
Add an additional top coat if you wish. When the flooring is dry you can move forward with decorating. Enjoy.


![[Featured] Home is where the heart is](https://images.squarespace-cdn.com/content/v1/595db0b044024313332d1ef8/4d709e00-3324-4310-8fc7-4e12c12235fc/westwind+1.jpg)


![[Featured] House Hunter—Mini Modern Farmhouse](https://images.squarespace-cdn.com/content/v1/595db0b044024313332d1ef8/1635368524954-RFDD3B7IPNN7OTRDWE6Y/Mini+Modern+Farmhouse+Interior+Furnished.jpg)


![[Featured] Meet the ‘cloffice’](https://images.squarespace-cdn.com/content/v1/595db0b044024313332d1ef8/1622420833320-T5FVUAYDEA0ING4B0DRO/Mini+Cloffice+Tall_Phone.jpg)


![[Featured] Making a home](https://images.squarespace-cdn.com/content/v1/595db0b044024313332d1ef8/1619784319429-U4GKIWXVW76OCOH9H4OM/Long+Farmhouse+Living+Room.JPG)

![[Featured] Instagram Identities: Jessica Cloe Miniatures](https://images.squarespace-cdn.com/content/v1/595db0b044024313332d1ef8/1619784478243-8KCI6MIDSXD6ADUM5R1T/Bayview+House+Interior.jpg)