
DIY Miniature Curtains

Perfectly draped curtains can do so much to finish off a miniature scene. And the right little bit of ripple can be tricky to get right in miniature.
This tutorial includes everything you need to know about making curtain panels, a curtain rod and finishing the fabric so it will “hang” in convincing ripples. And whether you like to do a little stitching or prefer a no-sew method, we’ve got you covered.

What You Will Need
Fabric of your choice
Rotary cutter and ruler guide
Tacky Glue
Micro Binder Clips
Tweezers
Wood dowel
Decorative beads
Foam board
Quilting pins
Heavy spray starch

Choose your fabric.
Let’s start with the fabric. Ideally, you’ll want something with a small weave. We’ll be using some gauzy semi-sheer cotton.
BONUS! Check your fabric for finished edges. Because I’m lazy, I’ll always take advantage of a finished edge. (In this case, I’ll leave the finished edge for the bottom hem of the curtains.)

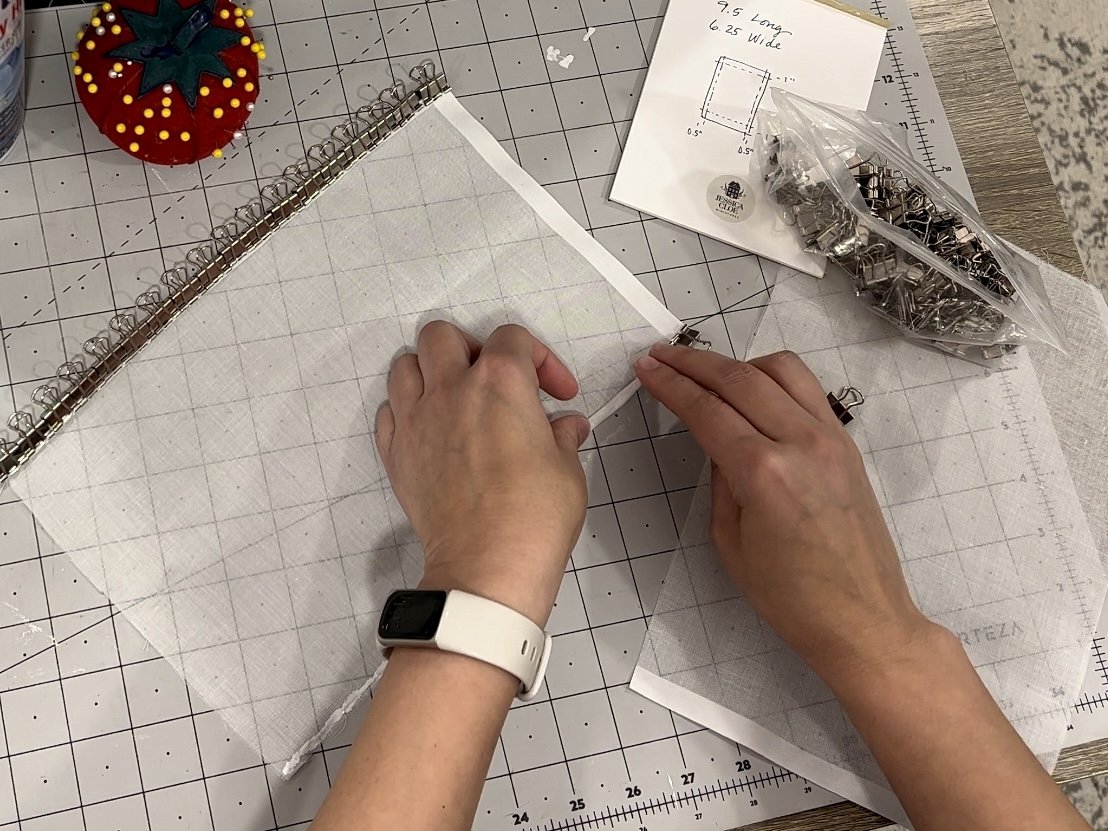
Determine size of your curtain panels.
We’re going to frame a window with a panel on each side. Once you’ve decided on dimensions for each panel, add about an inch to the top and bottom and half and inch to each side for seams.

Trim your panels to size.
You can use scissors, but I usually end up with straighter cuts if I use a rotary cutter and guide.
Now you get to choose if you will stitch the seams or glue them. I kind of prefer to stitch them, but if you don’t have a sewing machine, or just don’t want to bother, the glue method works too.
We’ll show a little of both. Feel free to jump to whichever one feels best for you.
Option 1: Glued Seams

Starting with the side seams, apply a pretty generous bead of glue to get started.

Roll over the top edge and then roll it over once more to seal in the frayed edges.

Use binder clips to hold until glue has dried.
Repeat on the other side seams and let dry.

Once side seams are dry, remove the clips and fold down 1/2” at the top. Apply a generous line of glue as close to the edge as possible.

Fold over and press down firmly. Clip to hold until dry.
Option 2: Stitched Seams

Start with the bottom hem. You’ll want a good 1/2” fold. Unless you have a finished edge, then you get to skip this part.
Next, the edge seams.
Just fold over 1/4” twice and stitch as close to the seam edge as possible. Use a pretty small sized stitch to help with the scale.
Finish with the top hem, this time leaving a good 1/2” opening to accommodate the curtain rod.

Assemble the curtain rod.
We’re using a kabob skewer, though it is a bit splintery. A better alternative are the lovely 1/8” mini dowels that you can find in craft shops, but I’ve somehow broken my last one.

The beads are the trickiest part. We somehow found these wood ones ages ago. I love that they are a pretty simple design and can be painted quite easily.

Since the skewers are a bit splintery, a light sanding on the ends helps them fit the beads and not snag fabric.

Verify that a bead will fit on each end. Sand dowel down a bit more if necessary.
This would also be a great time to paint the curtain rod. We chose to paint it with gold spray paint. (We forgot to do it in the right order, of course.)

Thread the curtains onto the rod.
Remove a bead if necessary.

You might need a pair of tweezers to pull the rod through the end of each panel, as it might catch on the edge seam.

Lightly arrange the curtain into place.

Prepare for starching.
You’ll want a piece of foam board that is at leas the size of the curtains, or a bit bigger.

Start by pinning the curtain rod to the top of the foam board using long quilt pins.

Next, add pins to the outside corners of each curtain panel.
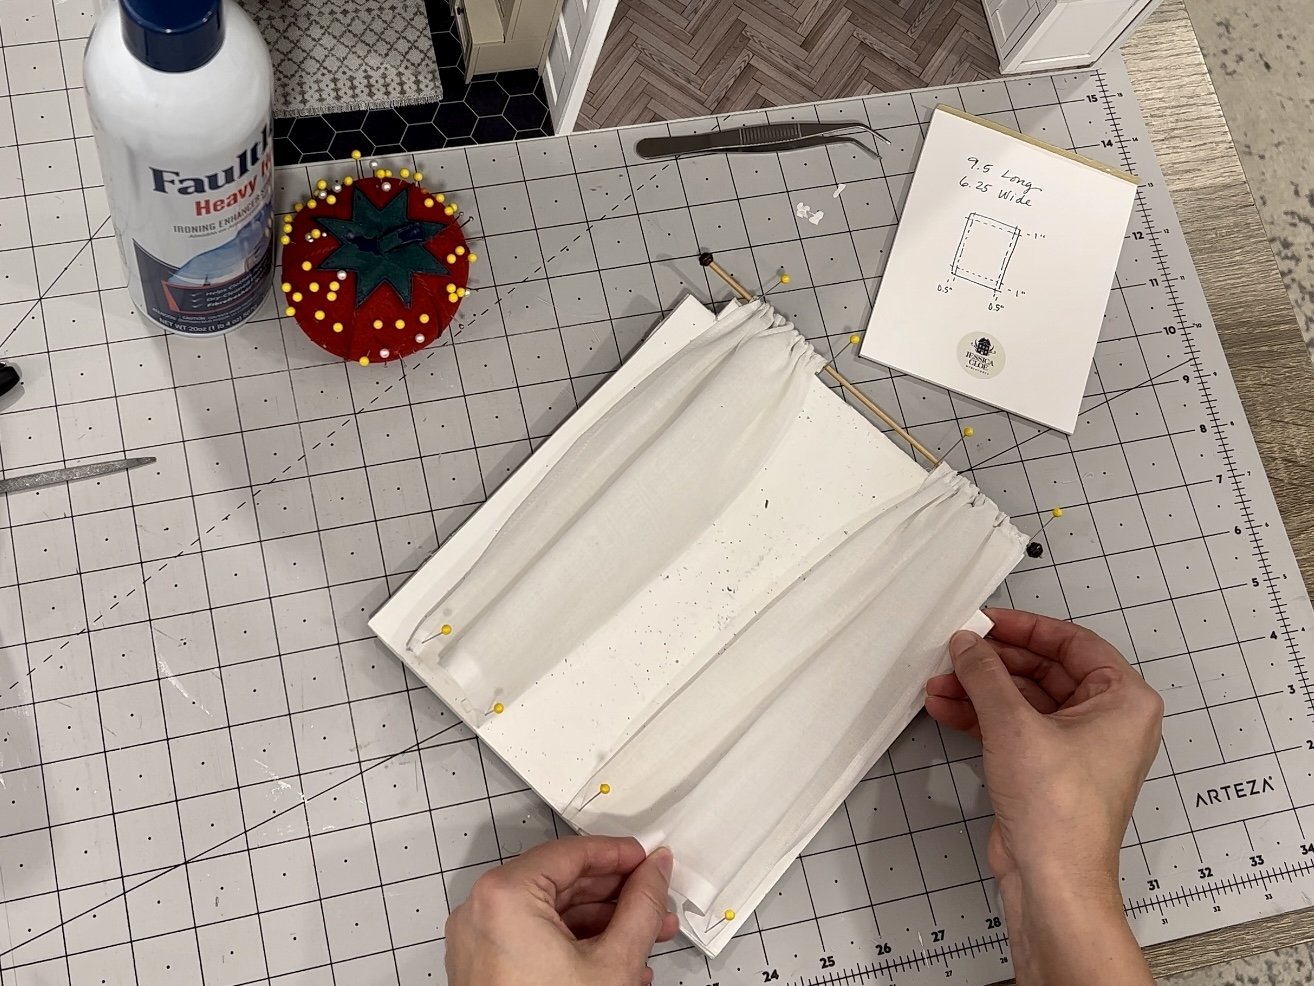
Scrunch along the top and move the pins in as you go.

Create as many curtain folds as feels natural to you. Add more pins to hold the shape.

Apply starch.
We like a heavy hold spray starch. You’ll want to head outdoors and pretty much soak the fabric. We usually end up with a pretty drippy situation, so set it upright to drip dry. Let sit overnight.

Once dry, the curtains will hold shape on their own.
(Again, since we forgot to paint the curtain rod first, you’ll see that we had to remove it and paint it next.)

Install
We tacked the curtains into place using a tiny dot at the back of each bead.


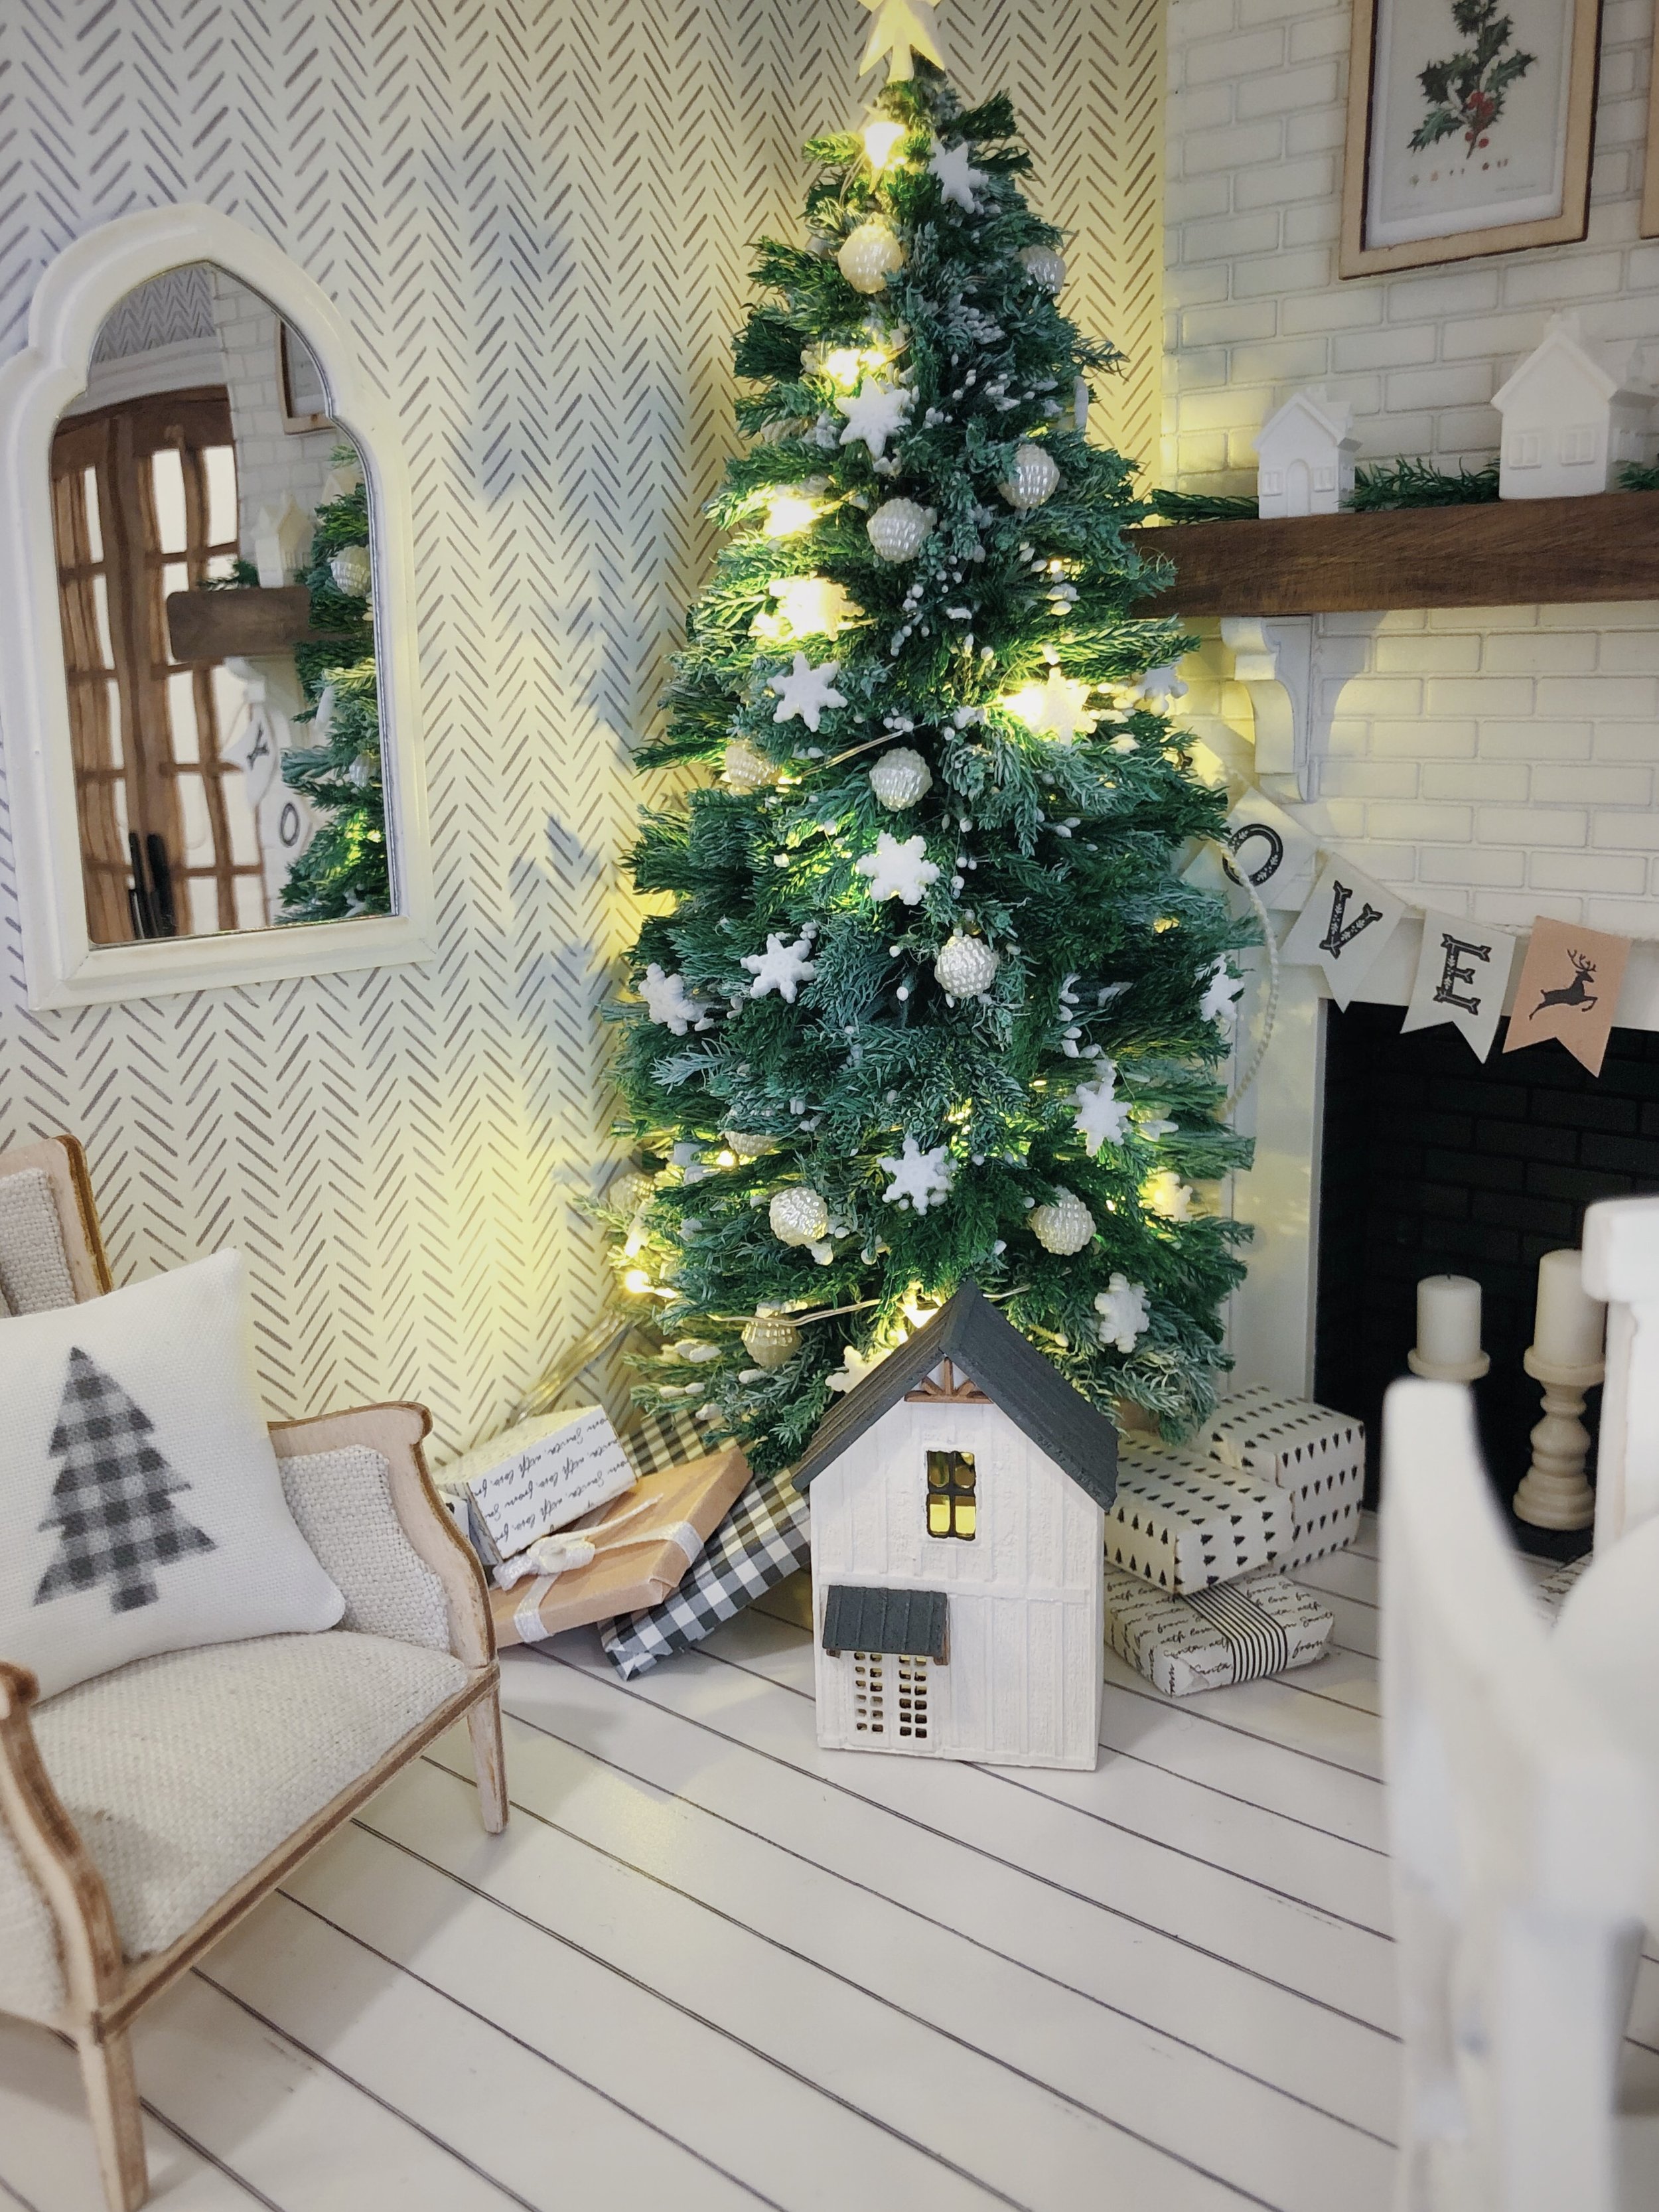
![[Featured] Home is where the heart is](https://images.squarespace-cdn.com/content/v1/595db0b044024313332d1ef8/4d709e00-3324-4310-8fc7-4e12c12235fc/westwind+1.jpg)


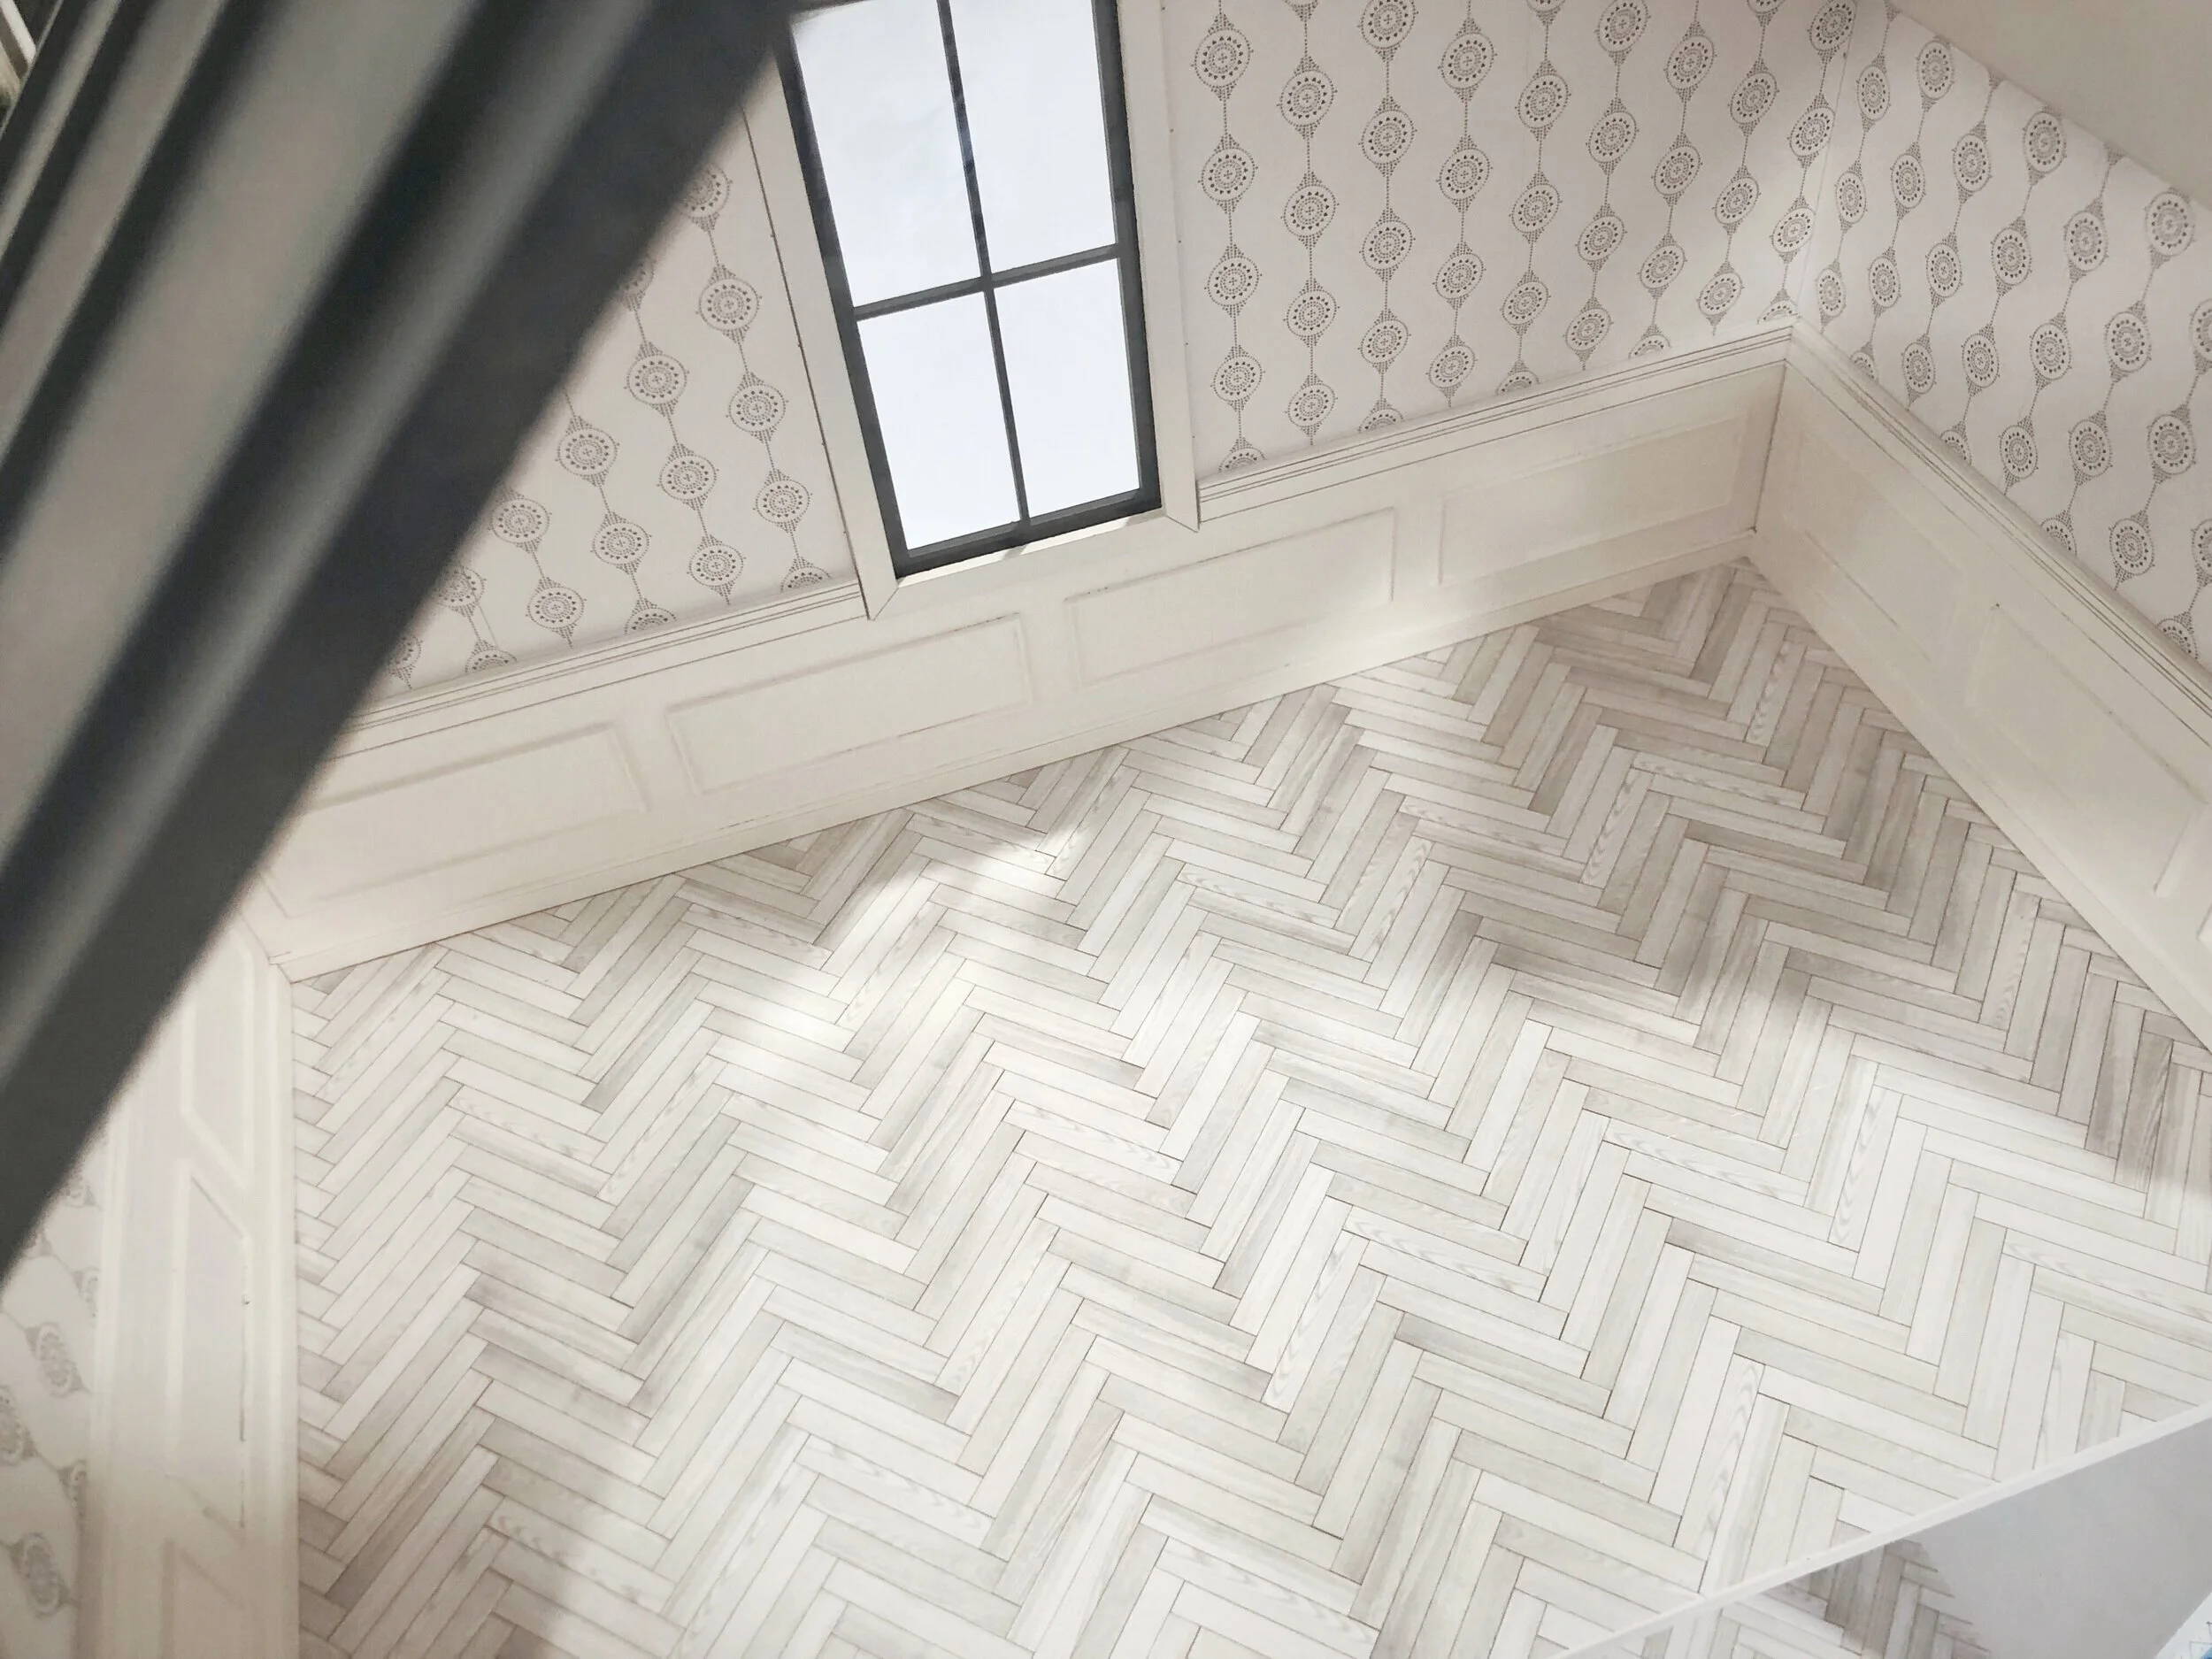
![[Featured] House Hunter—Mini Modern Farmhouse](https://images.squarespace-cdn.com/content/v1/595db0b044024313332d1ef8/1635368524954-RFDD3B7IPNN7OTRDWE6Y/Mini+Modern+Farmhouse+Interior+Furnished.jpg)


![[Featured] Meet the ‘cloffice’](https://images.squarespace-cdn.com/content/v1/595db0b044024313332d1ef8/1622420833320-T5FVUAYDEA0ING4B0DRO/Mini+Cloffice+Tall_Phone.jpg)


![[Featured] Making a home](https://images.squarespace-cdn.com/content/v1/595db0b044024313332d1ef8/1619784319429-U4GKIWXVW76OCOH9H4OM/Long+Farmhouse+Living+Room.JPG)

![[Featured] Instagram Identities: Jessica Cloe Miniatures](https://images.squarespace-cdn.com/content/v1/595db0b044024313332d1ef8/1619784478243-8KCI6MIDSXD6ADUM5R1T/Bayview+House+Interior.jpg)

