
DIY Dollhouse Frames
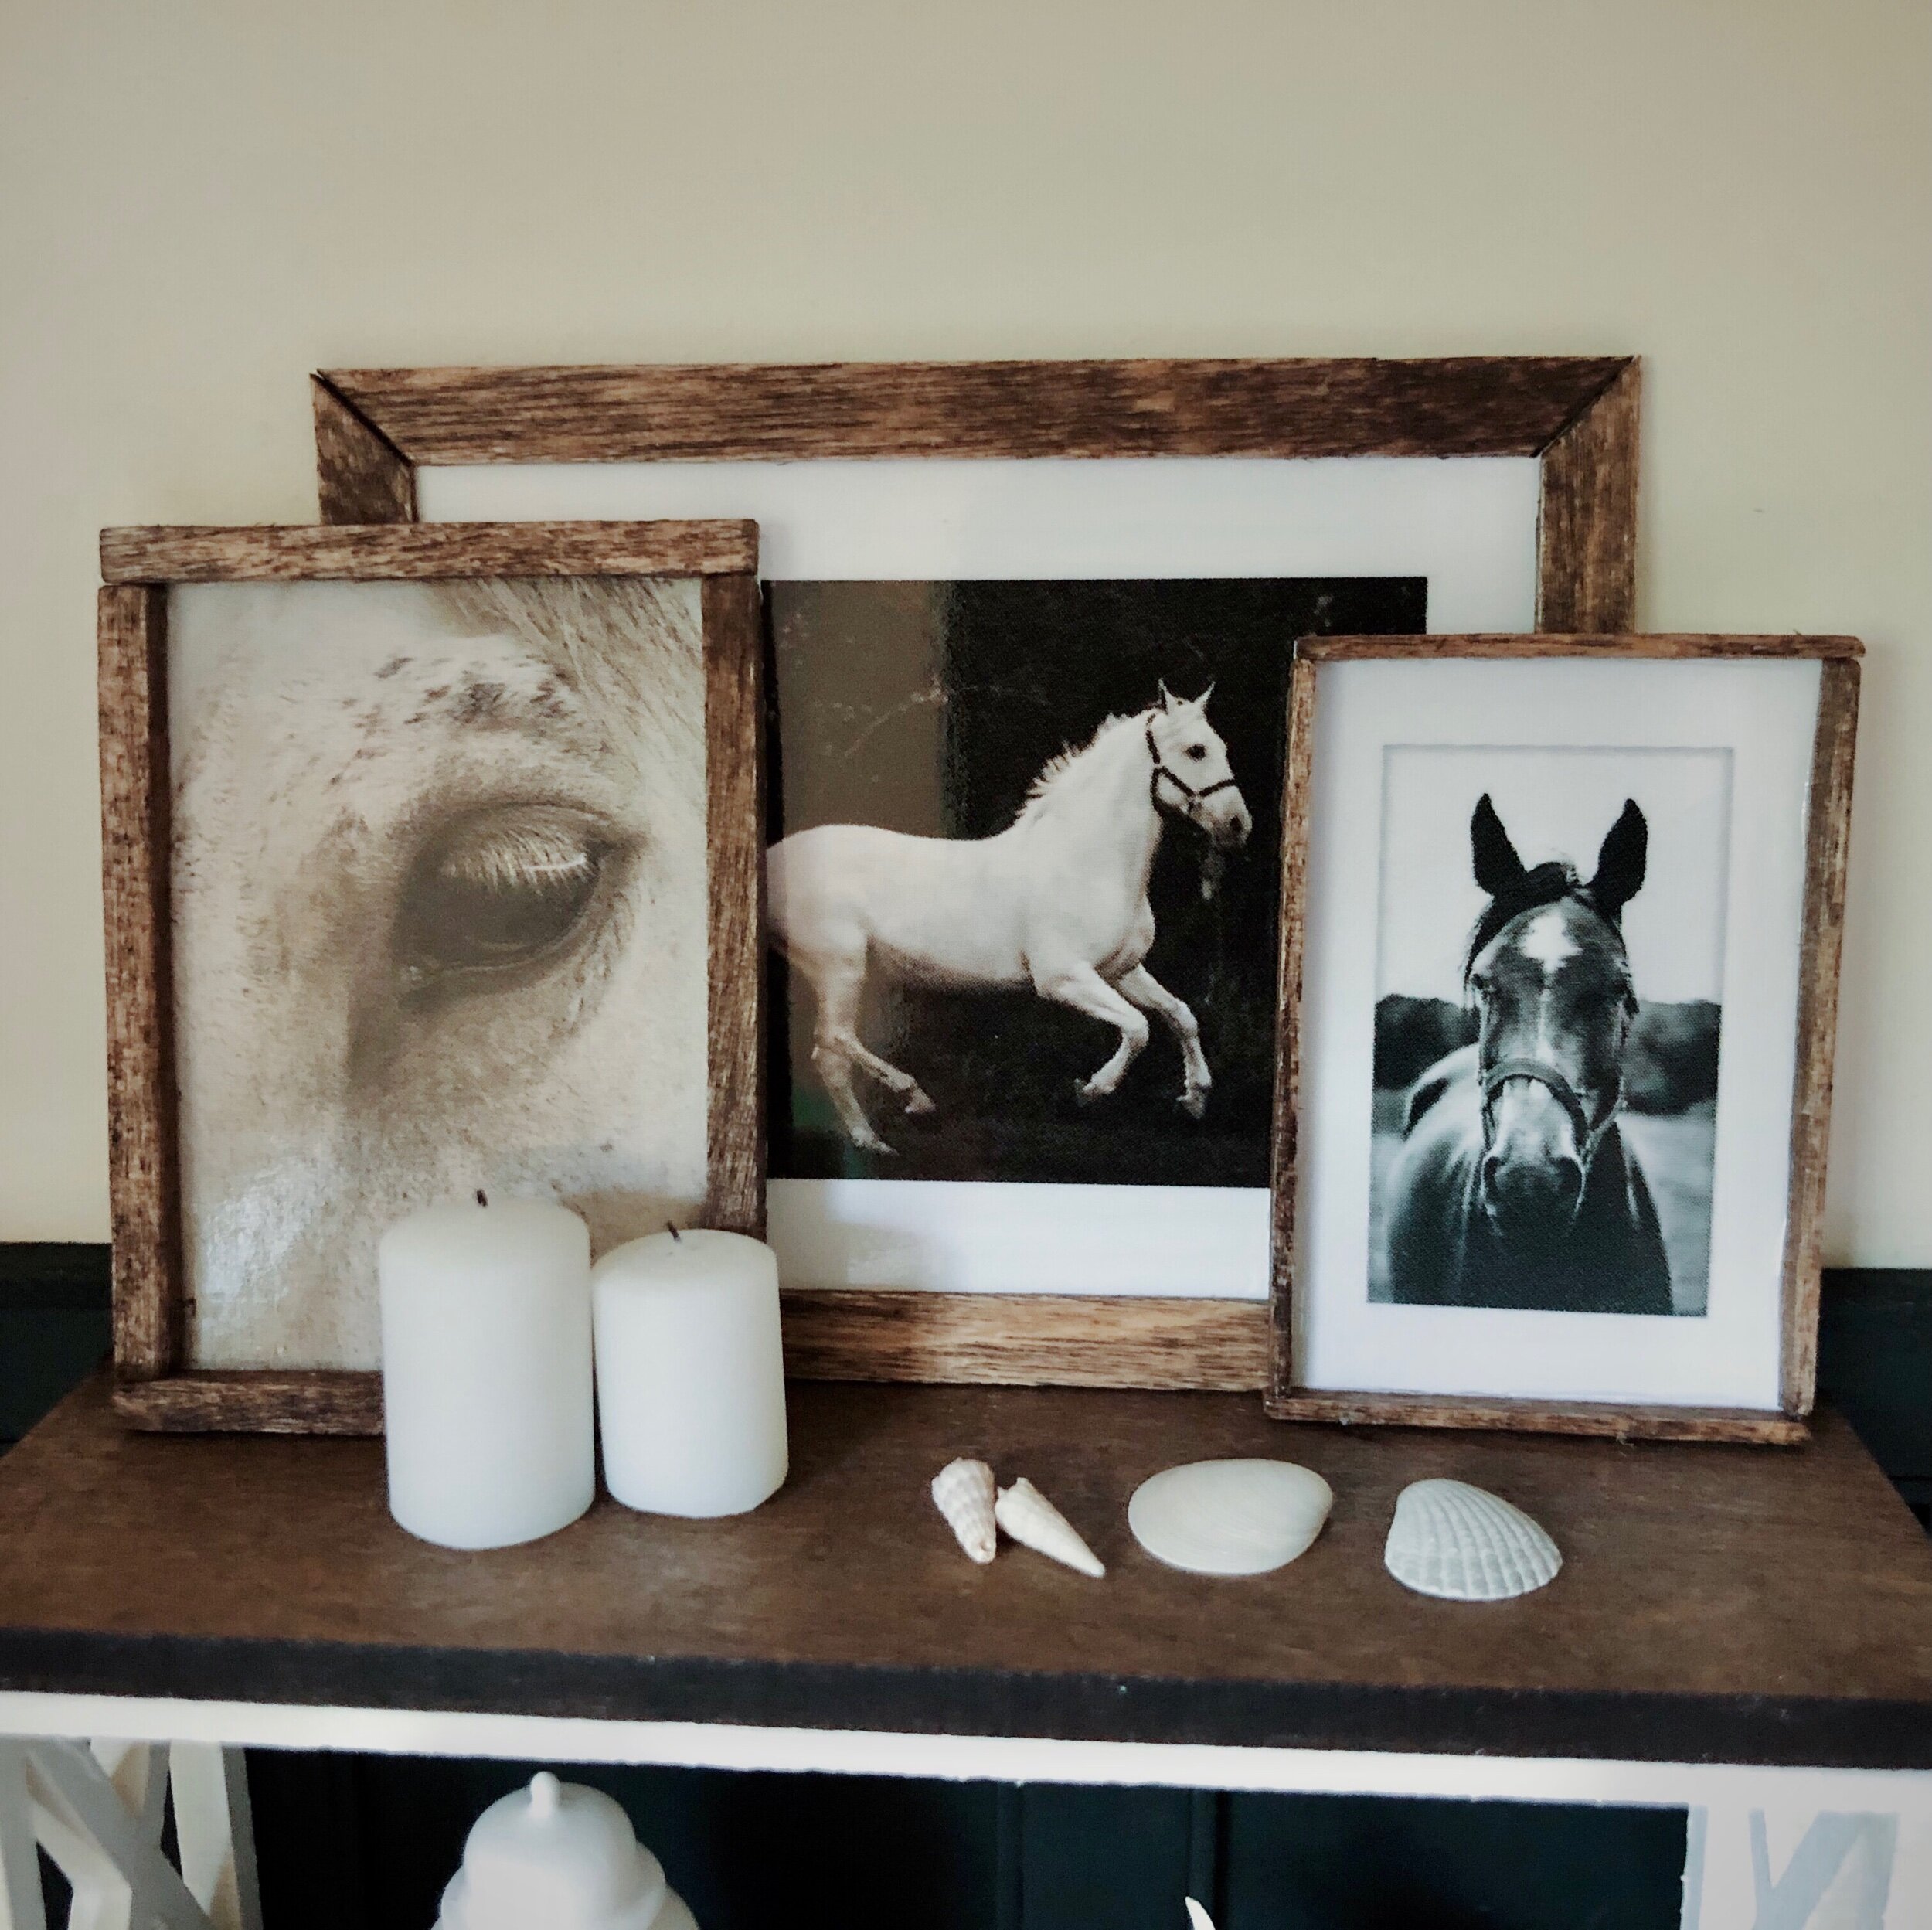
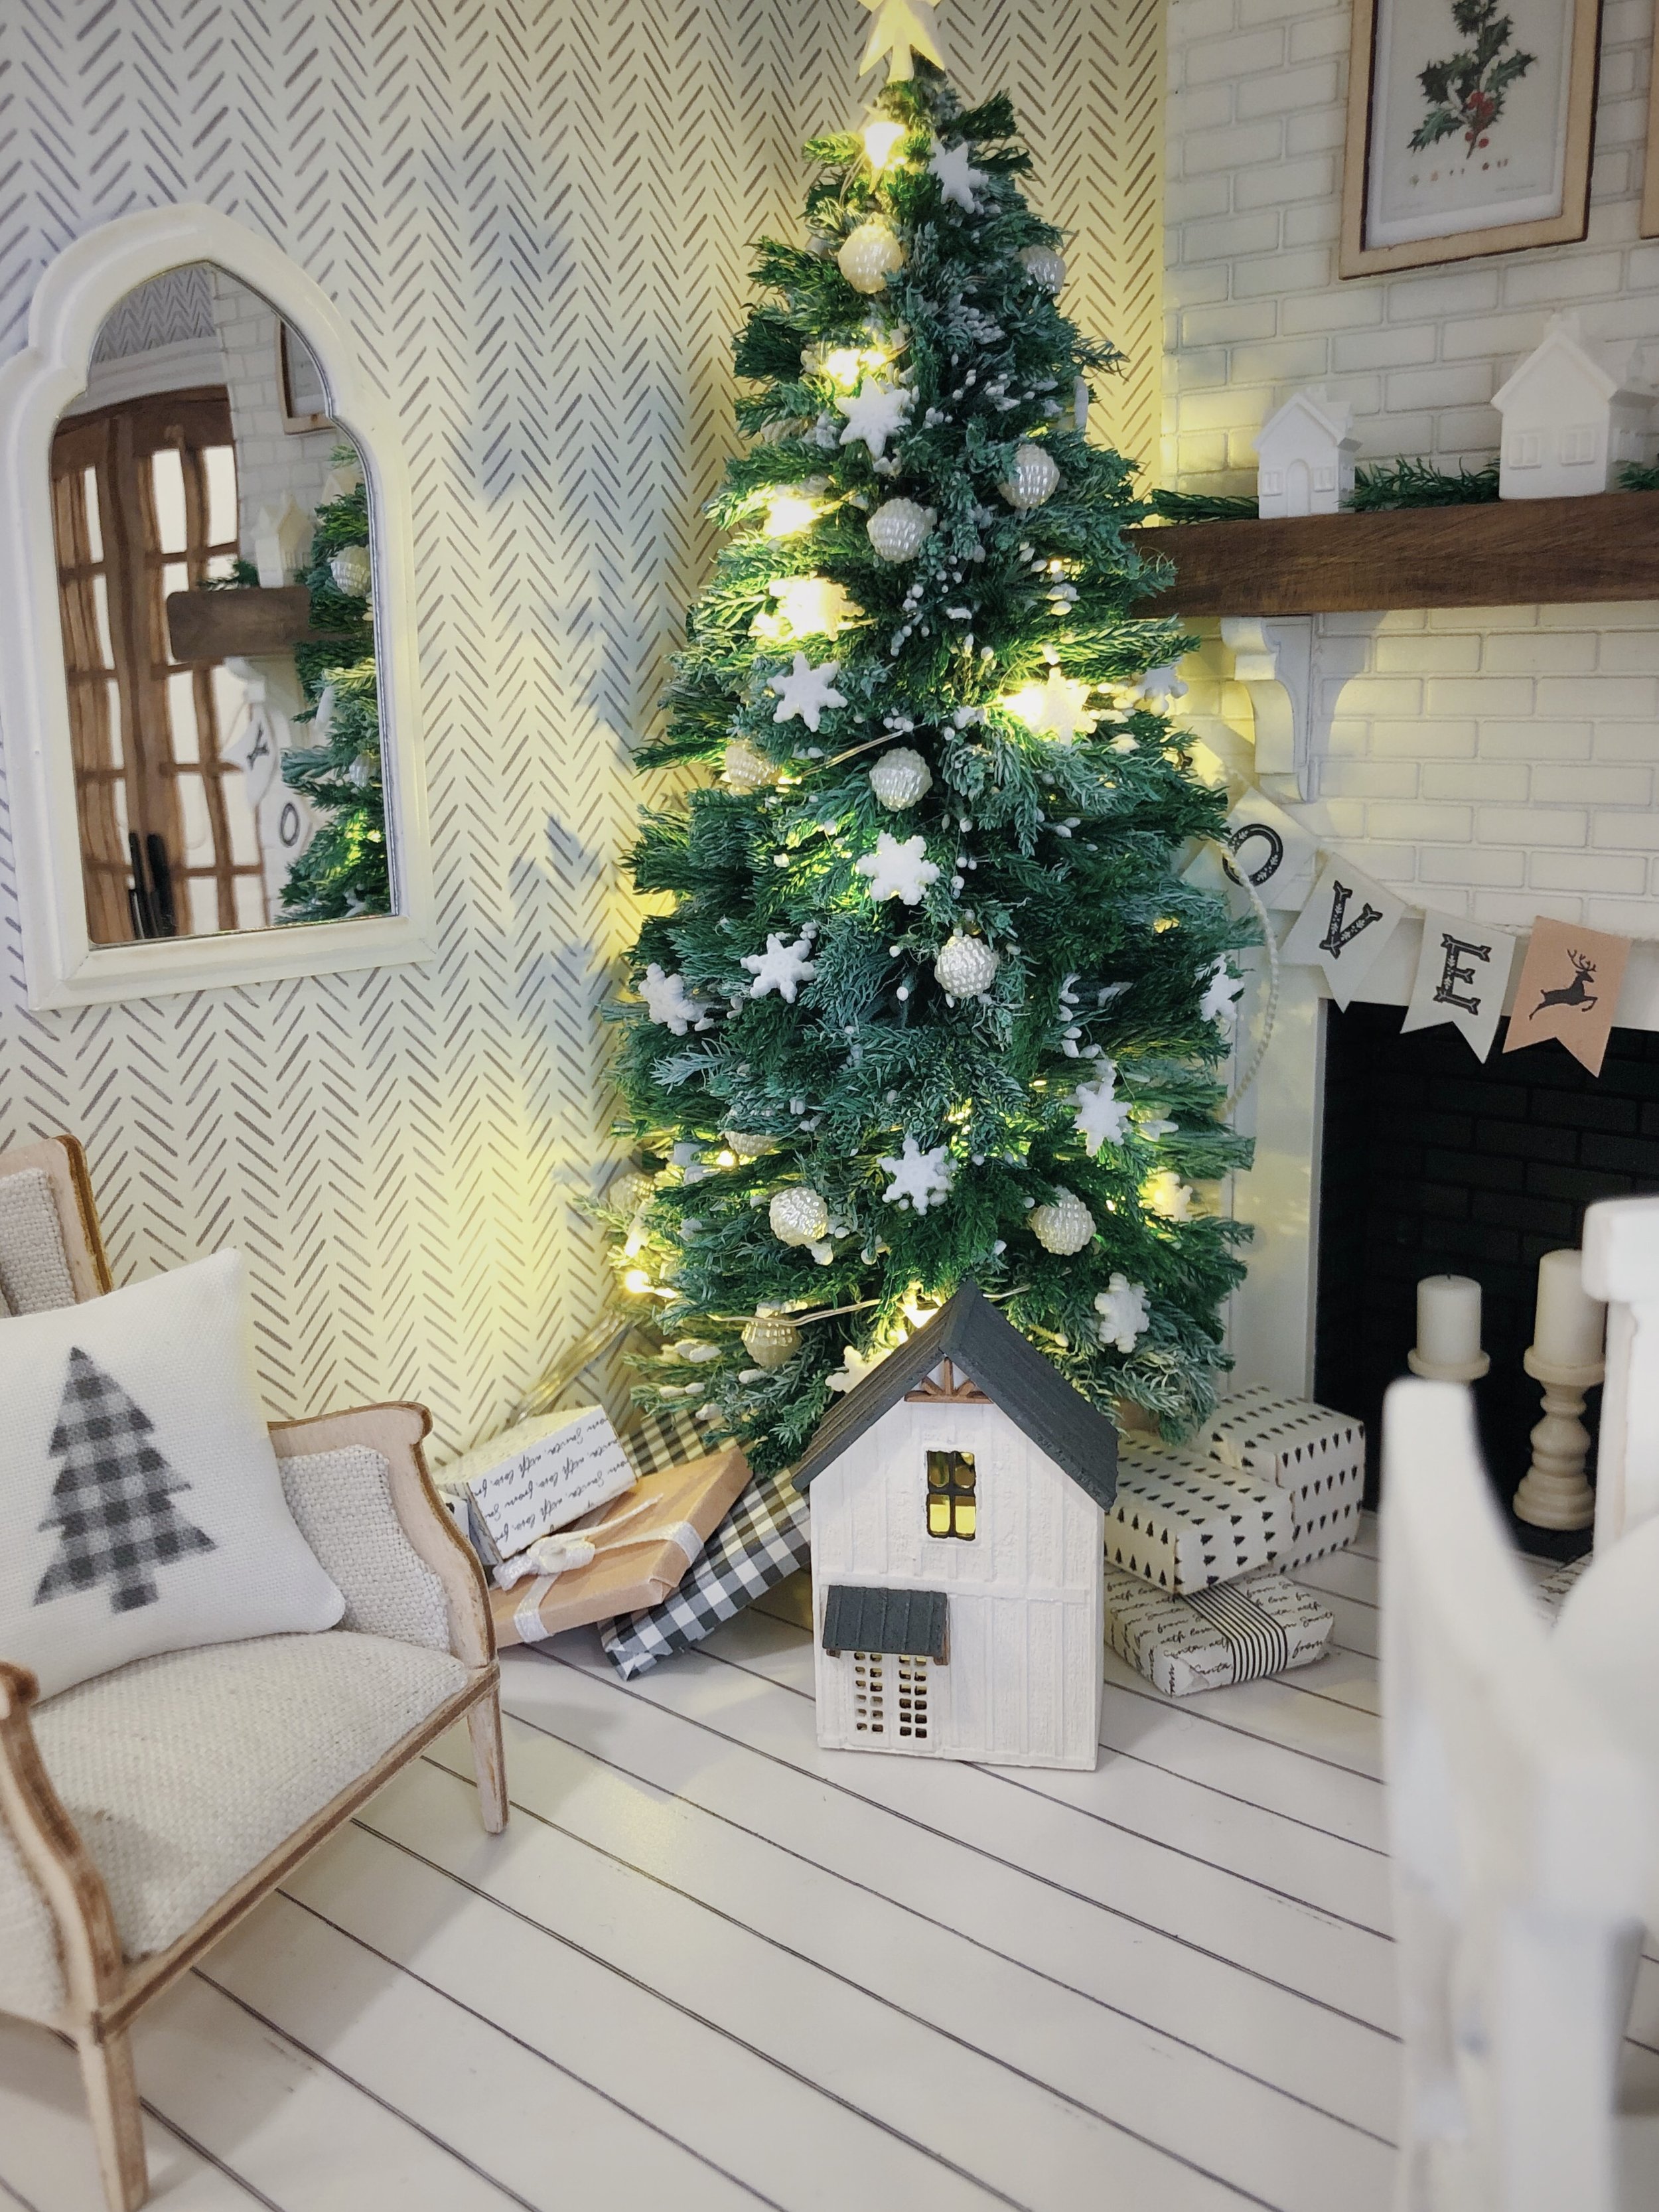
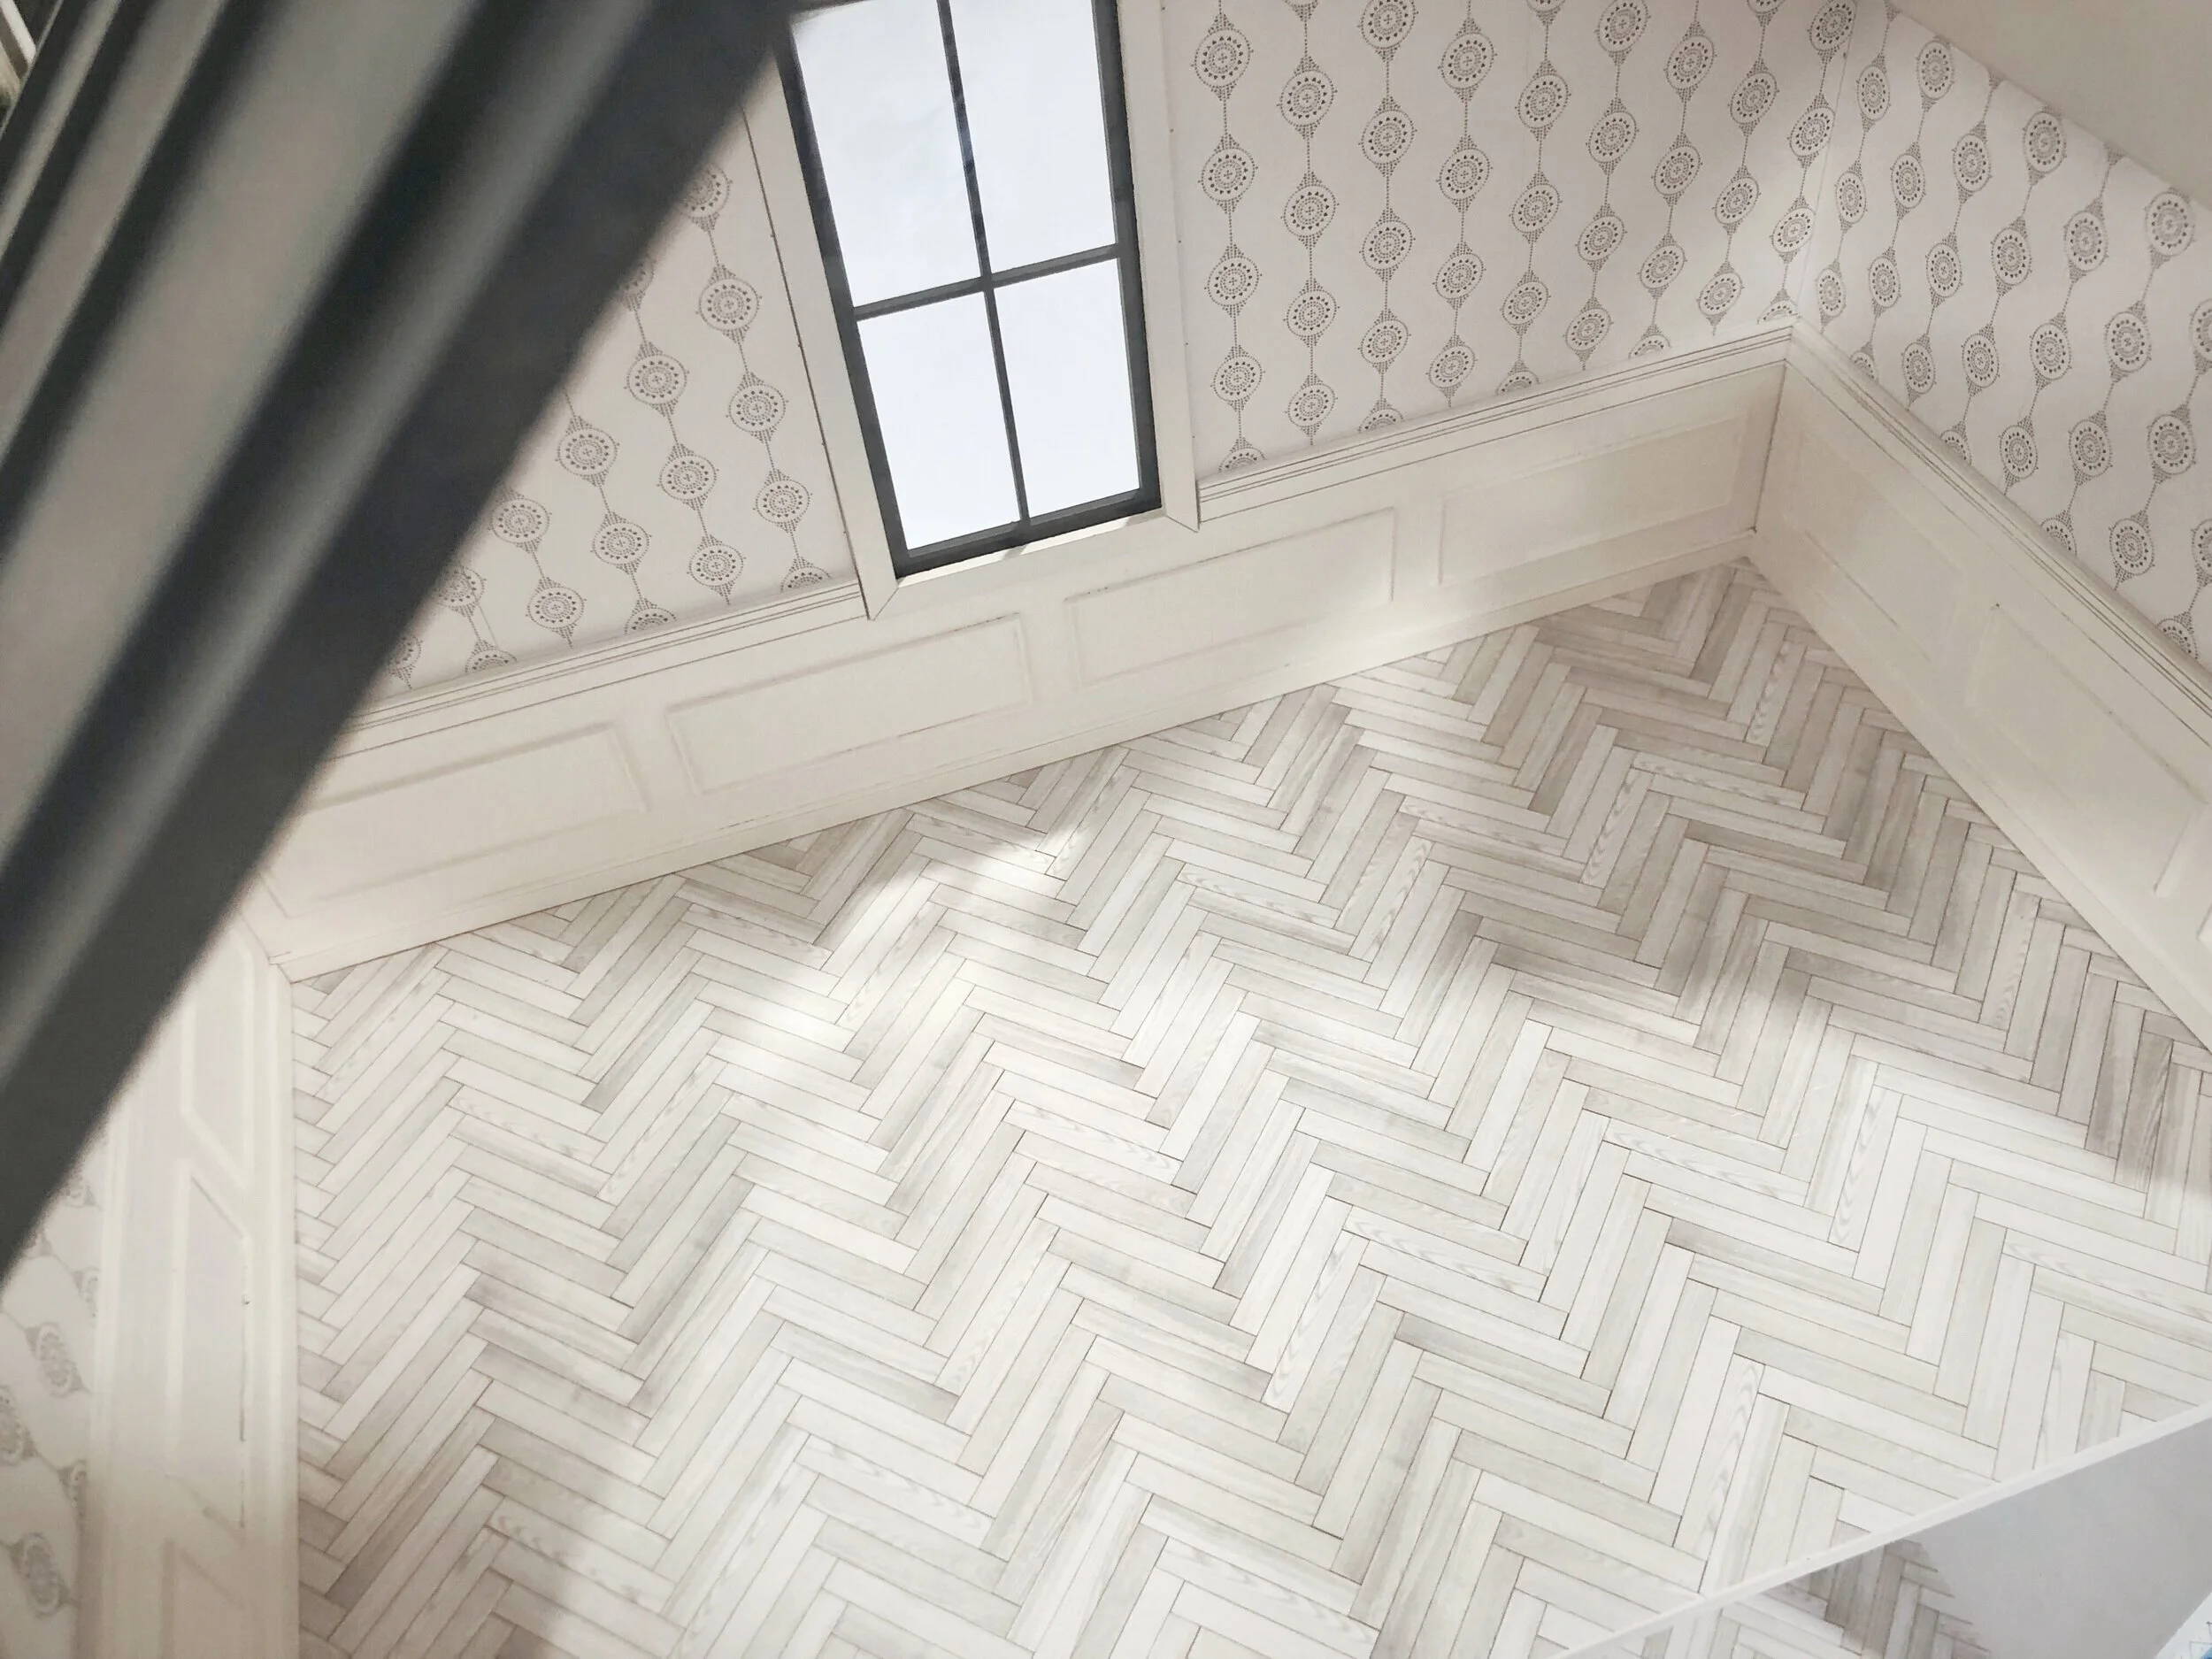
So, you’ve got your miniature house built, the walls are painted and the flooring is down. What’s next? Well, probably furniture. But after that, it’s time to decorate the walls! Nothing adds realism quite like tiny little framed artwork. Today we’re showing three quick options for framing your little works of art.

What You Will Need
Artwork to be framed
Craft Glue (Elmers CraftBond is a great option)
Scissors (these are my favorite, because they are gold)
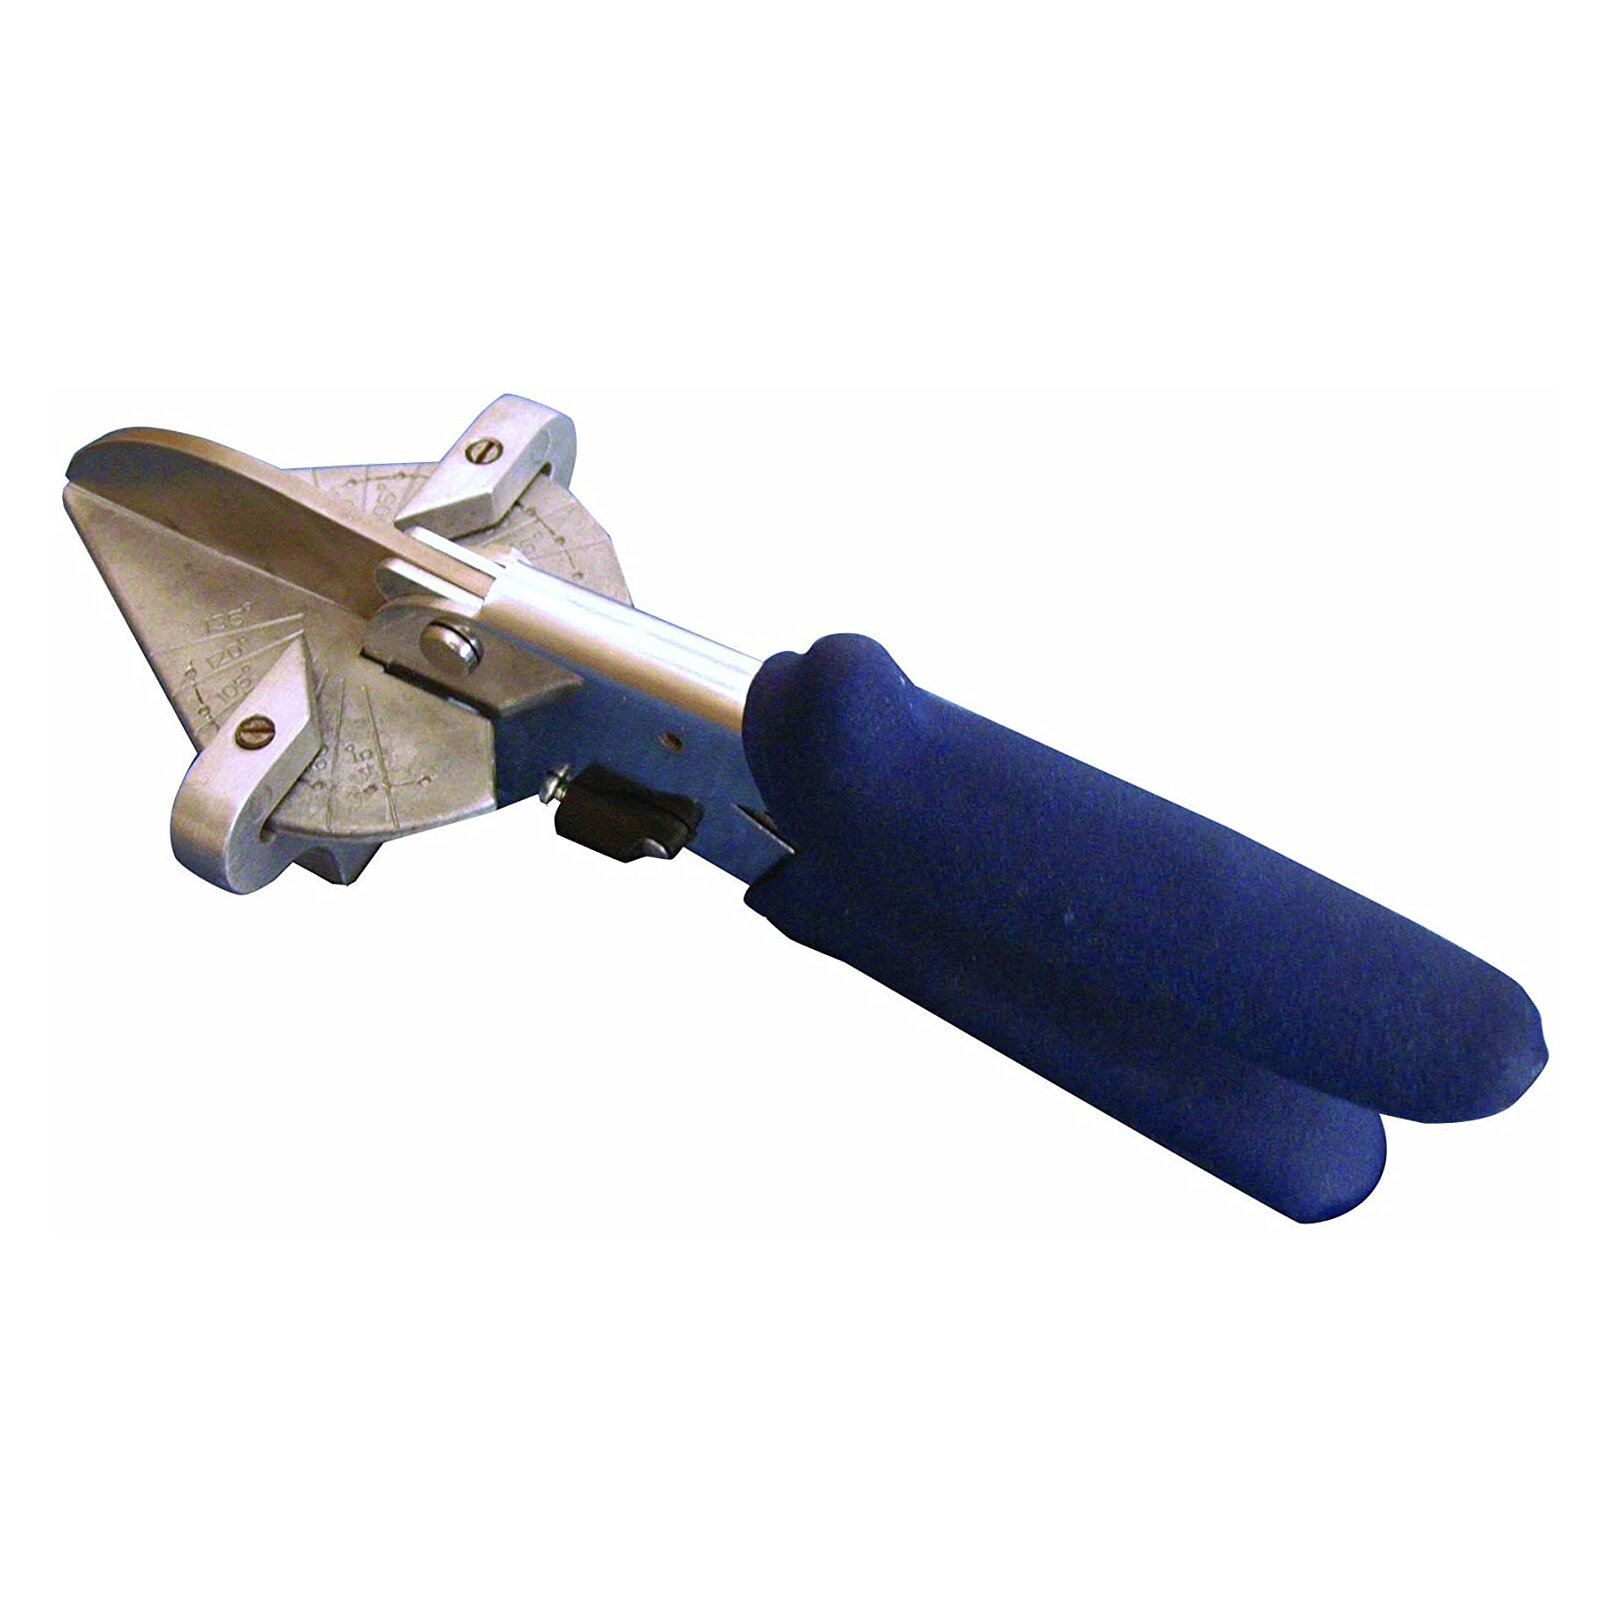
EZ Cutter
Wood Stir Sticks
Craft matchsticks
Optional: clear plastic packaging leftovers
Small binder clips

1.
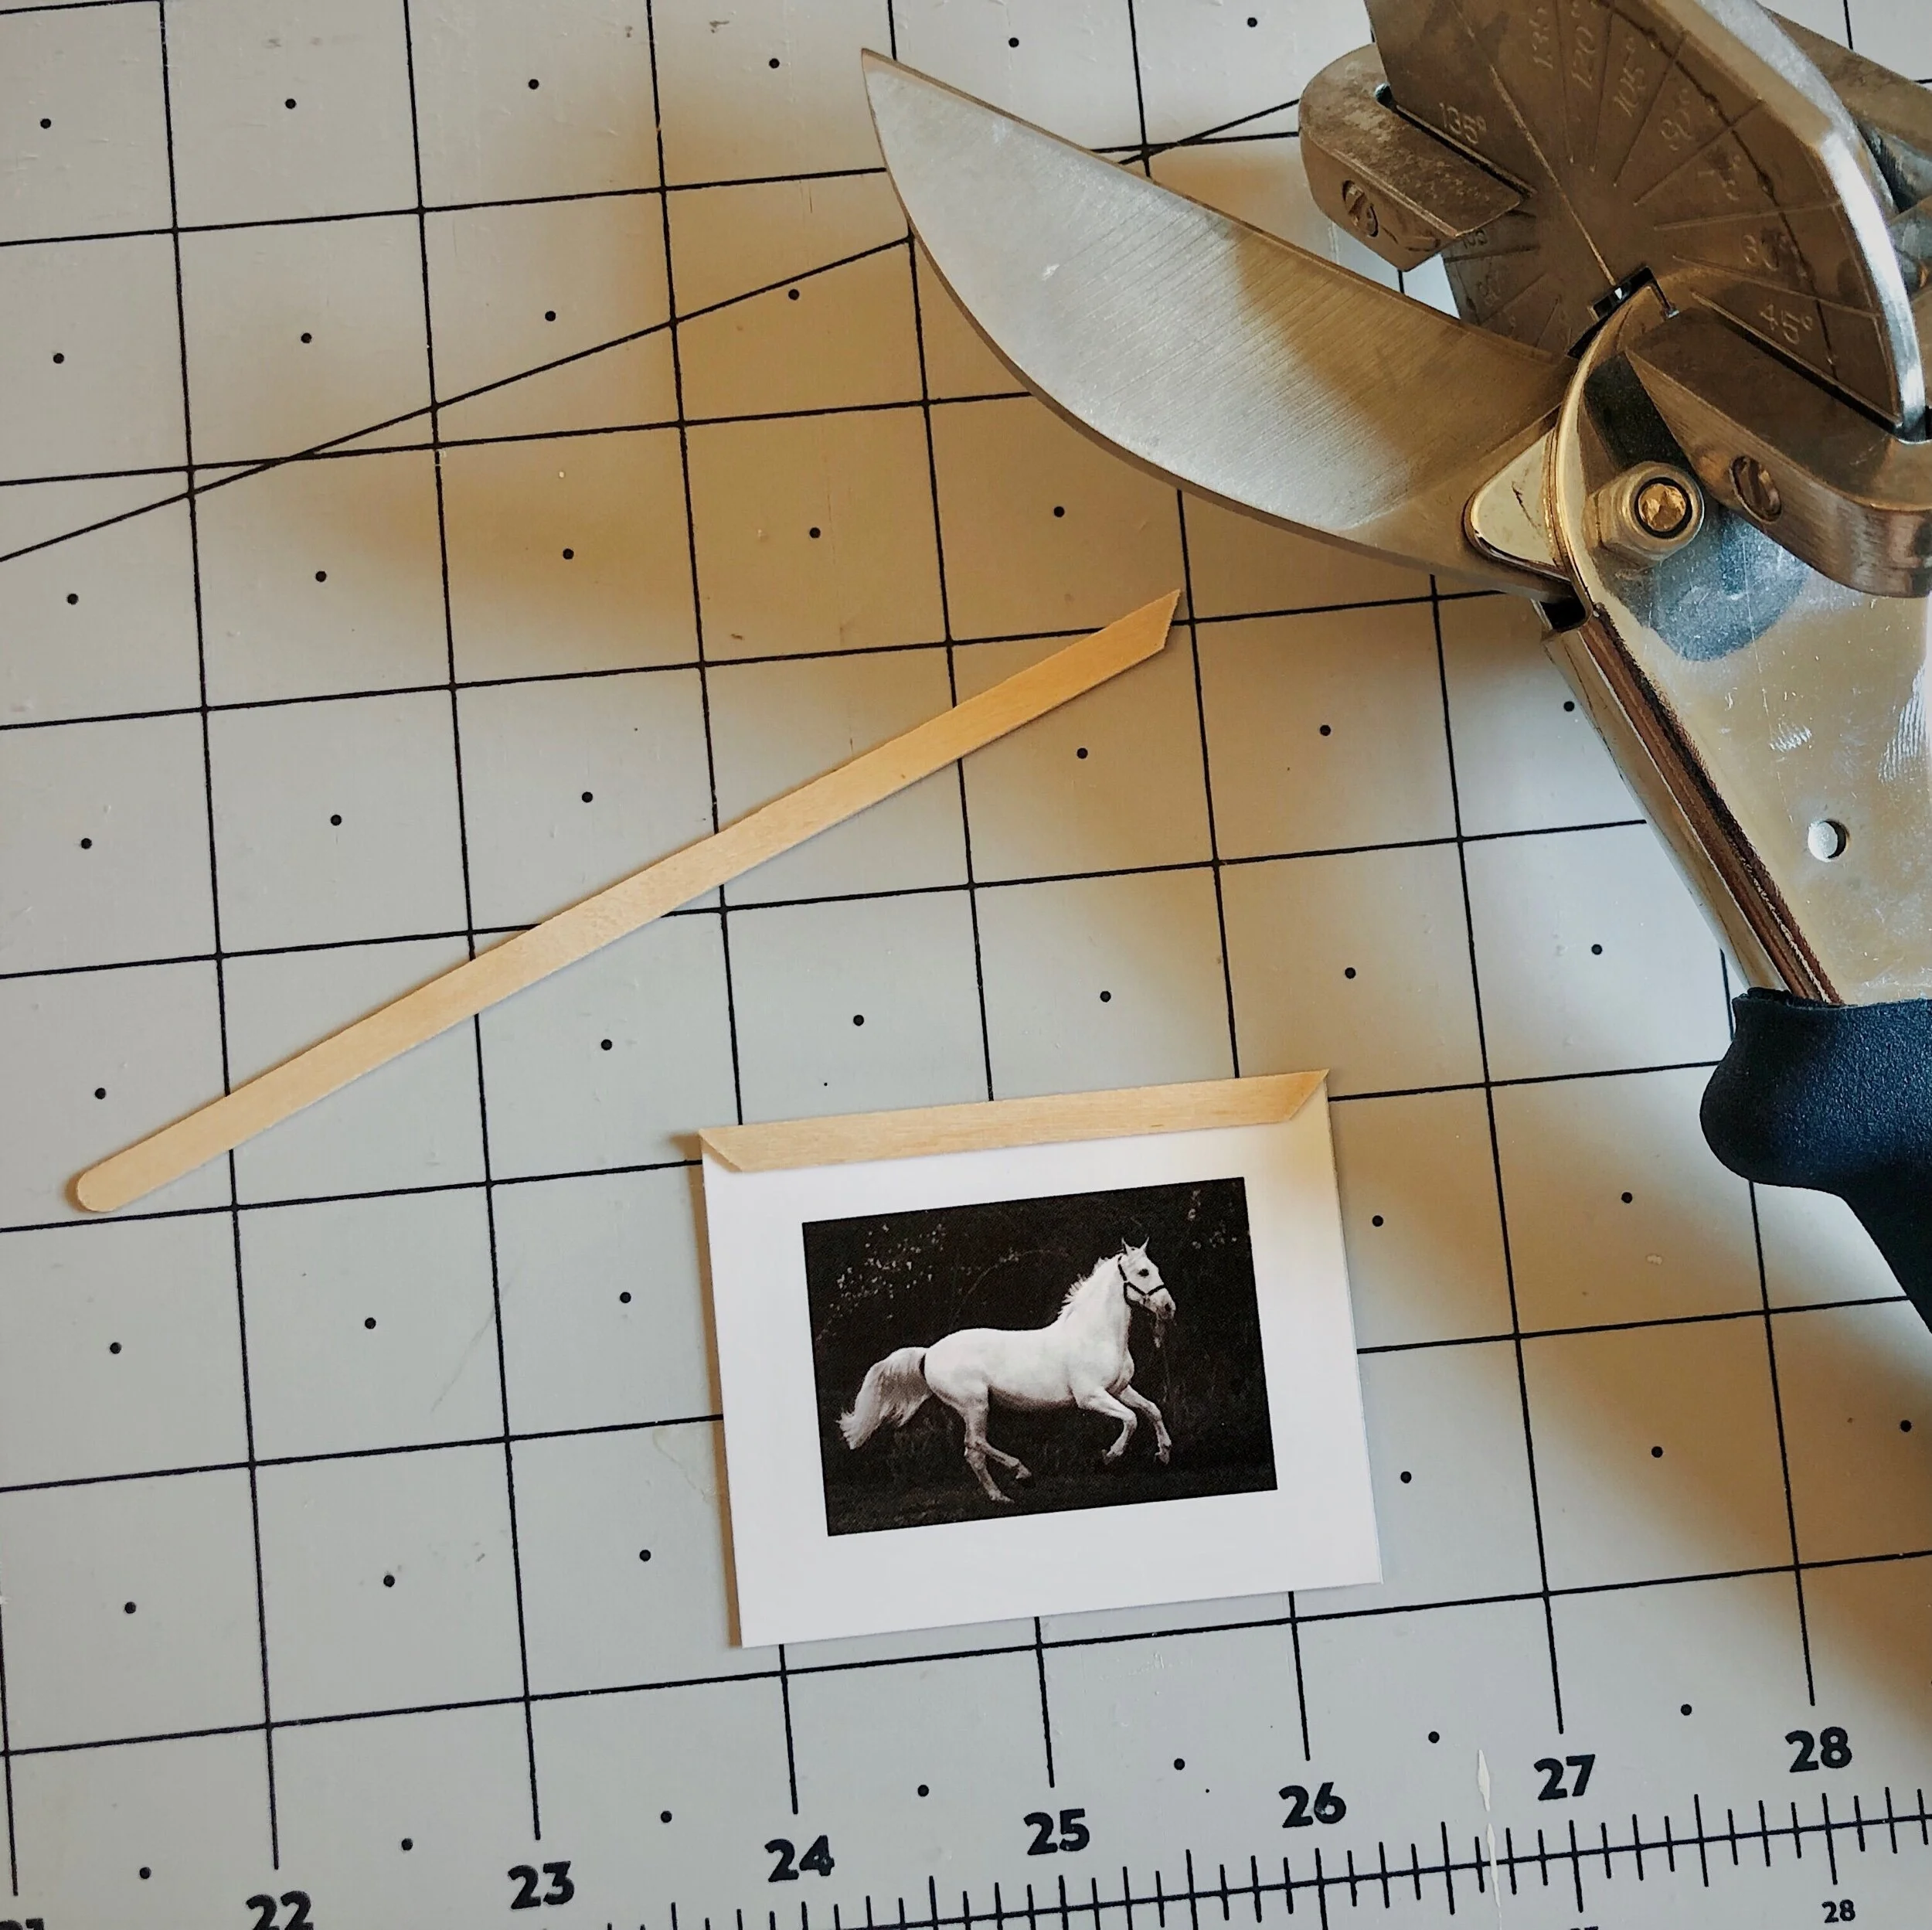
Trim out your artwork. Leave a bit of space for the frame to go over the artwork.

2.
Now it’s time to think about frame widths. We’re going to do three different types.

3.
For the largest print, we’ll be using wood stir sticks cut at 45 degree angles.

4.
Set your EZ Cutter to 45 degrees and start by trimming off the rounded edge at one end.
5.
Trim your first piece to be as wide as the top of your artwork. Lightly drop into place.

6.
Next, you’ll copy the first piece for the bottom of the frame.

7.
Finally, the sides. Lightly sand any rough areas and set aside.

8.
For our second frame option, we’ll use craft matchsticks that are a bit thicker than the wood stir sticks.

9.
Because of the thickness, we’ll cut these straight across.

10.
We always like to start with the top and bottom lengths, then fit the sides in between. It gives the frame a more intentional and stable look.

11.
Lightly place your four finished sides and set aside.

12.
For the smallest frame, we’ll go off the rails and split a wood stir stick. I know, I know. Crazy.

13.
Again, working first from the top and bottom widths, fill in the sides last.

14.
Now, for some fun! Decide which finish you would like. If you prefer the unfinished look of the wood, skip forward.

15.
We elected to use a gel stain for all three frames. Definitely stain any wood pieces before you get to gluing. Otherwise, you will be certain to notice the spots with glue will not take stain.

16.
Once your paint or stain has dried (or you’ve chosen to leave the wood unfinished) you are ready to glue! Using a small amount of CraftBond on each side, apply directly to the front of the art.

17.
We’ve found that the corners hold especially well if we secure them with a tiny binder clip.

18.
Set aside to dry.

19.
Repeat with the craft matchsticks frame.

20.
When you get to the very tiny split stir sticks, it gets quite tricky. Don’t worry if you can’t make the binder clips work at this point.

21.
Give everything at least half an hour to set before removing the clips.
At last, we used a glossy print, but if you find that you would like to add a bit of shine, trim a rectangle of clear plastic (we often keep bits of packaging for this kind of use) and set it inside the frame.
That’s it!
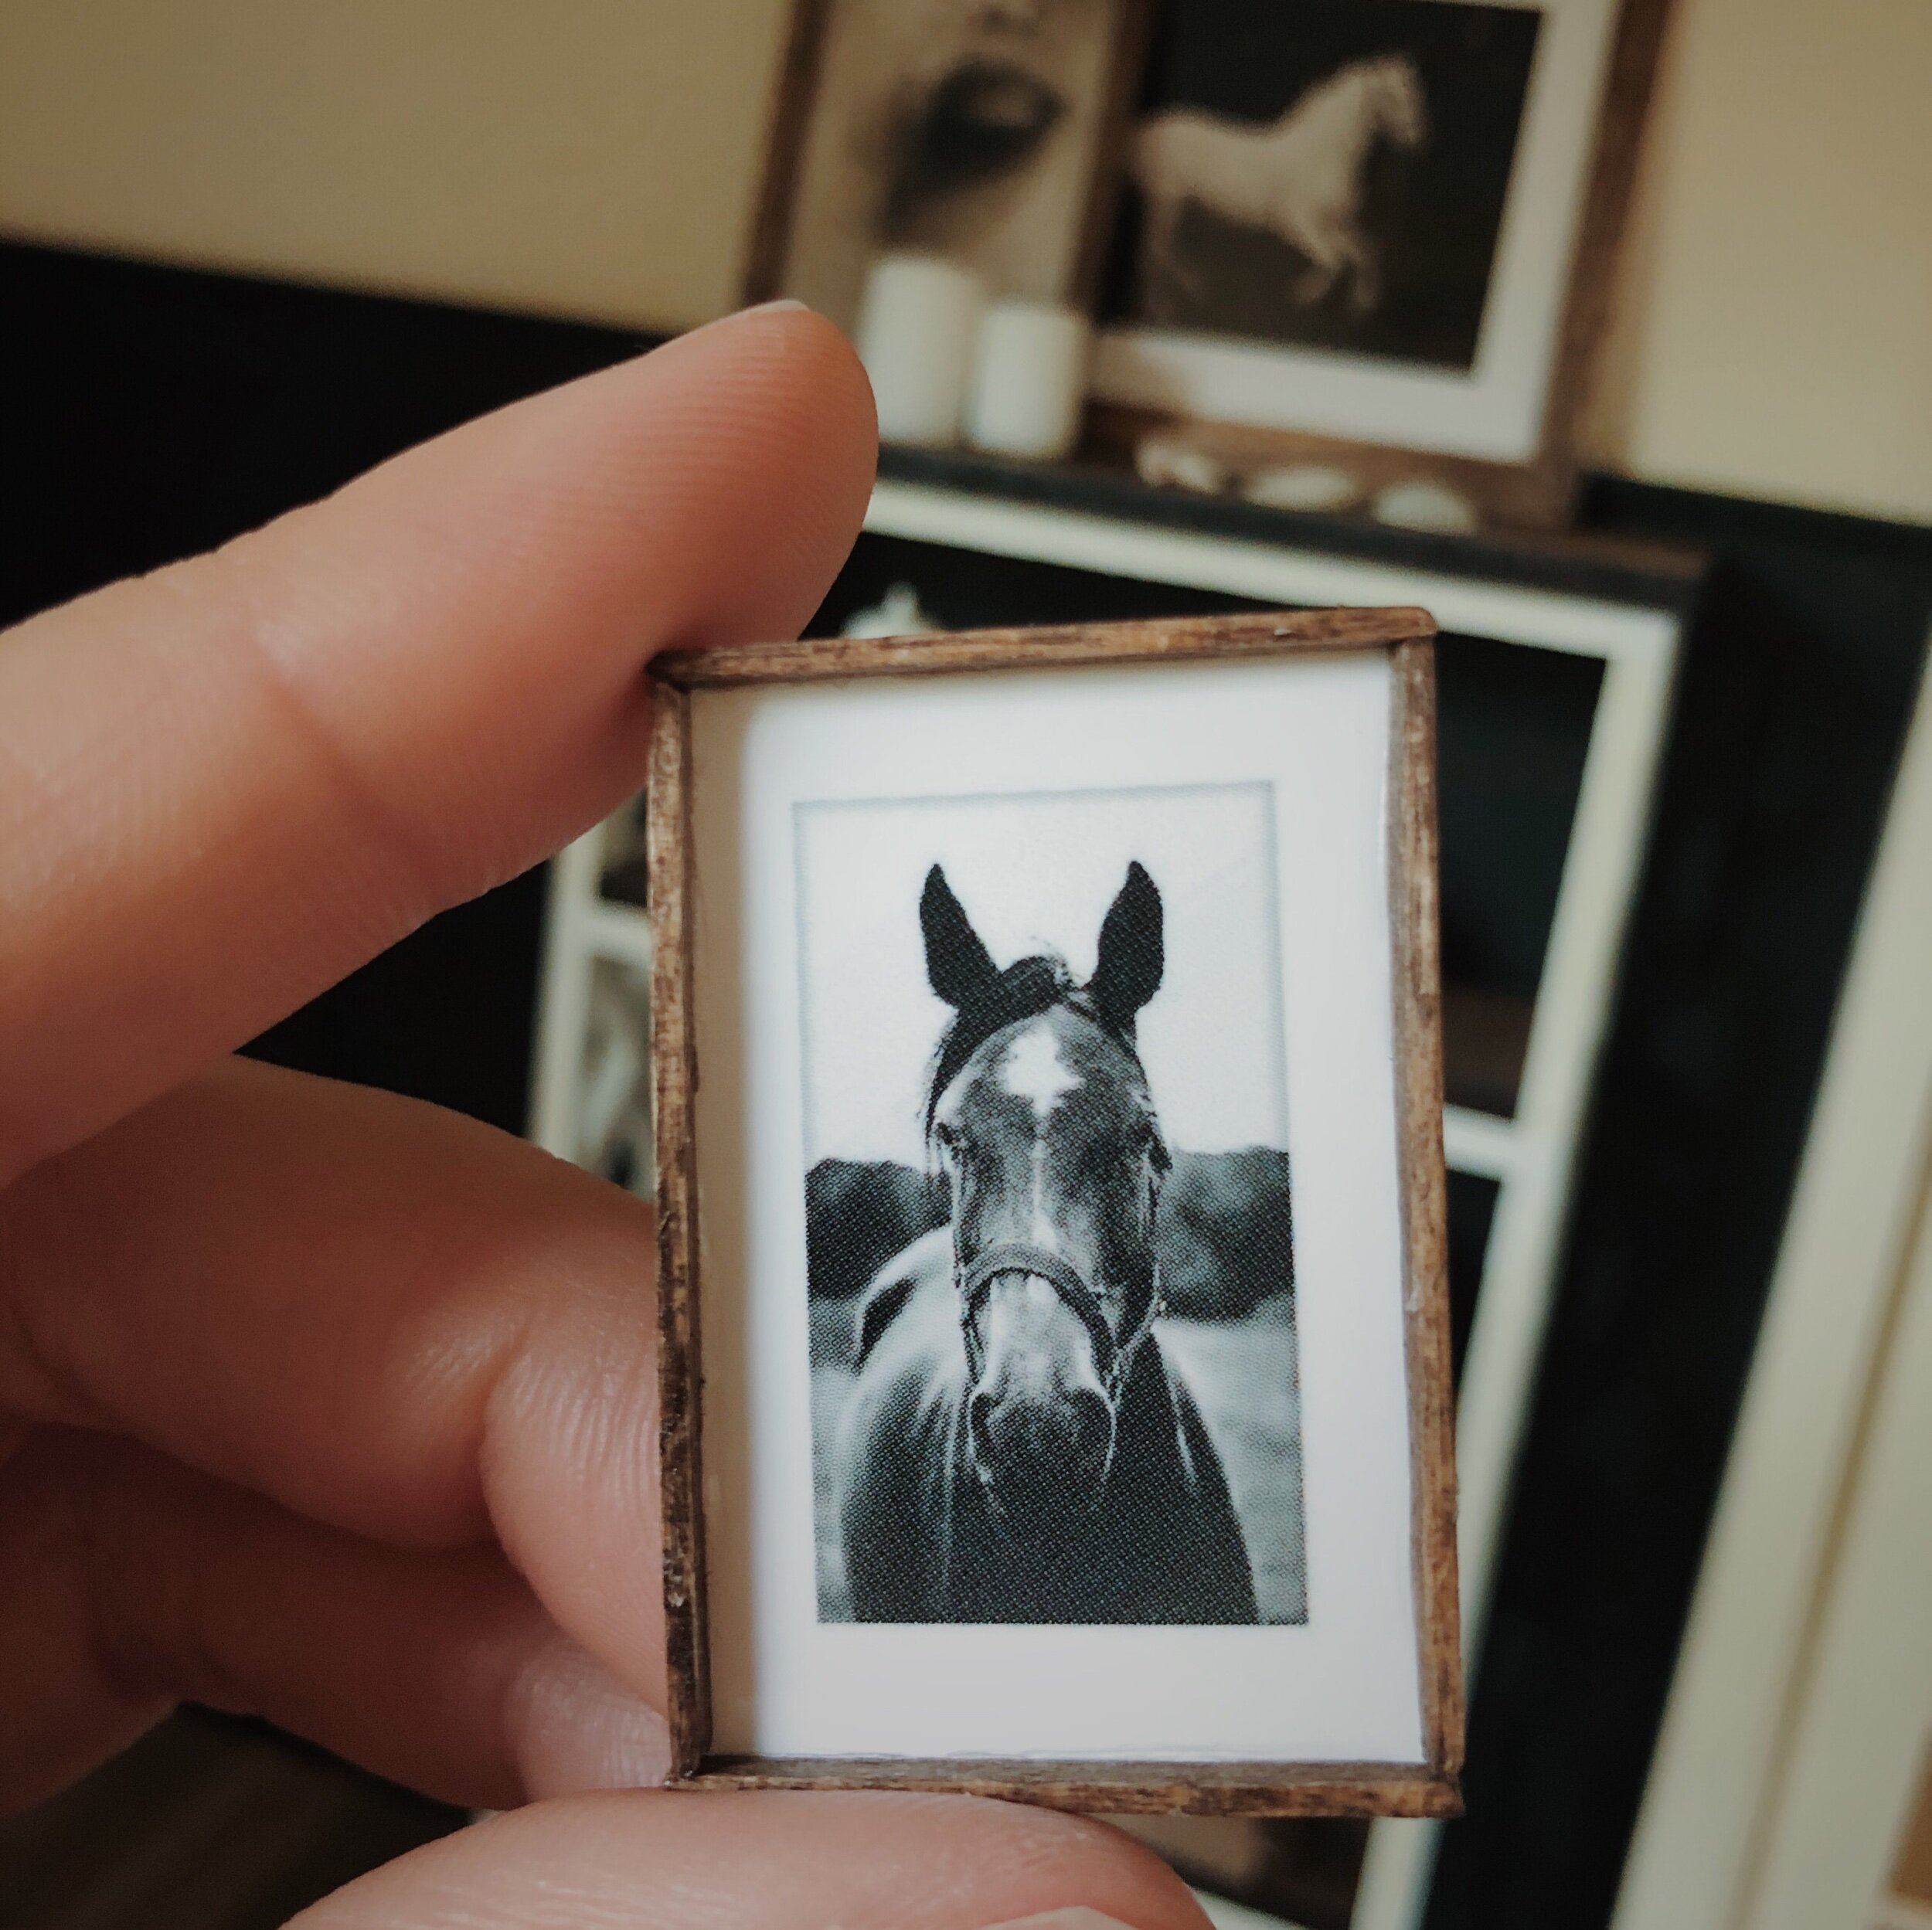
You can take off the binder clips and admire your work. In our case, we found that the smallest frame had gotten a bit off track and had to be reassembled.
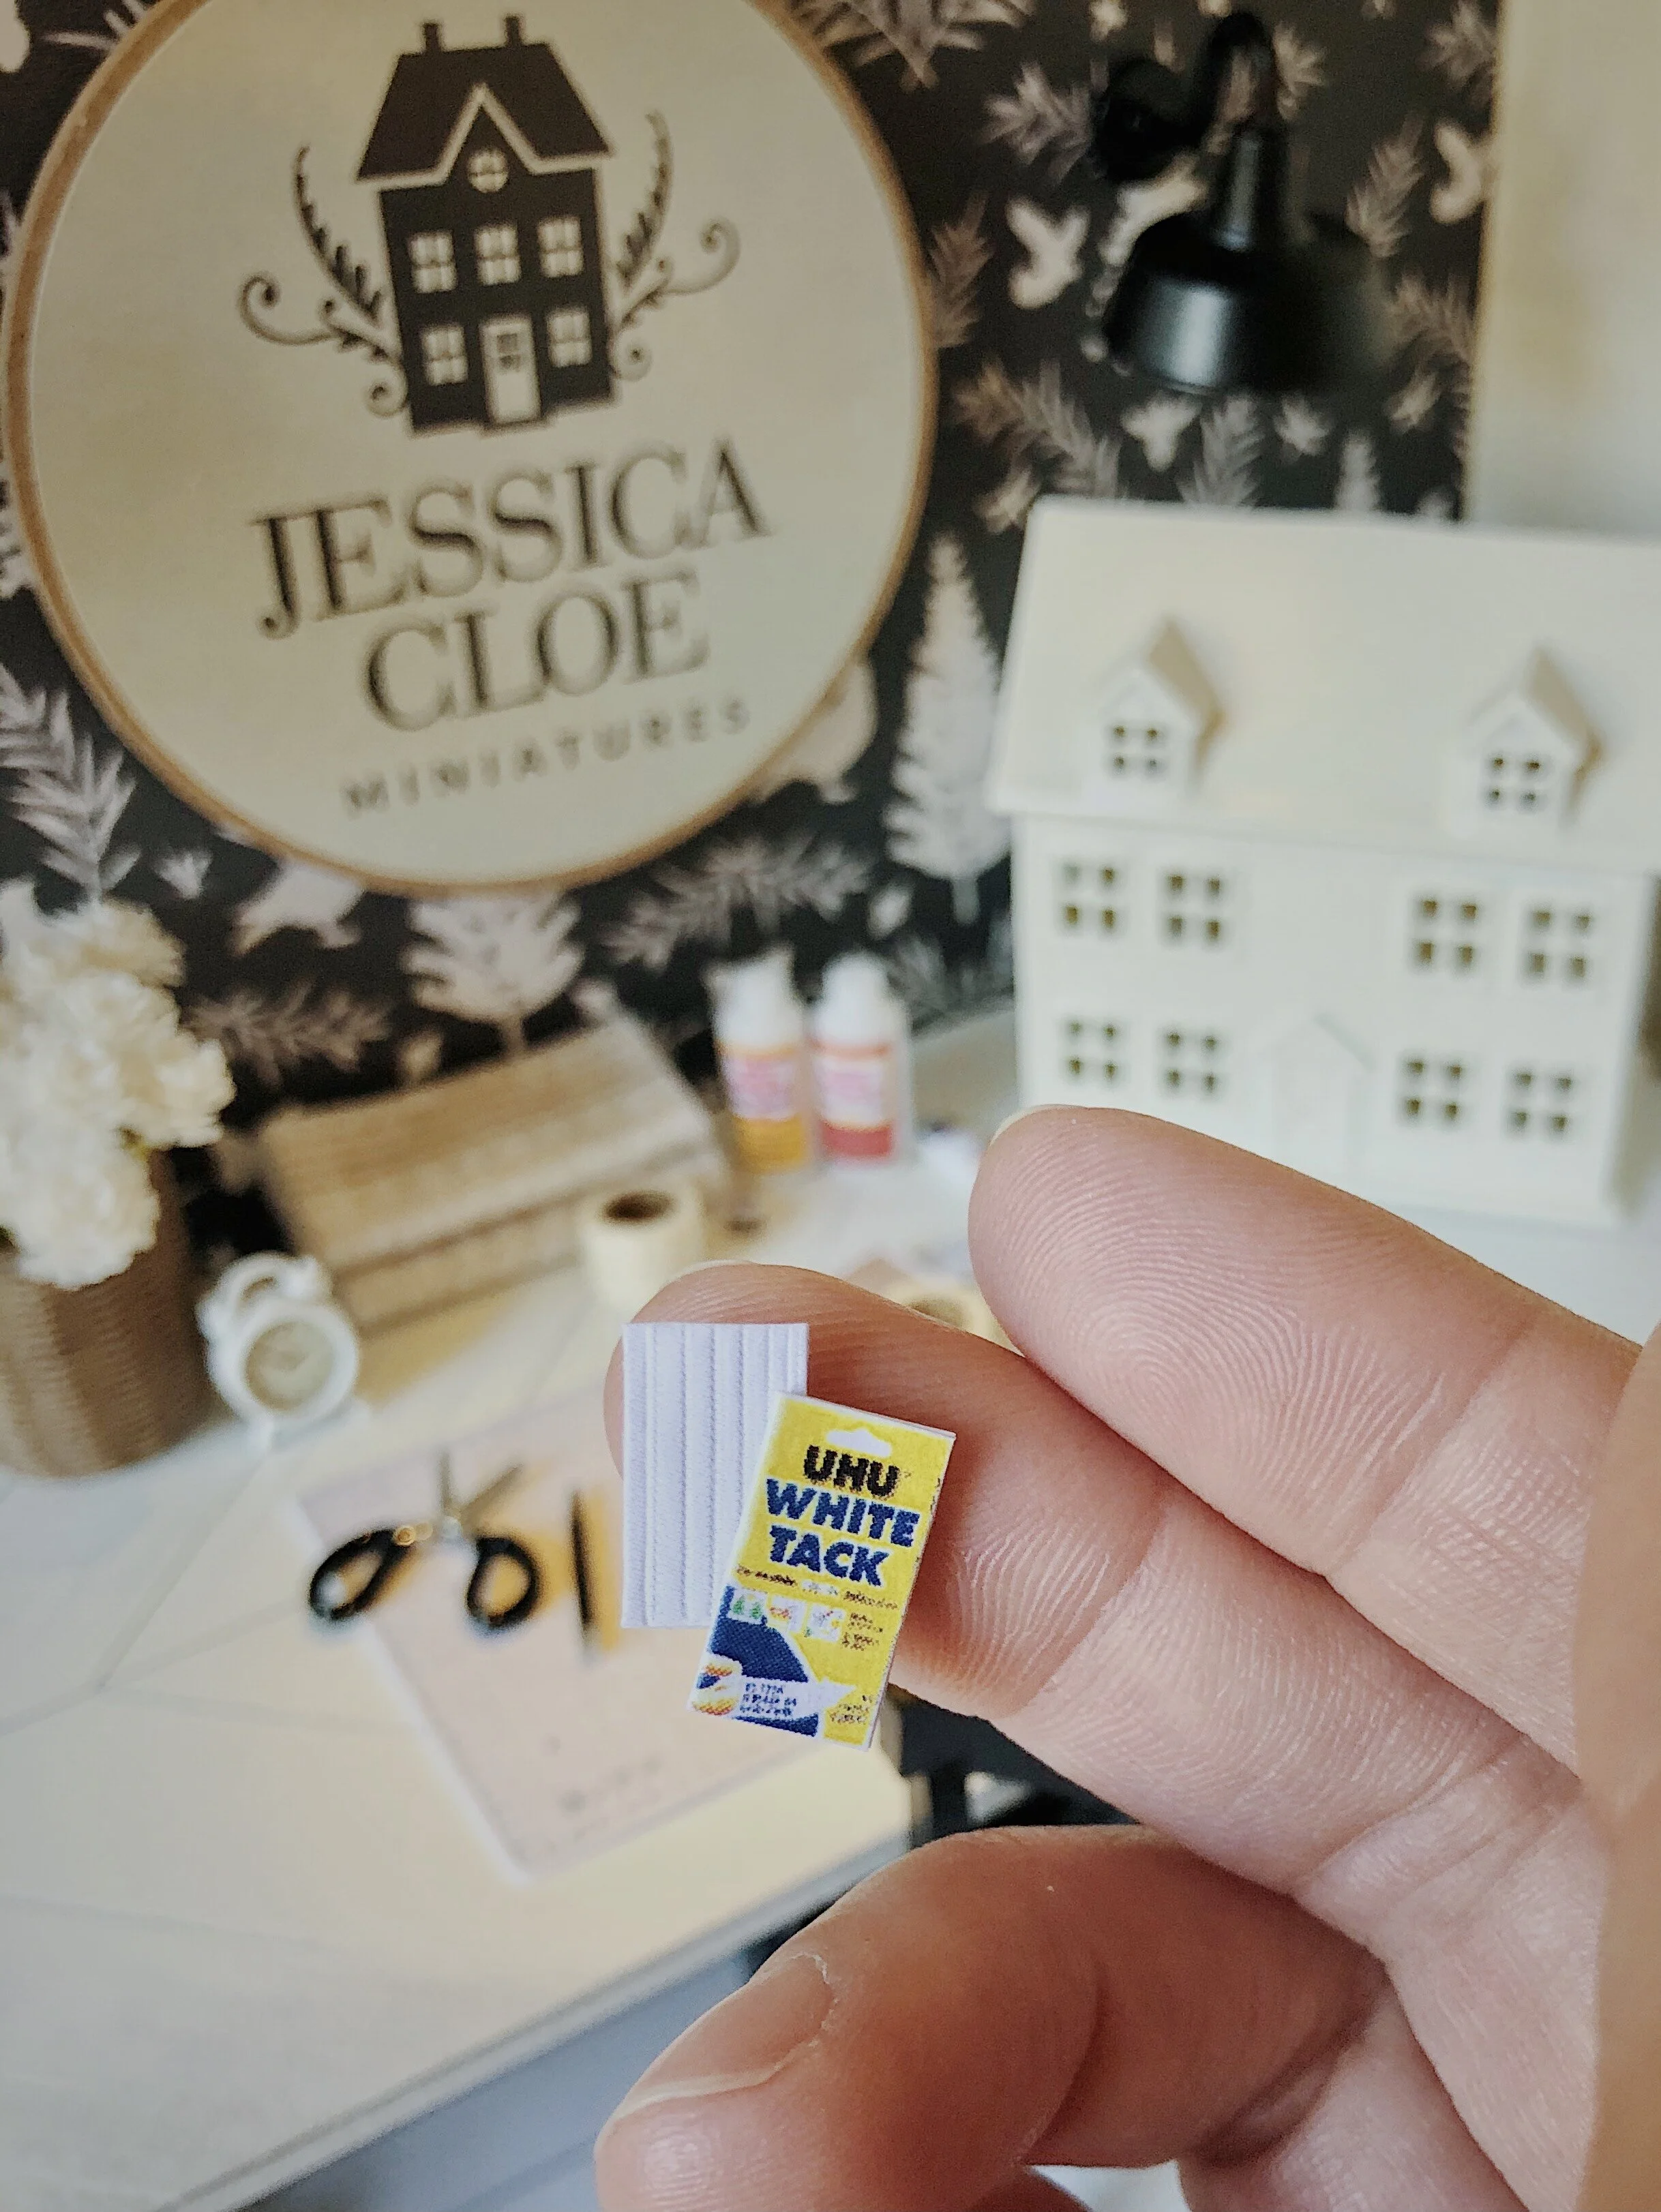
When you’ve finally got everything straightened out again, you can lean them up against a wall or hang with a bit of white tack.


![[Featured] Home is where the heart is](https://images.squarespace-cdn.com/content/v1/595db0b044024313332d1ef8/4d709e00-3324-4310-8fc7-4e12c12235fc/westwind+1.jpg)


![[Featured] House Hunter—Mini Modern Farmhouse](https://images.squarespace-cdn.com/content/v1/595db0b044024313332d1ef8/1635368524954-RFDD3B7IPNN7OTRDWE6Y/Mini+Modern+Farmhouse+Interior+Furnished.jpg)


![[Featured] Meet the ‘cloffice’](https://images.squarespace-cdn.com/content/v1/595db0b044024313332d1ef8/1622420833320-T5FVUAYDEA0ING4B0DRO/Mini+Cloffice+Tall_Phone.jpg)


![[Featured] Making a home](https://images.squarespace-cdn.com/content/v1/595db0b044024313332d1ef8/1619784319429-U4GKIWXVW76OCOH9H4OM/Long+Farmhouse+Living+Room.JPG)

![[Featured] Instagram Identities: Jessica Cloe Miniatures](https://images.squarespace-cdn.com/content/v1/595db0b044024313332d1ef8/1619784478243-8KCI6MIDSXD6ADUM5R1T/Bayview+House+Interior.jpg)


