
Mini Fall Leaf Hack
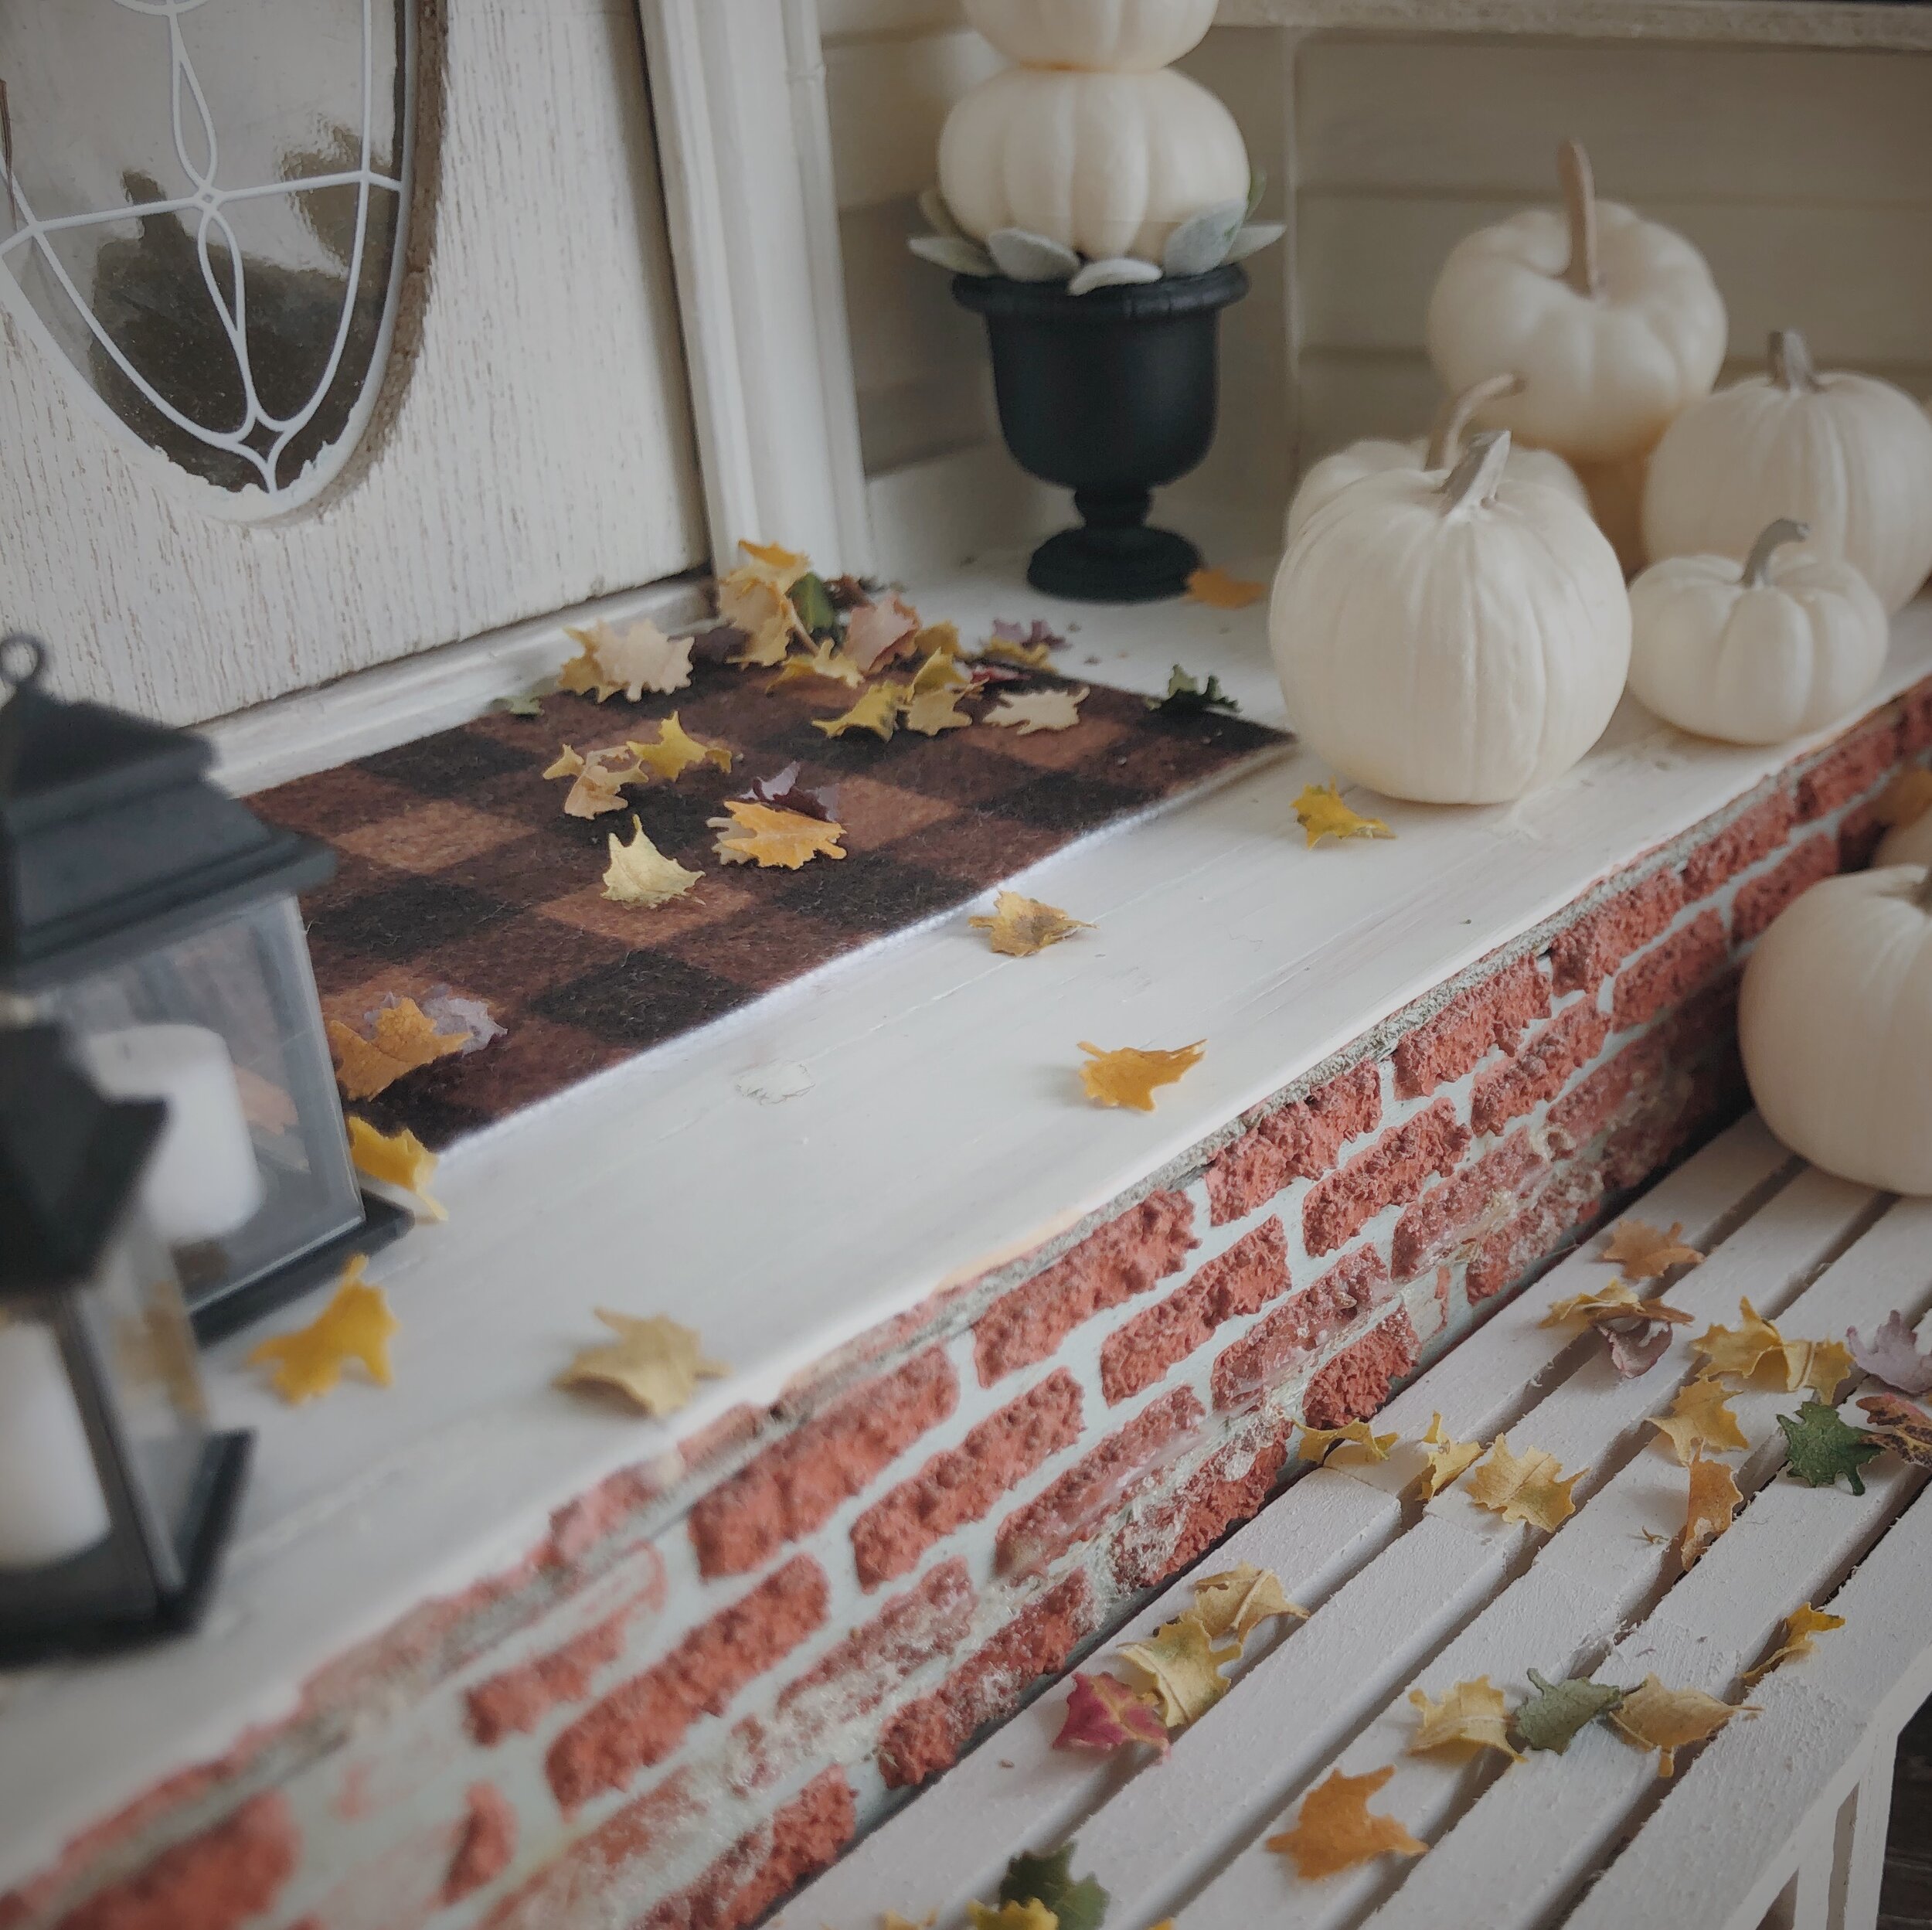
Mini fall projects require plenty of mini fall leaves. What’s a miniaturist to do? Well, if you have any access to actual-sized leaves, I’ve got a quick tip for you. Read on.

What You Will Need

1.
Collect leaves. The best ones are thin, free from too many veins and still quite moist. Don’t have any suitable leaves hanging around your yard? Might be a good time for a walk. (Yep. I’m that crazy lady snatching up fallen leaves every few blocks.)
Trim off stems.

2.
If your leaves have any thick sections, trim them off.

3.
I ended up cutting out the central vein/midrib on each of my leaves. They were just too bulky to fit into the mini punch.

4.
Collect as many nice, even sections of leaf as possible.

5.
Now comes the fun part. You’ll need a mini punch in the shape of a leaf. My local hobby shop had a few larger punches, but I had to turn to Amazon for this truly tiny one.

6.
Look, I’m not sure how you are technically supposed to use these tiny punches, but I like to see what I’m doing.

7.
Holding onto the little think while exerting pressure is a bit tricky. The whole deal popped out of my hands at least 4 times.

8.
It is definitely easier punching from a smooth edge. Feel free to trim as many edges as needed.

9.
I was going to do only yellow leaves a first, but then I got carried away and added in some green and red.

10.
You can get several leaves out of each section.

11.
For extra realism, give the mini leaves a couple of days to dry out. They start to curl up at the edges.


![[Featured] Home is where the heart is](https://images.squarespace-cdn.com/content/v1/595db0b044024313332d1ef8/4d709e00-3324-4310-8fc7-4e12c12235fc/westwind+1.jpg)


![[Featured] House Hunter—Mini Modern Farmhouse](https://images.squarespace-cdn.com/content/v1/595db0b044024313332d1ef8/1635368524954-RFDD3B7IPNN7OTRDWE6Y/Mini+Modern+Farmhouse+Interior+Furnished.jpg)


![[Featured] Meet the ‘cloffice’](https://images.squarespace-cdn.com/content/v1/595db0b044024313332d1ef8/1622420833320-T5FVUAYDEA0ING4B0DRO/Mini+Cloffice+Tall_Phone.jpg)


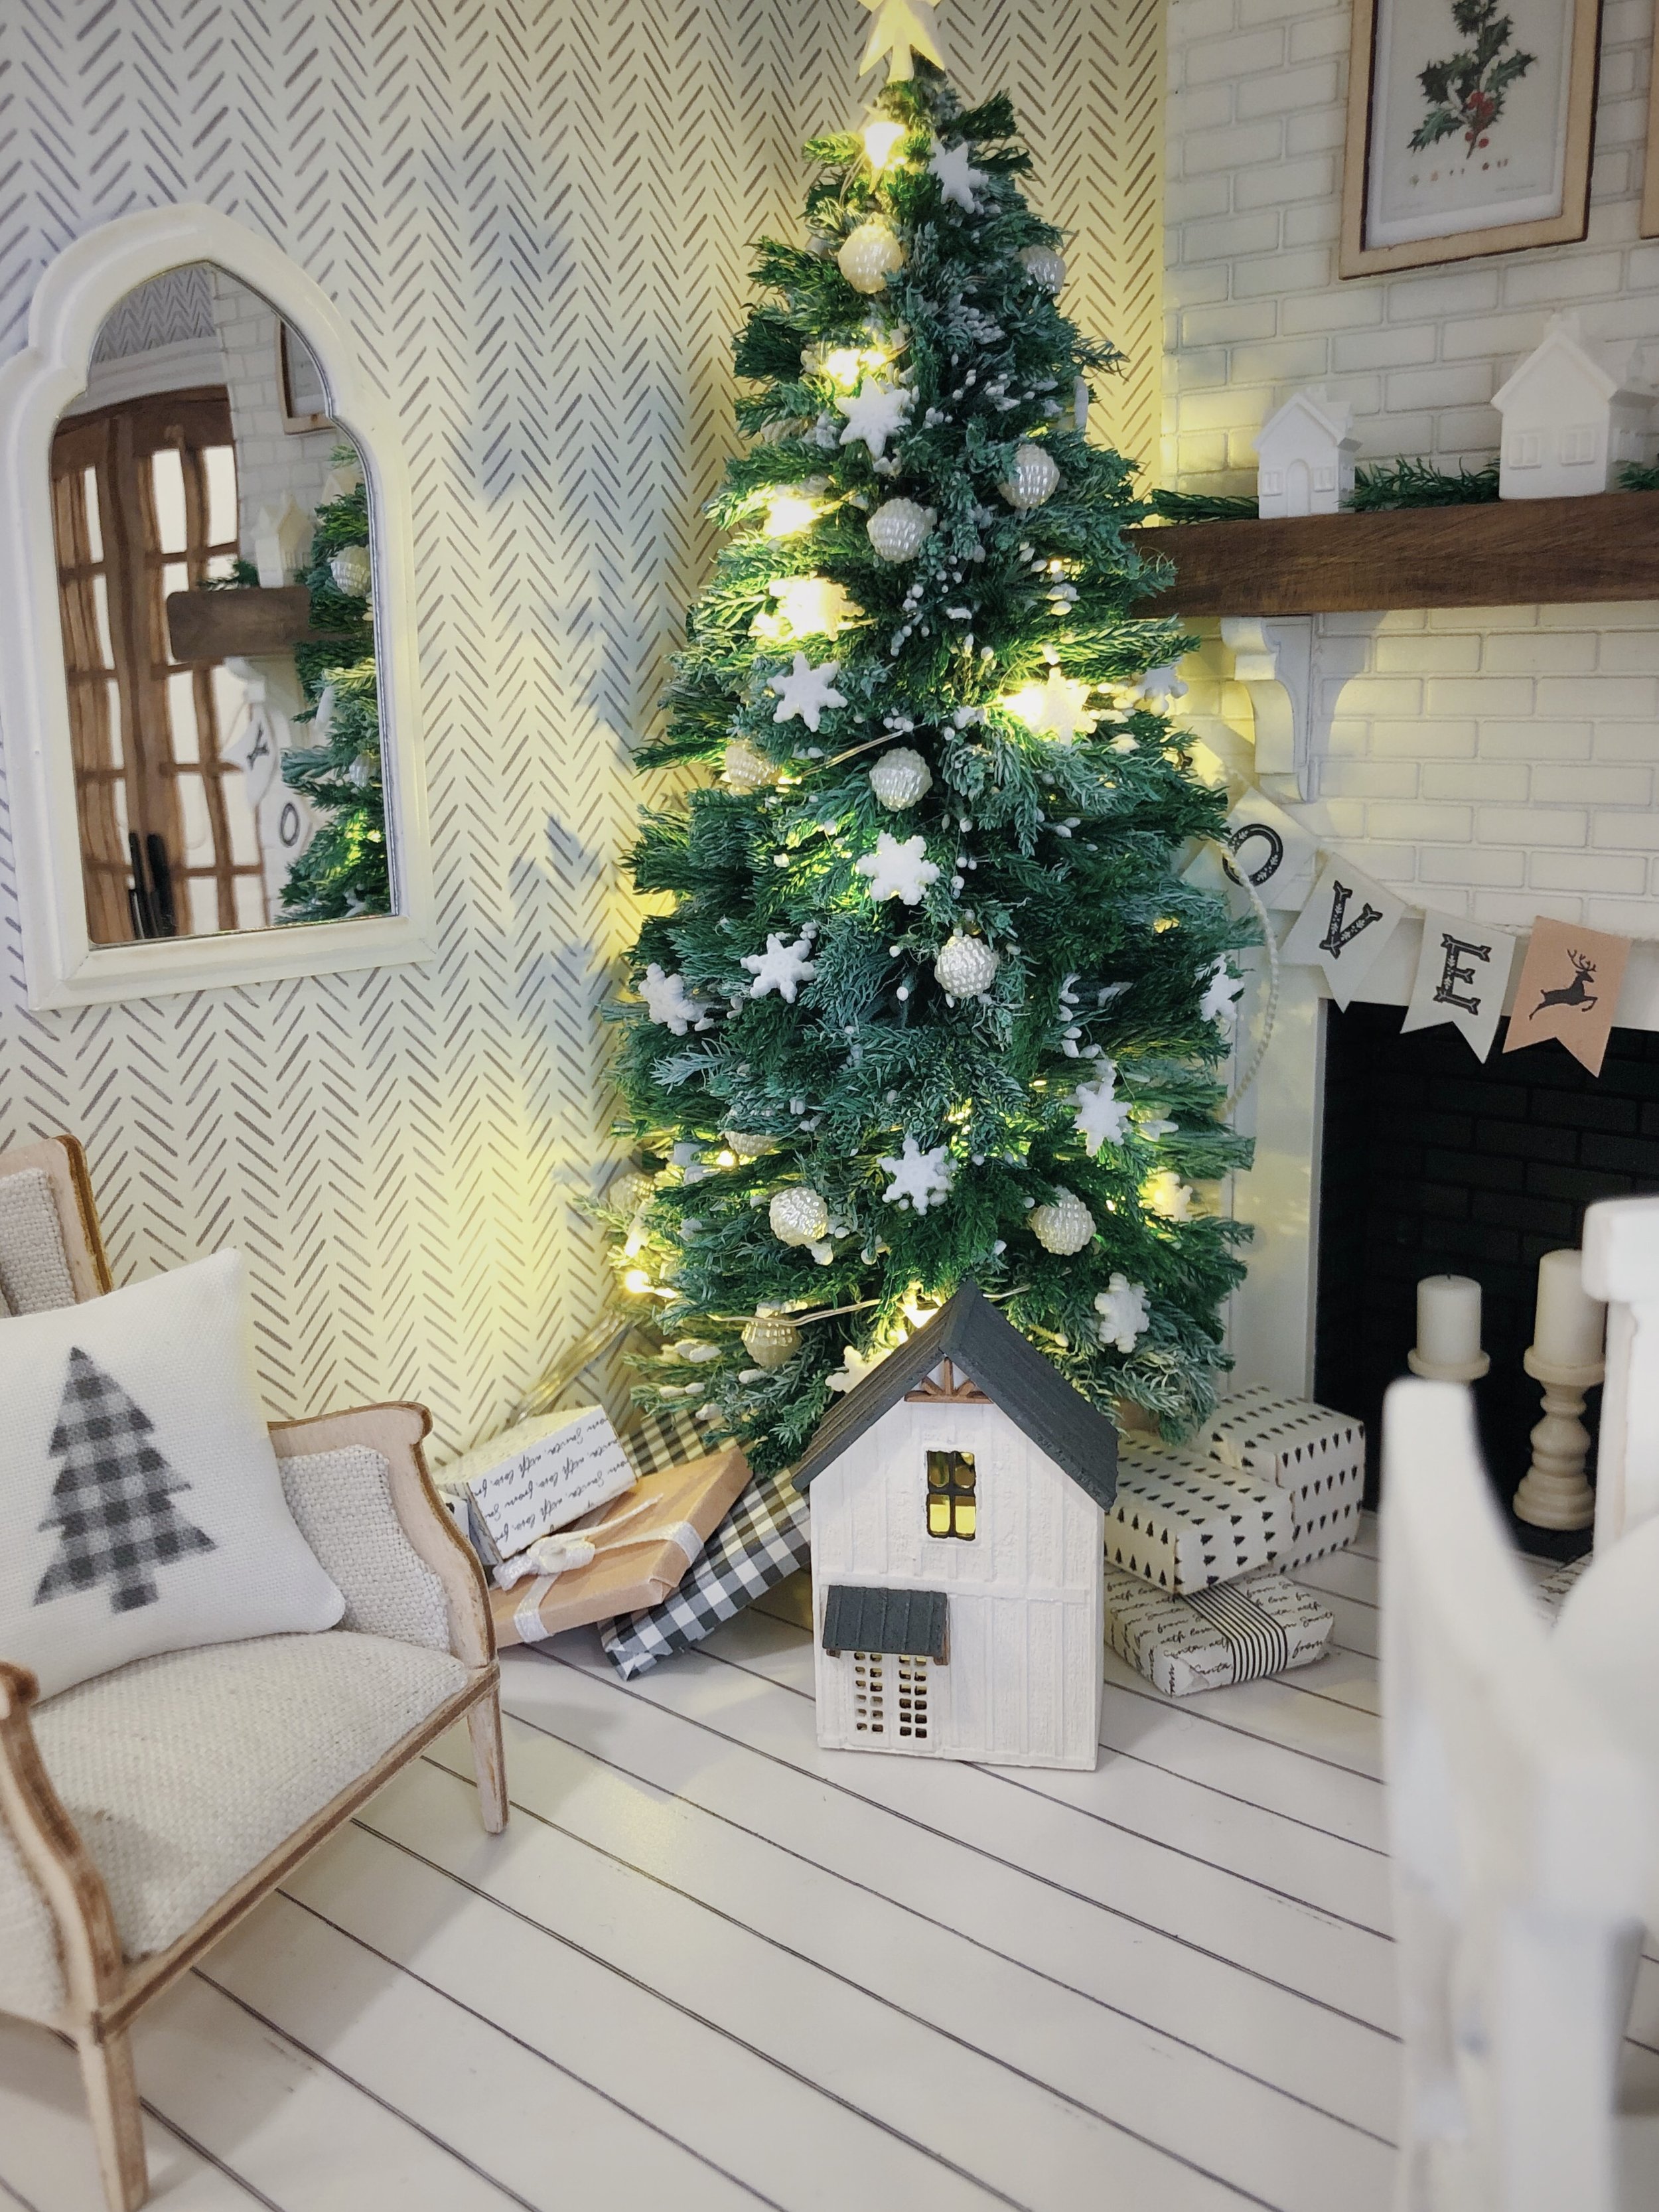
![[Featured] Making a home](https://images.squarespace-cdn.com/content/v1/595db0b044024313332d1ef8/1619784319429-U4GKIWXVW76OCOH9H4OM/Long+Farmhouse+Living+Room.JPG)

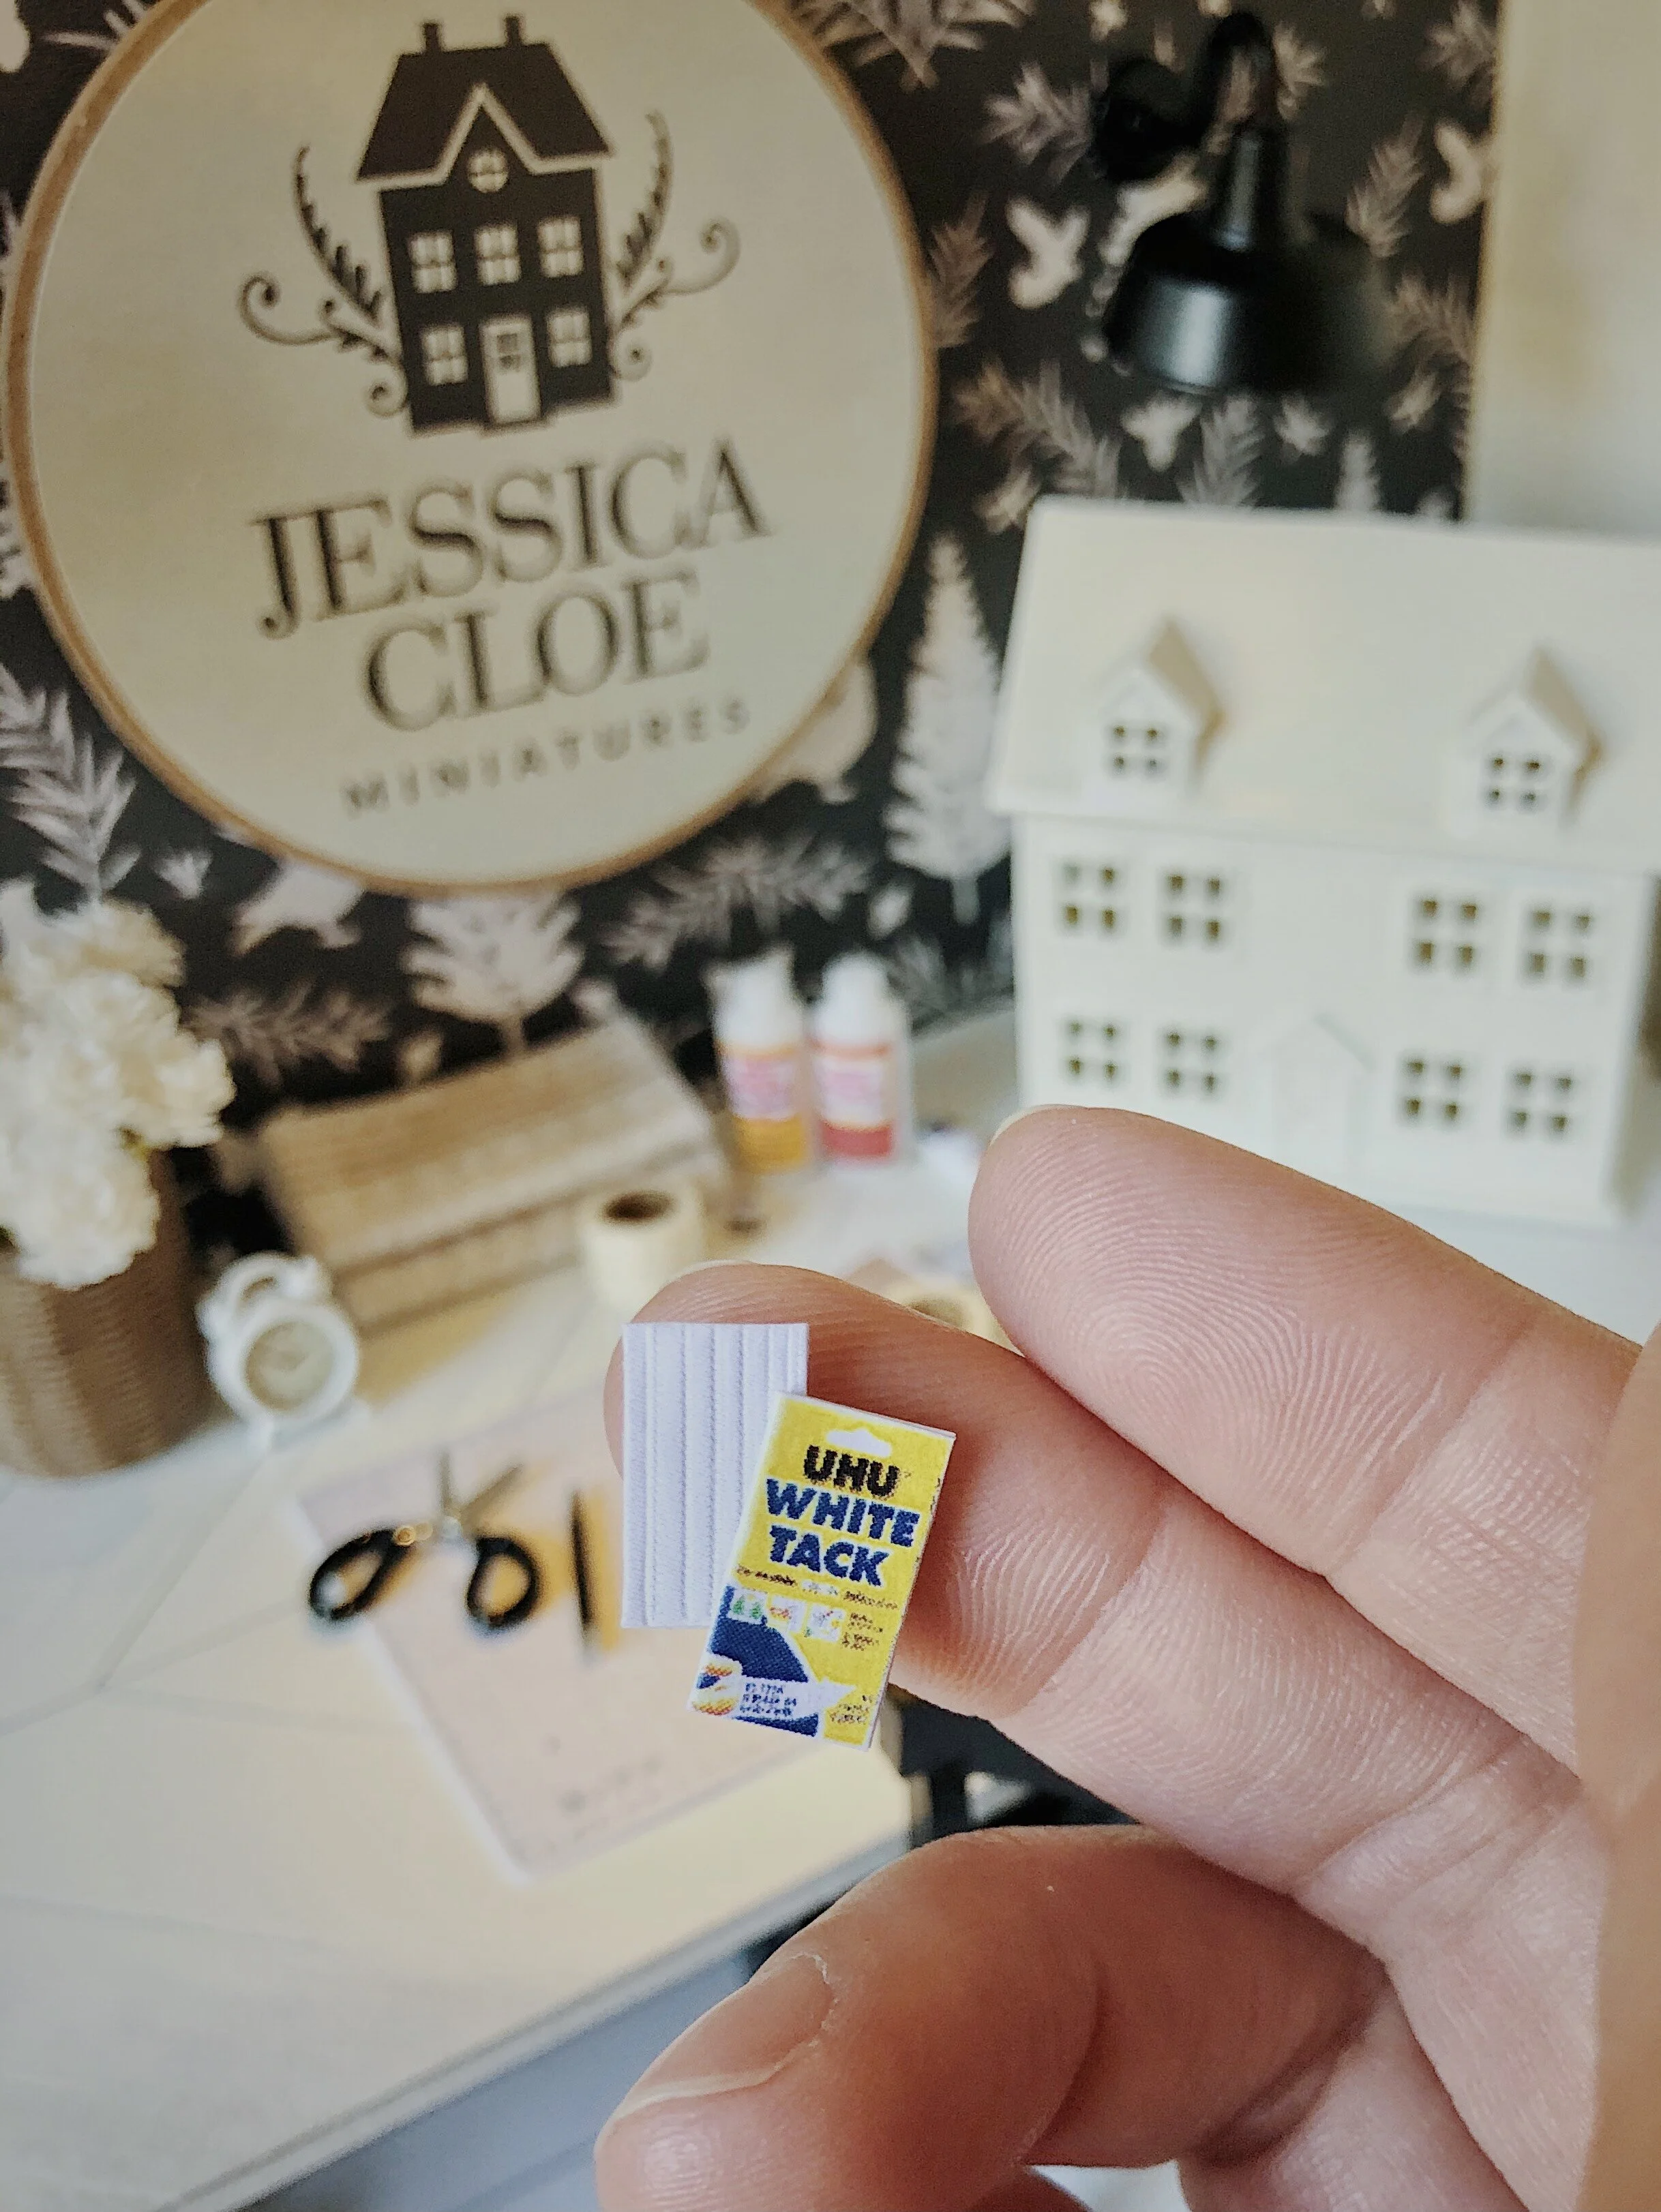
![[Featured] Instagram Identities: Jessica Cloe Miniatures](https://images.squarespace-cdn.com/content/v1/595db0b044024313332d1ef8/1619784478243-8KCI6MIDSXD6ADUM5R1T/Bayview+House+Interior.jpg)

