
DIY Bedding Hack
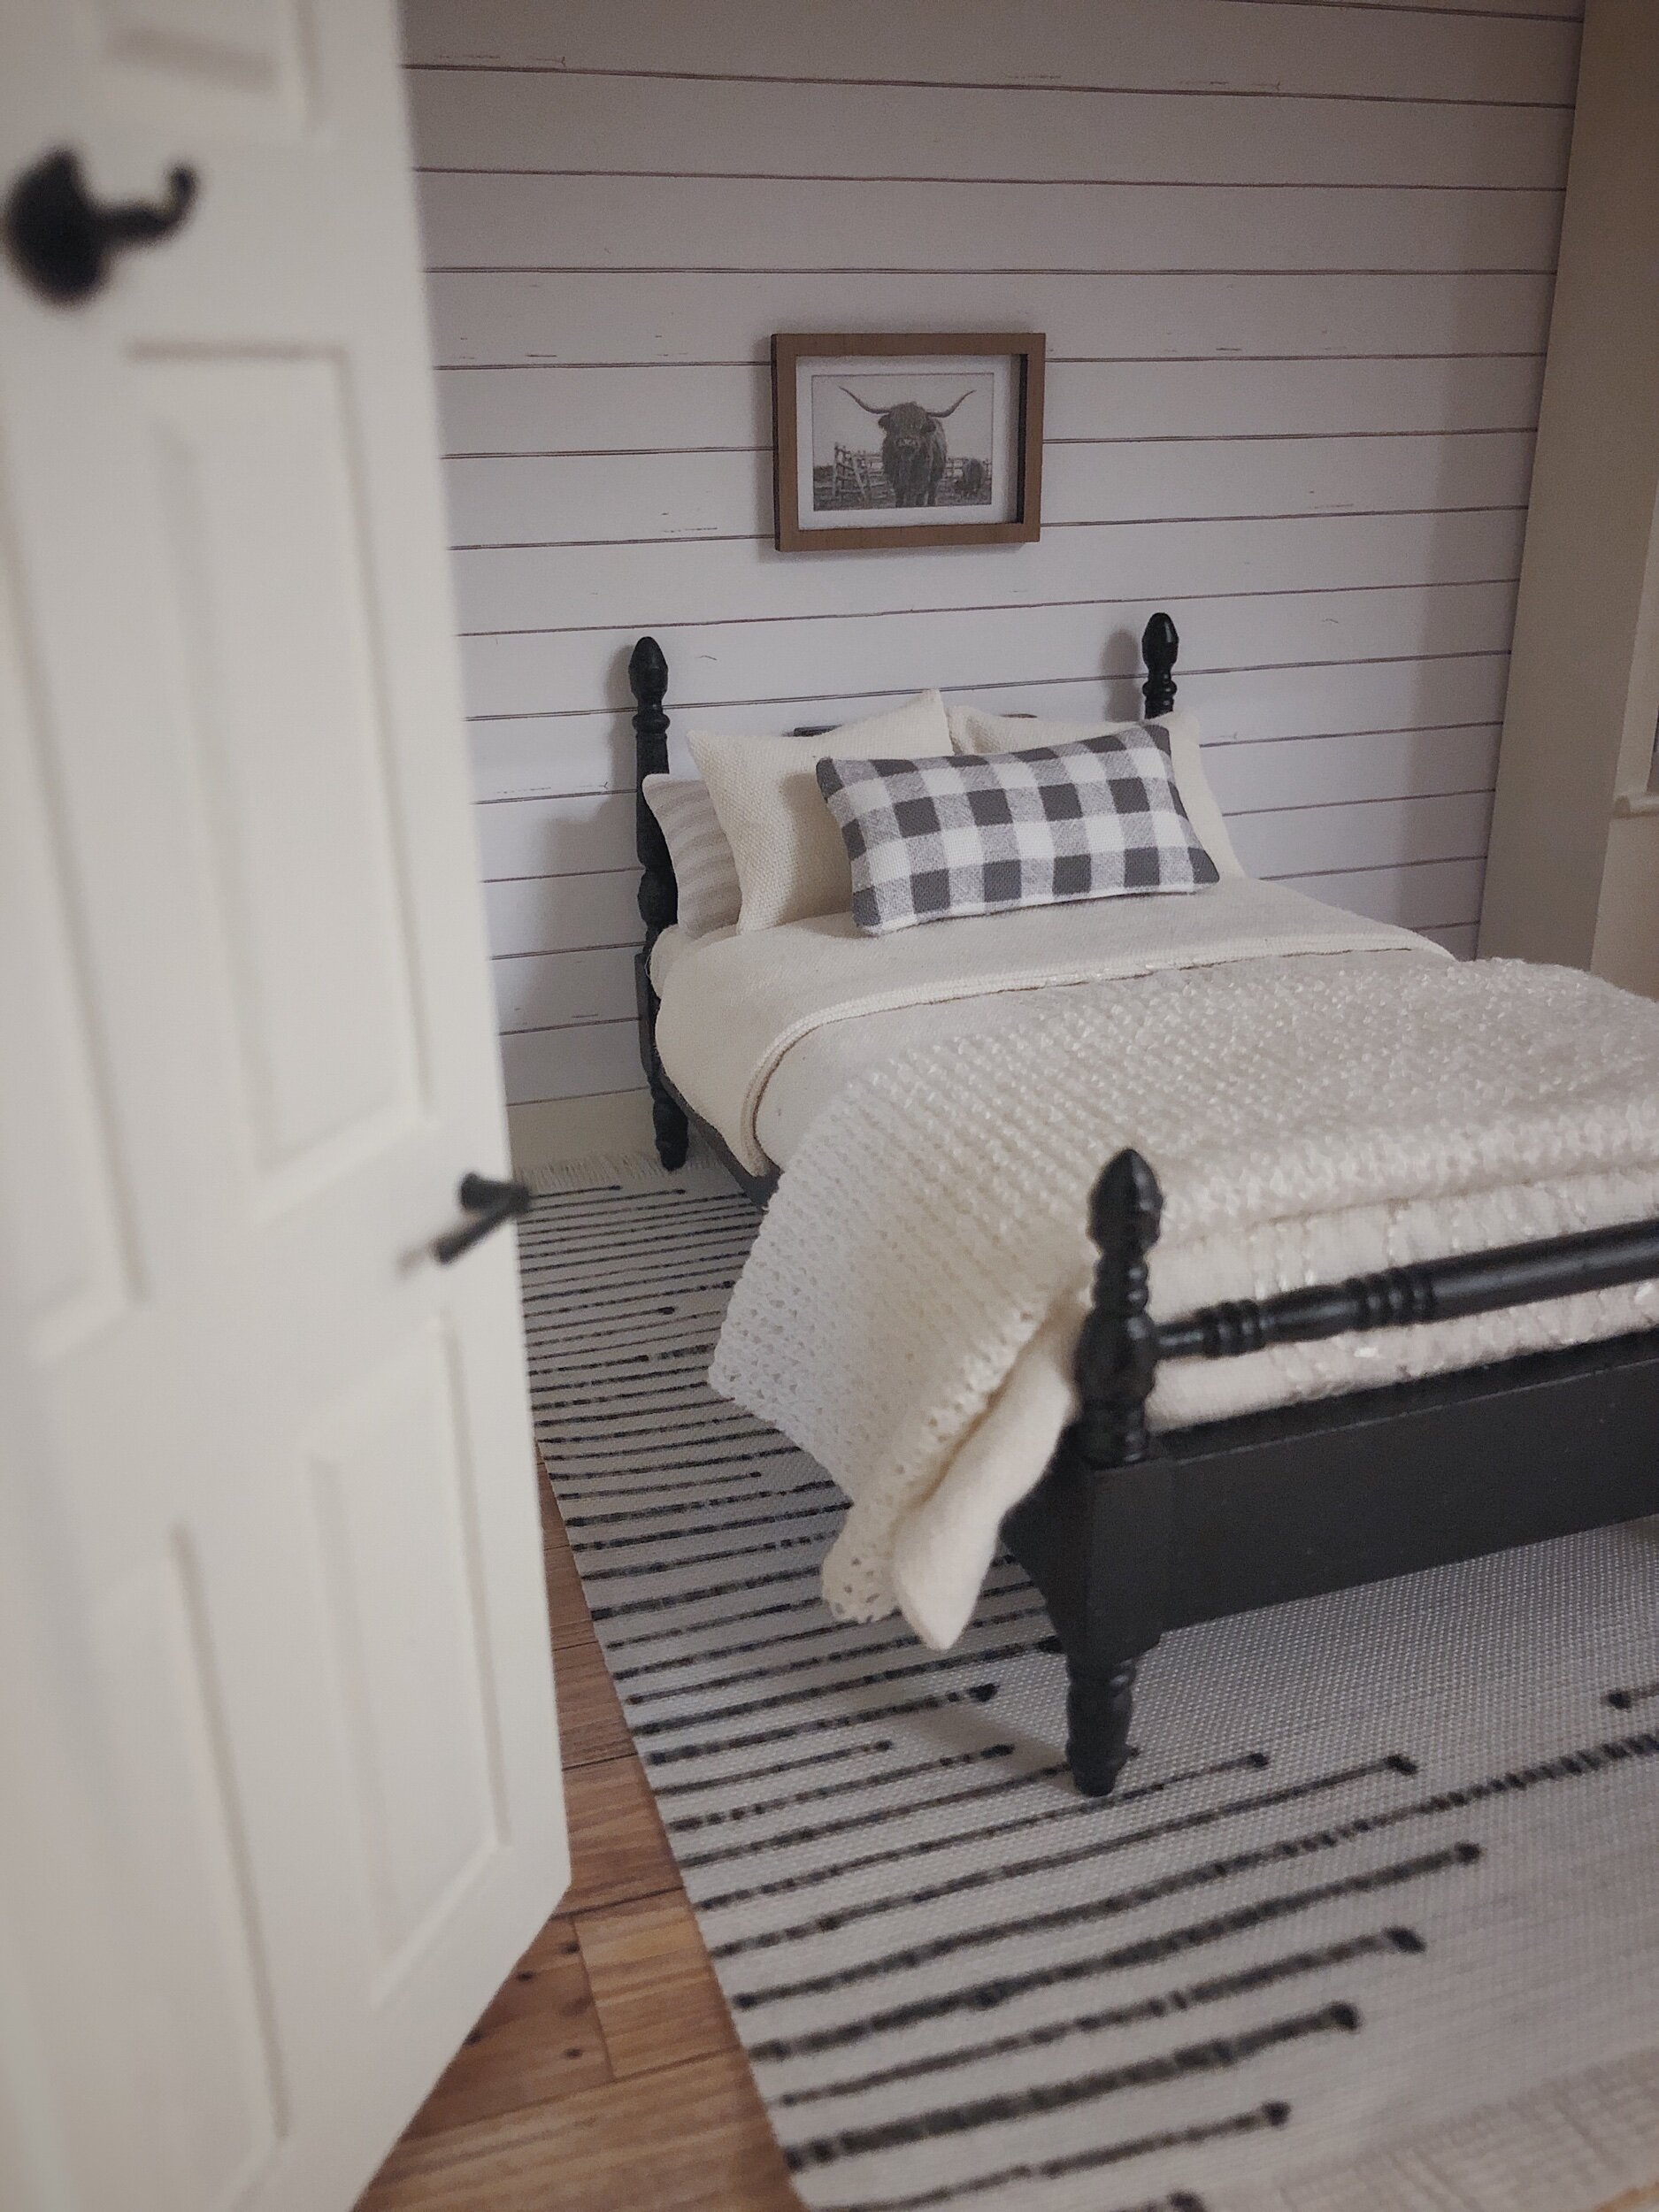
I’ve stumbled onto a surprising source of miniature textiles. Here goes: thrifted (or about to be donated) clothing. Recently, I found a men’s dress shirt that I just knew was going to become dollhouse bedding. In this tutorial, I’ll cover making a sheet set and a coverlet. (You can find my pillow tutorial here.)

What You Will Need
Cutting Mat
Sewing Machine
Iron
Miniature Bed
Cutting Guide
Craft Glue
Scissors
Rotary Cutter
Spray Starch
Men’s Dress Shirt

1.
Let’s start by doing a very tiny bit of disassembly. This particular bed had a mattress that was lightly glued down. Very gently lift off the mattress.

2.
You’ll usually find a nice layer of foam for the mattress. We’ll keep that.

3.
First, the “fitted” sheet.
Depending on the size of the shirt, I’ve found that one sleeve of a men’s short-sleeved dress shirt will suffice for the sheets.
Go ahead and cut off the sleeve near the seam using your scissors.

4.
Now, cut the short seam under the arm to open up the full size of the sleeve. You’ll need half of the sleeve for each of the sheets.

5.
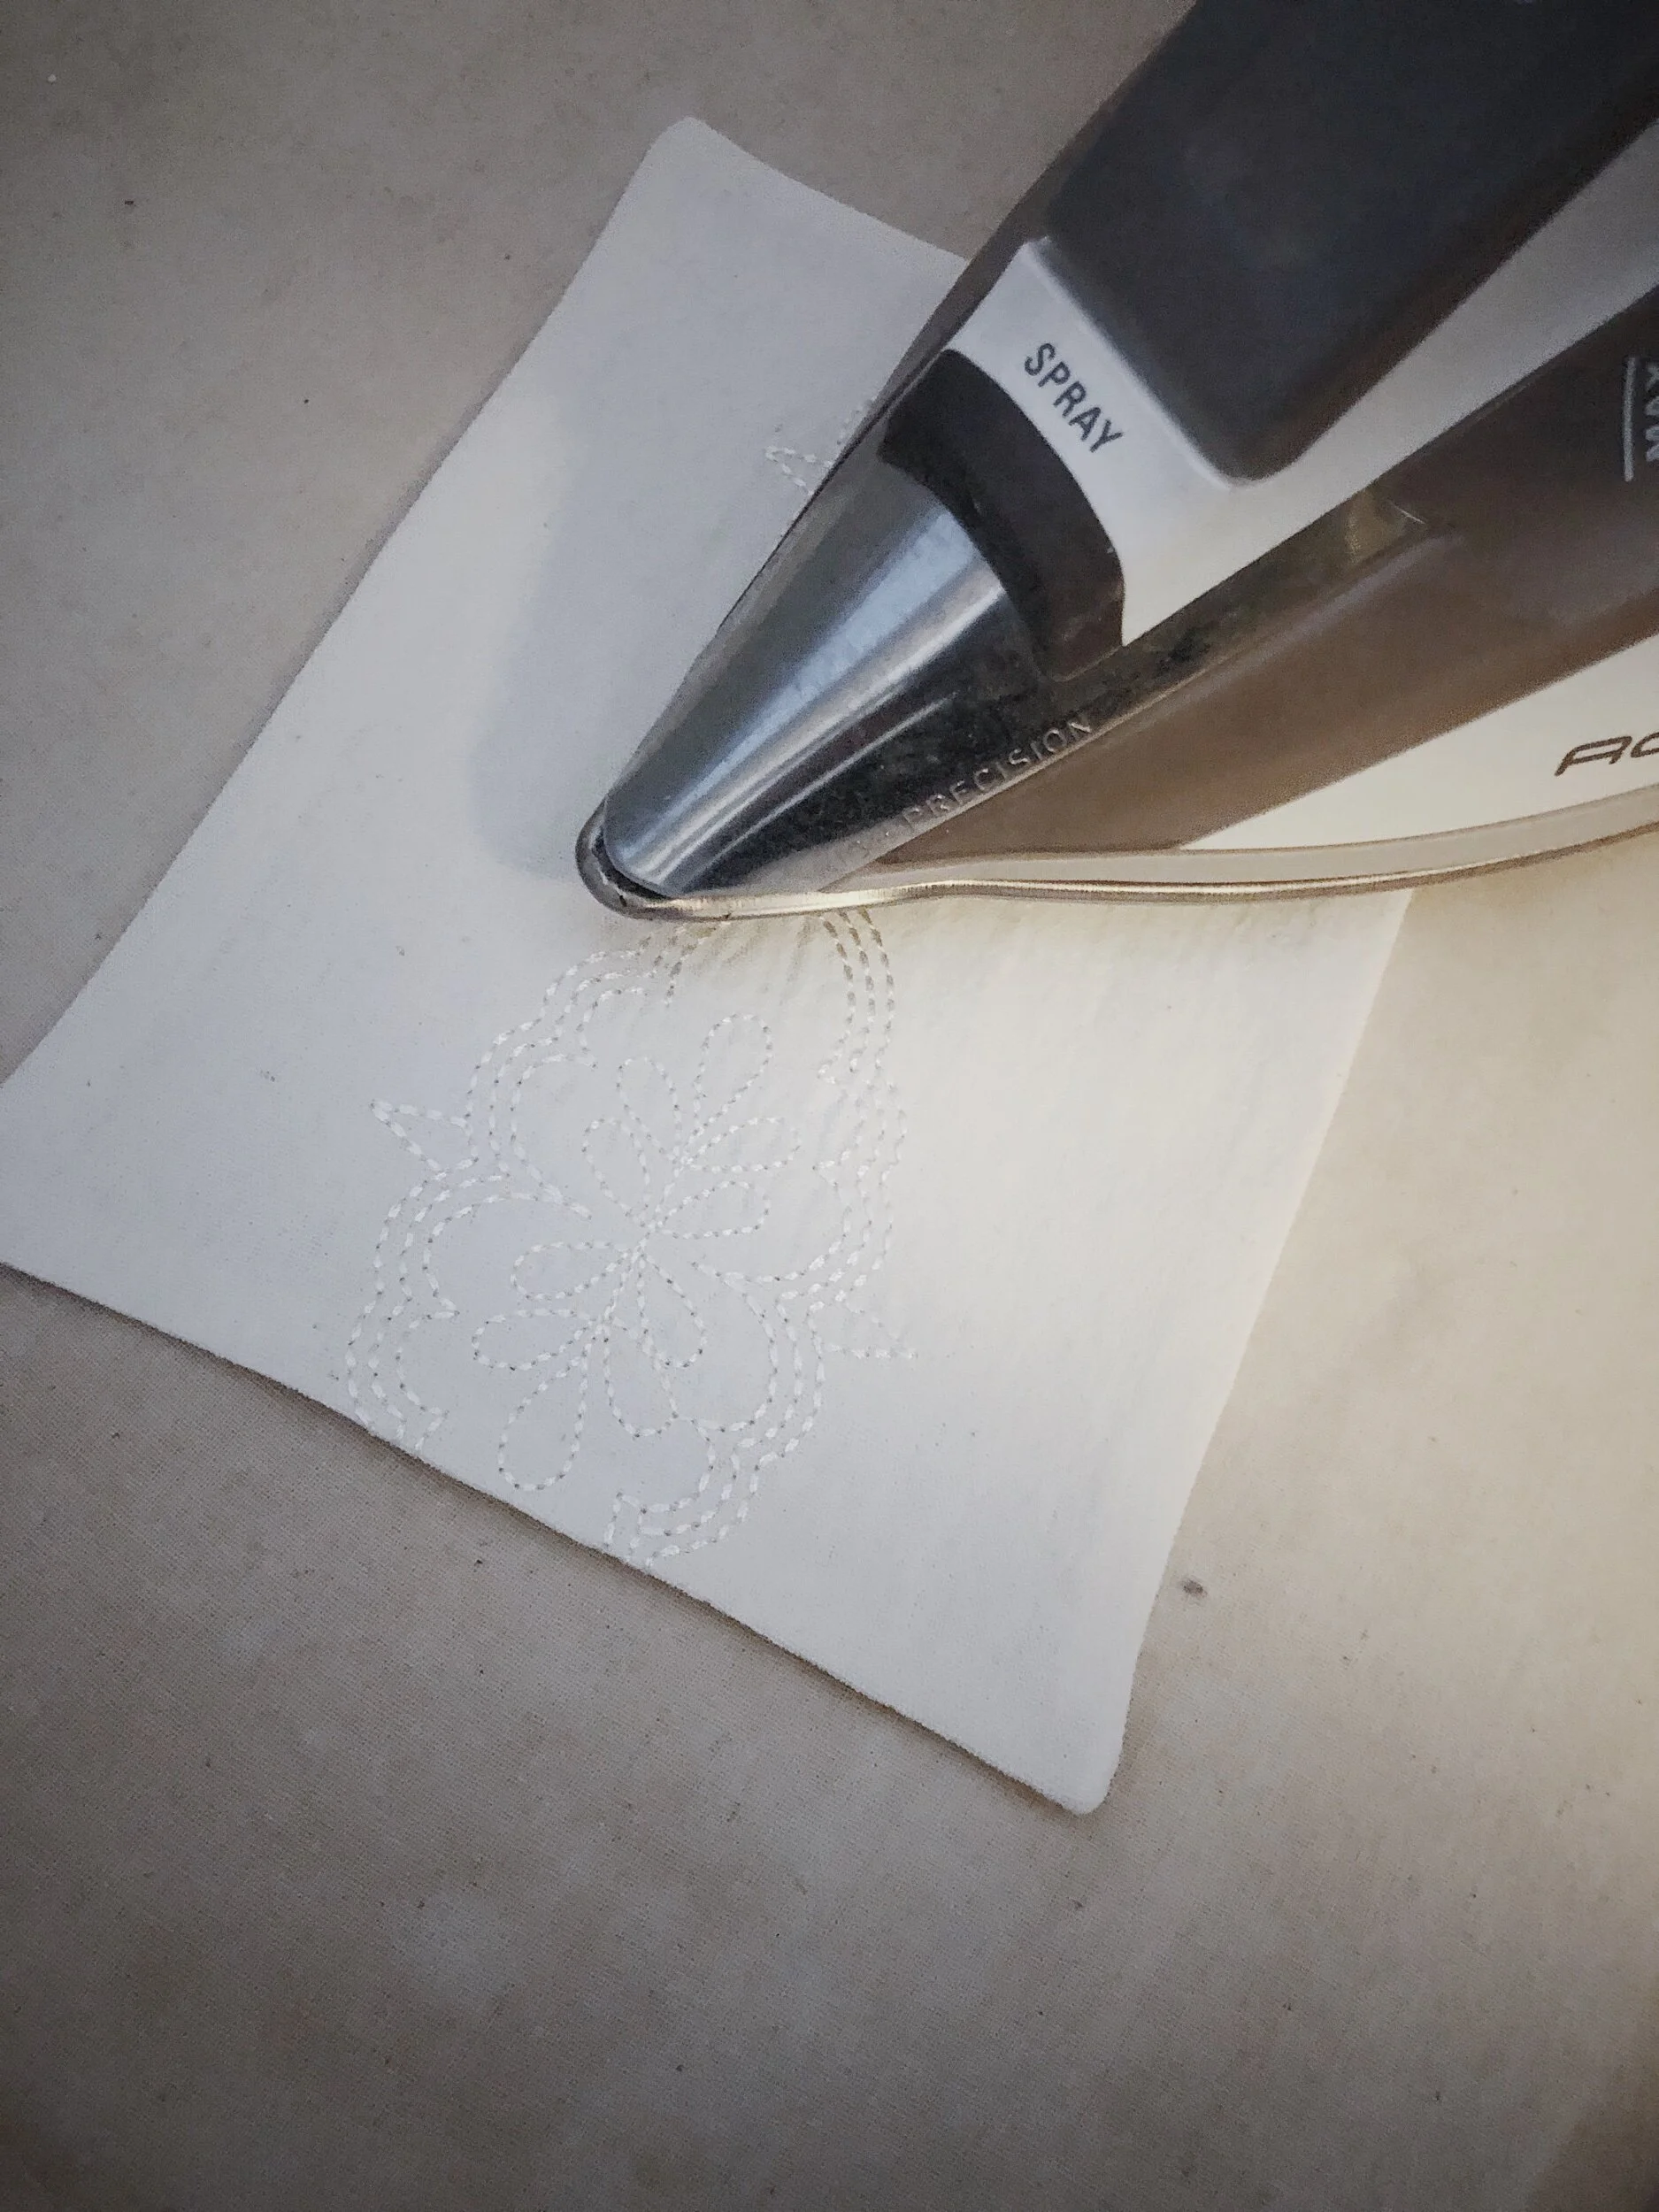
And iron! Seriously, ironing is the most important part of nearly every project that involves fabric.

6.
Cut the sleeve material in half and lay the mattress down in the middle to get an idea of how much fabric you will need to wrap around.

7.
For the “fitted” bottom sheet, you won’t want any bulky seams. Go ahead and trim off any hems or other nonsense.

8.
Next, trim around the mattress leaving a couple of inches for folding over.

9.
Now, we’ll glue the base sheet in place. I’m going to use craft glue.
Why not a hot glue gun, you might ask. And it would be a great solution. The hot glue dries so quickly, that the job would be simple. However, I tend to avoid any process that adds bulk. Do what feels right to you.

10.
Start with the corners. Apply gentle pressure to make sure the sheet “fits” nice and tight.
When all four corners are tacked down, make sure they are starting to dry and holding before you move forward.

11.
Now you’ll apply glue to the sides.

12.
Fold over and hold in place. Repeat with the ends.

13.
You should be set now. Make sure there aren’t any extreme creases on the top.

14.
You can now replace the mattress. If you plan to glue it back in place, don’t do it quite yet. You’ll still want to tuck in the top sheet.

15.
And, to the top sheet!
Now, because this is a short-sleeved shirt, there is a very nice hemmed edge that I’m going to use for the top edge of the top sheet.

16.
Trim to size.
I like to leave a couple of inches on the sides and at the end for tucking in.

17.
Place your top sheet. I like to pull it down about an inch from the top so it looks like the sheet is folded down.

18.
Tuck in the top sheet starting with the bottom and finishing with the sides.
Sheets done!

19.
Now you are ready for the bed cover.
This particular shirt had some decorative stitching down the front, so I decided to use down the center of the cover.
You’ll need to cut out two pieces of fabric. I like to use the dimensions of the mattress then add the following amounts:
• 0.25” to add sides for seam allowance
• 1” to the sides to hang down
• 1” to the bottom

20.
Place the two pieces of fabric with the right sides together.

21.
Set your sewing machine to a very short straight stitch.

22.
Stitch a 0.25” hem nearly around all four sides—leave a 3” gap on one of the sides for turning the piece inside out.

23.
Clip off each of the four corners. (This will leave you with nice, pointy corners.)

24.
Turn the piece right-side-out. Use tweezers or something nice and pointy to get all the way into each corner.
25.
And press again.
Once everything is nice and sharp, you can go ahead and glue the opening closed with a tiny line of craft glue.

26.
Fold down the top of the cover and press down. Now you are ready to place the coverlet over the sheets. Finish with pillows and a throw.


![[Featured] Home is where the heart is](https://images.squarespace-cdn.com/content/v1/595db0b044024313332d1ef8/4d709e00-3324-4310-8fc7-4e12c12235fc/westwind+1.jpg)


![[Featured] House Hunter—Mini Modern Farmhouse](https://images.squarespace-cdn.com/content/v1/595db0b044024313332d1ef8/1635368524954-RFDD3B7IPNN7OTRDWE6Y/Mini+Modern+Farmhouse+Interior+Furnished.jpg)


![[Featured] Meet the ‘cloffice’](https://images.squarespace-cdn.com/content/v1/595db0b044024313332d1ef8/1622420833320-T5FVUAYDEA0ING4B0DRO/Mini+Cloffice+Tall_Phone.jpg)


![[Featured] Making a home](https://images.squarespace-cdn.com/content/v1/595db0b044024313332d1ef8/1619784319429-U4GKIWXVW76OCOH9H4OM/Long+Farmhouse+Living+Room.JPG)

![[Featured] Instagram Identities: Jessica Cloe Miniatures](https://images.squarespace-cdn.com/content/v1/595db0b044024313332d1ef8/1619784478243-8KCI6MIDSXD6ADUM5R1T/Bayview+House+Interior.jpg)

